English
 Français
 عربى
عربى
Window treatments play a fundamental role in interior design, serving as both functional light barriers and critical visual elements that define the proportions of a room. Among the various components of window styling, the placement of the curtain rod is arguably the most decisive factor in determining whether a space feels grand and open or cramped and dark. Many homeowners purchase beautiful, high quality drapery fabrics only to find that the final look falls short of their expectations. In almost every case, this disappointment is not due to the fabric itself, but rather to incorrect installation measurements and rod placement.
To achieve a professional, designer quality look, installers rely on specific spatial guidelines rather than simply mounting hardware directly to the window trim. Hanging a curtain rod is a balance of visual illusion and structural physics. By understanding how the human eye perceives boundaries, height, and light, you can position your window hardware to maximize natural light, enhance privacy, and create the illusion of soaring ceilings.
This comprehensive guide explores the essential rules for hanging a curtain rod, providing detailed measurements, hardware considerations, and step by step installation principles for different room types and window configurations.
The Core Philosophy of Curtain Placement
To understand the specific rules of hanging hardware, it is helpful to first analyze the visual impact of window treatments on interior spaces. Curtains are not merely utilities for blocking sunlight; they are structural frame lines that can alter the perceived architecture of a home.
Visual Illusions and Room Proportions
The human brain perceives the size of a window not by the glass itself, but by the outer boundaries of the fabric that frames it. When window hardware is mounted directly on the wooden window trim or immediately above the glass, the fabric naturally covers a significant portion of the window pane even when fully drawn to the sides. This positioning blocks valuable natural light and visually shrinks the window, making the entire room feel smaller and more confined.
Conversely, when you hang the hardware higher and wider than the actual window frame, you manipulate the spatial perception of the room. This technique, frequently referred to as hanging high and wide, tricks the eye into believing that the window is much larger than its actual dimensions and that the ceiling is significantly higher.
The vertical lines of the fabric draw the gaze upward toward the ceiling, creating an atmosphere of spaciousness and architectural elegance. This visual expansion is highly beneficial in modern apartments, older homes with standard eight foot ceilings, or any room that lacks abundant natural light.
Practical Functionality and Light Control
Beyond the aesthetic benefits, proper placement of the drapery hardware is essential for day to day functionality. When draperies are hung too close to the window frame, the stacked fabric blocks the sides of the glass, restricting the entry of natural light and limiting the view of the outdoors.
By extending the rod beyond the sides of the window, you create a dedicated space for the curtains to rest when they are fully opened. This resting area, known in the design industry as the stackback, ensures that the entire glass area remains unobstructed during the day, allowing the maximum amount of sunlight to flood the room.
Additionally, proper height and width placement prevent light leaks around the perimeter of the window, which is a critical consideration for bedrooms where complete darkness is desired for quality sleep.
The Standard Rules for Height and Width
Achieving the perfect balance of form and function requires adhering to specific dimensional rules that have been refined by interior designers over decades.
Measuring the Height Above the Window Frame
The most common mistake in window treatment installation is mounting the hardware too low. The standard rule of thumb is to hang the curtain rod approximately four to six inches above the top of the window frame or casing. This measurement provides a balanced look for rooms with standard ceiling heights and ensures that the mounting brackets are anchored into solid wall structure above the window header.
However, for a more dramatic and modern aesthetic, designers often recommend extending this height much further. If the space between the top of the window frame and the ceiling is less than twelve inches, the optimal placement is to mount the rod approximately two inches below the ceiling line or just underneath the crown molding.
By eliminating the empty strip of wall between the curtain rod and the ceiling, you create a seamless vertical line that makes the room feel remarkably taller. When utilizing this high mounting technique, it is essential to purchase extra long curtain panels that will sweep the floor, as panels that end too high above the ground will ruin the visual illusion.
Extending the Width Beyond the Frame
To complement the height, the rod must also extend horizontally past the outer edges of the window frame. The standard rule for width is to allow the curtain rod to extend approximately eight to twelve inches beyond the window casing on each side. This extra width serves two primary purposes. First, it provides ample space for the stackback, allowing the fabric panels to sit completely clear of the glass when opened. Second, it makes the window look significantly wider and more proportional to the wall space.
For wider windows or when using heavy, bulky fabrics like velvet or lined blackout materials, you may need to extend the rod even further, up to fifteen inches on each side, to accommodate the increased volume of the folded fabric.
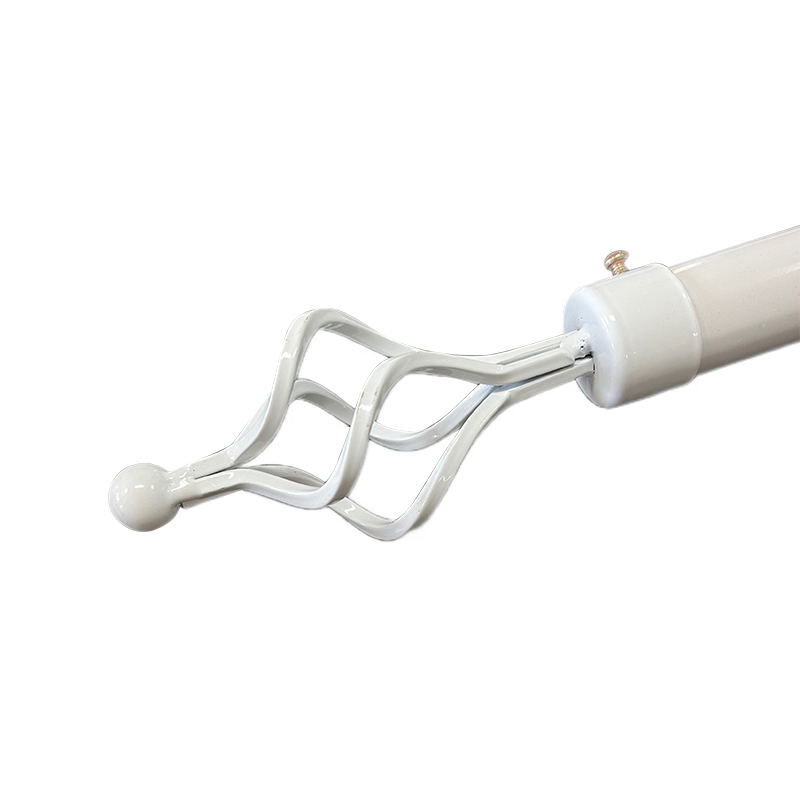
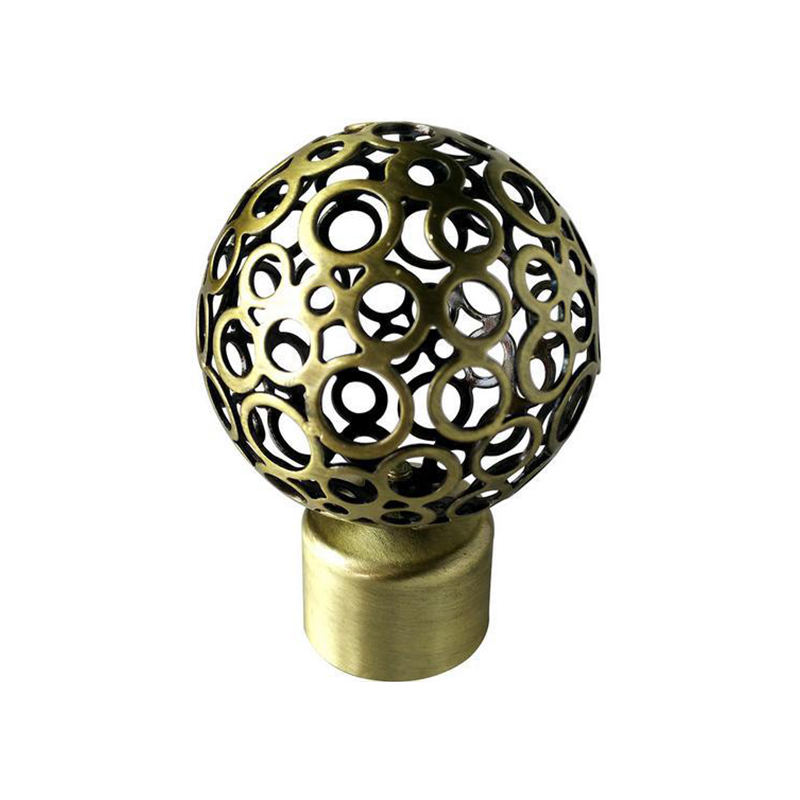
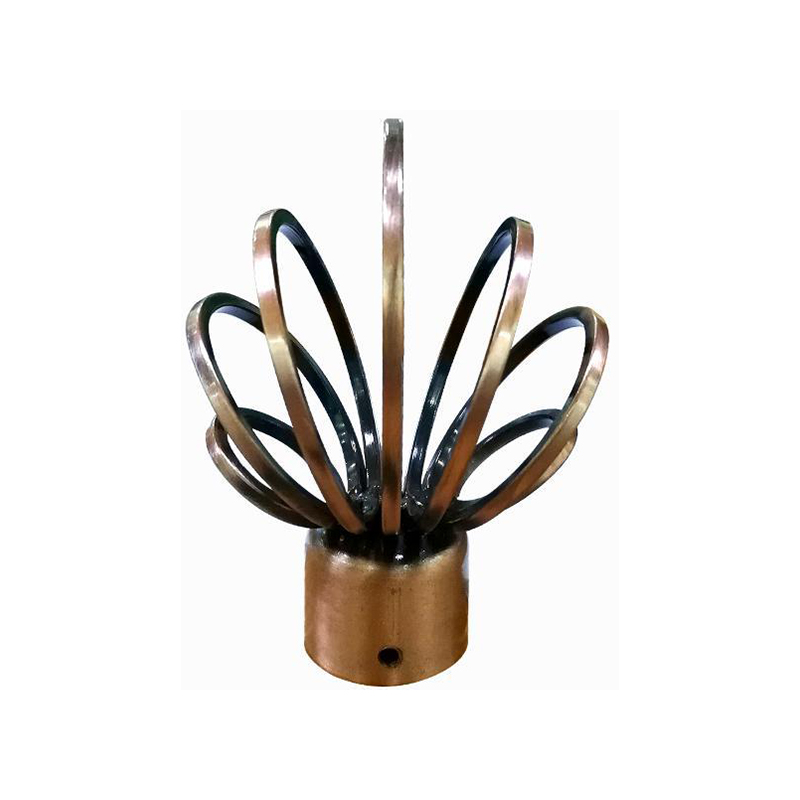
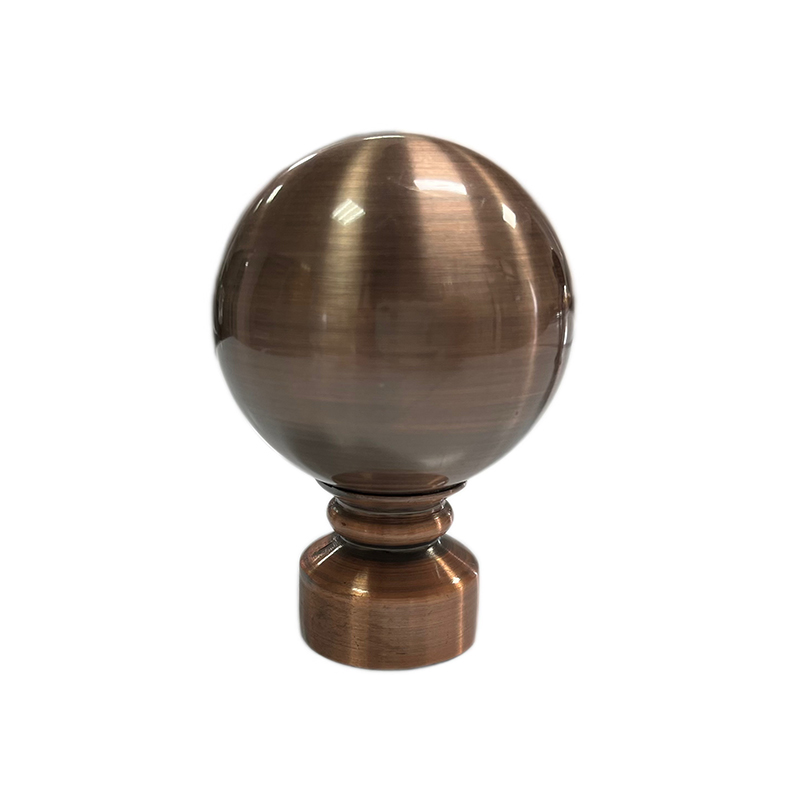
When calculating the total length of the curtain rod, remember to exclude the decorative end pieces, which are known as finials. The functional hanging space of the rod must meet the width requirements, while the finials extend beyond this measurement as purely decorative additions.
+-------------------------------------------------------------+
|                     CEILING LINE                            |
+-------------------------------------------------------------+
|                                                             |
|             [Mount 2 inches below ceiling]                  |
|      ==============================================         |
|      |                                            |         |
|      |        +--------------------------+        |         |
|      |        |                          |        |         |
|      |<------>|      WINDOW GLASS        |<------>|         |
|      | 8-12"  |                          | 8-12"  |         |
|      |        +--------------------------+        |         |
|      |                                            |         |
|      |                                            |         |
|      |                                            |         |
|      |                                            |         |
+------+--------------------------------------------+---------+
|                      FLOOR LINE                             |
+-------------------------------------------------------------+
Special Window Situations and Custom Rod Rules
While standard rectangular windows follow straightforward height and width rules, many homes feature unique architectural details that require specialized installation strategies.
Dealing with Arched and Slanted Windows
Arched windows are highly desirable architectural features that bring elegance to a room, but they can be challenging to dress. There are two primary schools of thought when it comes to hanging curtain rods around arched windows.
The first approach is to mount the rod directly above the highest point of the arch, following the standard four to six inch rule. This method treats the arch as part of the overall window height and allows you to cover the entire window when privacy is needed.
The second approach, which is ideal for preserving the architectural beauty of the arch, is to mount the curtain rod horizontally at the spring line of the arch, which is the point where the straight sides of the window begin to curve into the arch. This placement leaves the arched glass completely exposed to let in natural light throughout the day, while the straight lower section of the window can be covered with curtains for privacy and light control.
When using this method, it is highly recommended to select a simple, understated rod that does not distract from the elegant curve of the window arch.
Double Windows and Wide Panoramic Spans
For double windows, triple windows, or wide sliding glass doors, hanging individual small rods over each window section can create a choppy, fragmented look that disrupts the visual flow of the room. The standard design rule for these wide configurations is to use a single, continuous curtain rod that spans the entire width of the window group.
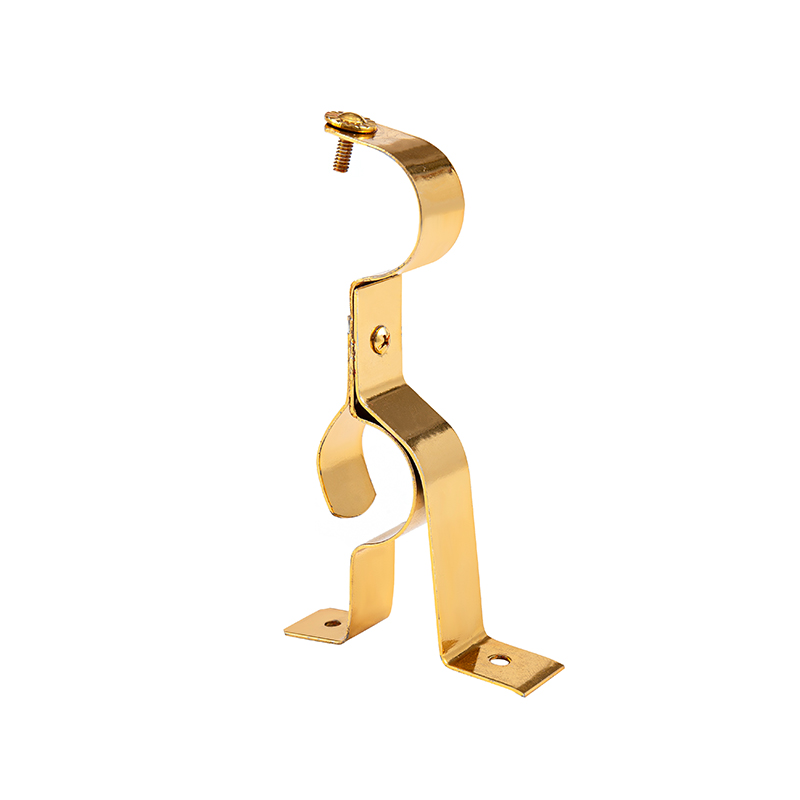
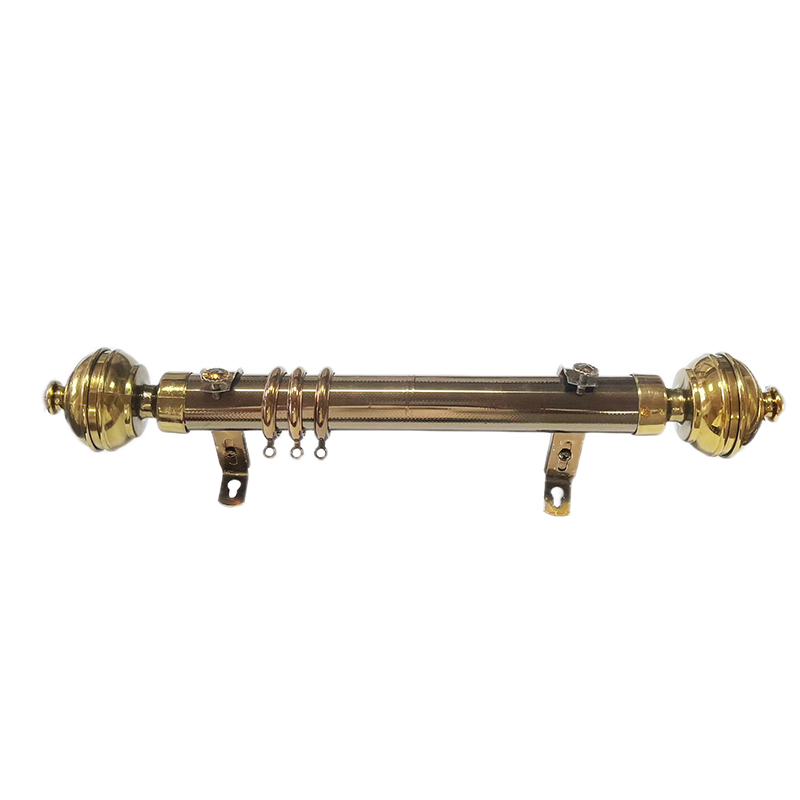
Because of the massive span, a single long rod will require additional support to prevent sagging in the center. Installers must place a center support bracket, and sometimes multiple intermediate brackets, to distribute the weight of the rod and the heavy drapery panels evenly.
When planning a wide span installation, ensure that the curtains are designed to open from the center outward, or utilize a traverse rod system that allows the fabric rings to pass smoothly over the support brackets without catching.
Corner Windows and Bay Windows
Corner windows and bay windows require specialized hardware and careful planning to ensure a cohesive appearance. For these configurations, utilizing standard individual rods that butt up against each other will result in awkward gaps and misaligned fabric panels.
Instead, installers should use specialized corner connectors or hinged elbow joints that physically connect the individual rods into a single, continuous system that follows the angles of the wall.
When measuring for a bay window, the brackets must be positioned carefully in the corners to ensure that the adjacent rods have enough clearance for the decorative finials, or the design should utilize simple end caps instead of large finials to prevent the hardware from colliding.
The height of all rod segments must be perfectly level across the entire bay or corner configuration, which requires precise measurements from a single horizontal reference line rather than relying on the individual window frames, which may not be perfectly level with each other.
Comparison of Curtain Rod Styles and Mounting Methods
To help you select the most appropriate hardware and mounting style for your home, the table below highlights the practical features, visual effects, and best applications for different curtain rod configurations.
|
Rod Configuration |
Visual and Aesthetic Effect |
Installation Complexity |
Optimal Room Application |
|---|---|---|---|
|
Standard Single Rod |
Classic, minimalist look; focuses attention on the fabric panels |
Low; requires only two or three basic wall brackets |
Bedrooms, living rooms, and dining spaces with standard windows |
|
Double Curtain Rod |
Adds depth and luxury; allows layering of sheer and blackout fabrics |
Moderate; requires deeper, specialized double brackets |
Bedrooms and home theaters requiring versatile light control |
|
Ceiling Mount Track |
Maximum height illusion; creates a sleek, hotel style appearance |
High; requires secure anchoring into ceiling joists or concrete |
Rooms with low ceilings, floor to ceiling windows, or loft spaces |
|
Tension Rod |
Temporary, clean look; fits entirely inside the window casing |
Minimal; requires no drilling or permanent wall hardware |
Rental properties, tiled bathrooms, and small kitchen windows |
|
Return Rod or French Rod |
Wraps back to the wall; blocks side light leaks and improves insulation |
Moderate; requires precise measurement for wall return |
Bedrooms, nurseries, and drafty rooms requiring energy efficiency |
Choosing the Right Curtain Rod Hardware
Selecting the appropriate hardware is just as important as choosing the right placement. The physical characteristics of the rod must be matched to the weight of the fabric and the style of the room.
Rod Diameter and Weight Capacity
Curtain rods are available in a wide variety of diameters, typically ranging from half an inch to over two inches. The diameter of the rod should be chosen based on the weight of the drapery panels and the overall scale of the window.
Thin rods, such as those with a half inch or five eighths inch diameter, are only suitable for lightweight sheer fabrics or short cafe curtains in kitchens. If you attempt to hang heavy, lined blackout curtains on a thin rod, the metal will quickly bow and sag under the weight, even if support brackets are used.
For standard draperies, a rod diameter of one inch to one and a quarter inches is highly recommended. This thickness provides excellent structural strength, prevents sagging over moderate spans, and presents a substantial, high quality appearance that is proportional to most window sizes.
For exceptionally large windows, high ceilings, or heavy velvet drapes, selecting a robust rod with a diameter of one and a half to two inches ensures that the hardware remains a striking, proportionate architectural element in the room.
Bracket Depth and Wall Clearance
The brackets that support the curtain rod determine how far the fabric will hang from the wall. This measurement is known as wall clearance or projection.
Standard curtain brackets typically provide a projection of three to five inches. This depth is usually sufficient to allow the curtains to hang freely without rubbing against the window trim or minor window hardware.
However, if your windows feature deep sills, projecting crank handles, or if you have installed horizontal blinds underneath the curtains, you will need to select adjustable brackets that can extend further from the wall.
Ensuring adequate wall clearance is critical to prevent the fabric from catching on the window components when the curtains are opened and closed. Conversely, the brackets should not project too far into the room, as excessive depth can create unsightly gaps at the sides, allowing light to leak into the room and disrupting the clean profile of the window treatment.
Installation Steps and Safety Guidelines
Proper installation is critical to ensure that your curtain rod remains securely anchored to the wall and perfectly level over years of daily use.
Finding Studs and Using Wall Anchors
Curtains and their coordinating hardware can be surprisingly heavy, and the continuous physical pulling force exerted when opening and closing the drapes puts significant stress on the mounting brackets. Mounting brackets should never be secured into raw drywall using simple wood screws, as this will inevitably lead to the hardware pulling out of the wall, causing significant damage to the plaster and creating a safety hazard.
During the planning phase, installers should use a stud finder to locate the wooden studs surrounding the window frame. There is almost always solid wood framing directly adjacent to the window opening, known as king studs and jack studs.
If your measurements require the brackets to be mounted in areas where no wooden stud is present, you must use high quality hollow wall anchors, such as heavy duty toggle bolts or threaded dry wall anchors.
Plastic expansion anchors should be avoided for heavy drapery installations, as they are prone to slipping out under dynamic loads.
Achieving a Level Installation
A common error is measuring the height of the curtain rod brackets directly from the top of the window frame on each side. While this seems logical, many window frames, ceilings, and floors are not perfectly level, especially in older homes. If you align the curtain rod precisely with a crooked window frame, the rod itself will appear noticeably crooked to anyone standing in the room.
To prevent this issue, use a high quality bubble level or a laser level to project a perfectly horizontal reference line across the wall above the window. Mark the bracket mounting holes based on this level line rather than the window trim.
Once the brackets are installed, place the rod in position and verify its levelness one final time before hanging the heavy fabric panels.
If there is a slight discrepancy between the level of the ceiling and the level of the window, you may need to split the difference slightly to create a visual compromise that satisfies the eye, but maintaining a level rod is generally the most effective way to ensure that the curtain panels hang straight and pool evenly on the floor.
Managing Curtain Length and Floor Contact
The final step in a successful curtain rod installation is managing how the fabric interacts with the floor. There are three primary styles of floor contact, each requiring precise rod height calculations.
The first style is the hover, where the hem of the curtain sits approximately a half inch above the floor. This clean, modern look prevents the fabric from gathering dust and is highly practical for high traffic areas or homes with pets.
The second style is the kiss, where the fabric just lightly touches the floor surface. This style requires incredibly precise measurements during the rod installation, as even a quarter inch error will cause the curtains to either hover or pool.
The second style is the puddle, where an extra two to six inches of fabric pools elegantly onto the floor. This traditional, luxurious style is ideal for formal dining rooms and romantic bedrooms, but it is not recommended for active households as the pooled fabric requires constant styling and can easily become dirty.
Whichever style you prefer, always measure your curtains first, and then position your curtain rod based on the exact length of the fabric panels to ensure the hem lands precisely where you intended.