English
 Français
 عربى
عربى
You have the rod, the rings, and the curtains. You mark two holes by eye, drill, and mount the brackets. Two weeks later the middle of the rod dips, the rings jam against a bracket, and one curtain panel hangs six inches off the floor. The mistake was not the rod or the curtains. It was bracket placement.
Bracket placement controls three things at once: how much weight the rod can carry, how freely the curtain opens and closes, and how the finished window looks. Get it right and the installation feels solid and deliberate. Get it wrong and every other part of the window treatment suffers. Before drilling, decide the horizontal offset from the window frame, the vertical height above the frame, and the exact fixing points in the wall. Those three decisions matter more than the bracket style itself.
Why Bracket Placement Comes Before Drilling
A curtain rod is a beam, and every beam bends under load. The brackets are the supports that shorten the unsupported span. Move them inward and the span grows; the rod sags more, the rings drag, and the curtain hem can sit unevenly. Move them outward and you may miss solid framing or push the curtain stack too far into the room.
The practical target is usually a bracket center 4 to 6 inches (10 to 15 cm) beyond each side of the window frame. That offset gives the curtain panels a place to stack without covering the glass. For heavy blackout curtains, lined drapes, or wide stack-back styles, 6 to 10 inches (15 to 25 cm) is more realistic. The exact number depends on the curtain panel width and how much privacy or light control you want when the curtains are open.
Vertical placement is just as important. A common starting point is a rod center 4 to 8 inches (10 to 20 cm) above the window frame, or 2 to 4 inches (5 to 10 cm) below the ceiling if you want a taller look. But the final height should be set from the floor up, not from the window frame down. Decide the finished hem first: half an inch to 1 inch above the floor for a floating look, or 1 to 2 inches above a sill for a casual curtain. Then work backward to the rod center. A 96-inch ceiling with an 80-inch window top often puts the rod center near 92 to 94 inches for floor-length curtains.
The Two Numbers That Control Most Installations
Most placement decisions reduce to two measurements: horizontal offset and vertical height. The horizontal offset is measured from the outside edge of the window frame to the center of the bracket. The vertical height is measured from the floor to the center of the rod, or from the ceiling to the center of the rod. Write both numbers on the wall with painter's tape before you drill.
For a typical 36-inch-wide window, a bracket center 4 inches beyond each side gives a total rod length of roughly 44 inches before decorative finials. That is enough for light sheers. For a 72-inch window with medium-weight drapes, a 6-inch offset gives an 84-inch rod span and more stack room. If the curtains are more than 1.5 times the window width, increase the offset so the open panels do not block daylight.
Height affects hardware as well. A rod placed too low can force the curtain rings to hit the window casing or a sill. A rod placed too high can make the curtain look disconnected from the window, especially in rooms with crown molding. The best result is usually a bracket center that aligns with the top third of the wall space above the window, not necessarily the exact center of that space.
How Wall Structure Changes the Best Bracket Position
The wall behind the curtain is not a uniform surface. It may be drywall over wood studs, plaster over lath, concrete, brick, or a hollow door-frame cavity. Brackets should land in solid wood or masonry whenever possible. Studs are usually spaced 16 or 24 inches (40 or 60 cm) on center, so two brackets may not fall symmetrically over a wide window. In that case, prioritize structure over perfect symmetry, then adjust with a longer rod, a wider bracket base, or a mounting board painted to match the wall.
If a stud is not available, use heavy-duty toggle anchors or expanding metal anchors rated for the load. Standard plastic wall plugs are not enough for a full curtain panel plus a rod. A single 48-inch curtain panel can weigh 8 to 15 pounds; lined blackout panels can exceed 20 pounds. Two drywall anchors may hold the static weight, but the dynamic load from opening and closing the curtain can loosen them over time.
When the wall is difficult, a curtain rod installation guide can help you compare anchor types and drill-bit sizes. The key rule is simple: the bracket must transfer the load into the strongest available material, and the screw must fully engage that material. If the bracket can rotate by hand after tightening, the fixing point is not ready for curtains.
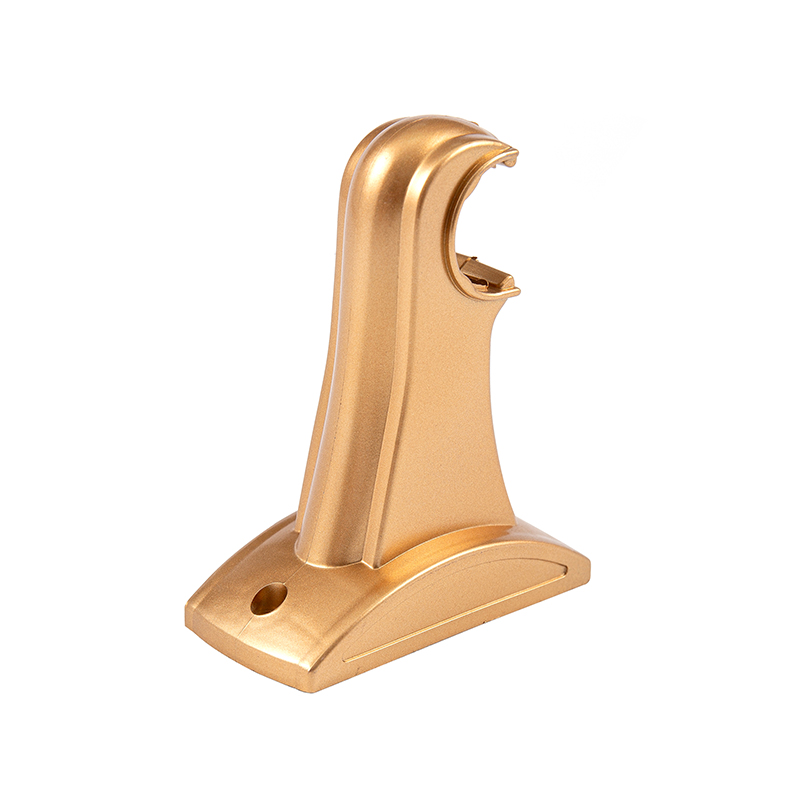
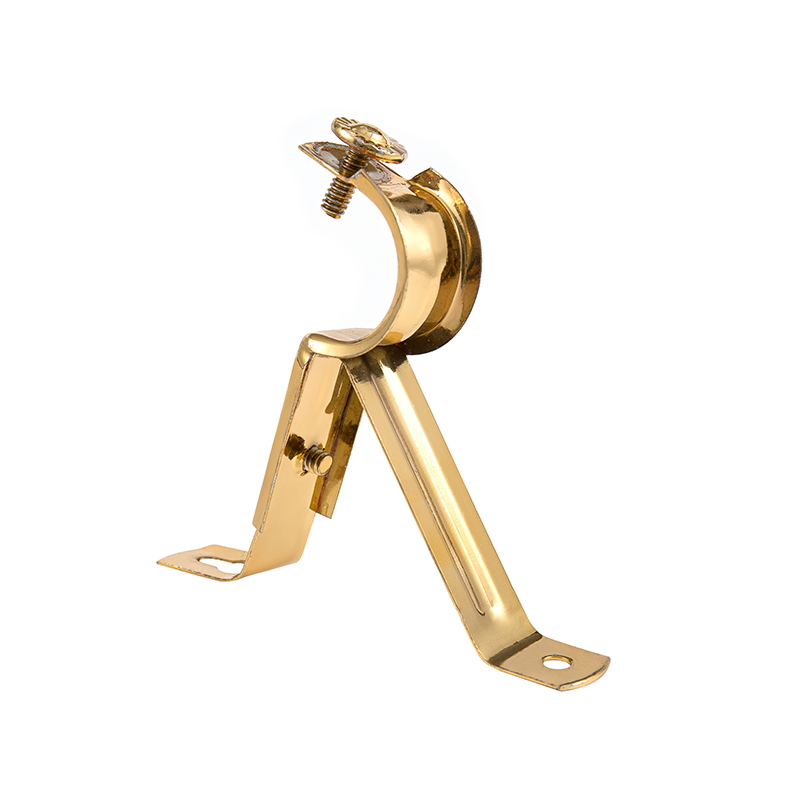 Metal Single Curtain Bracket for One Curtain RodThis metal single bracket secures one curtain rod and suits lightweight or medium-weight curtains, with custom diameter options and straightforward installation.View Product →
Single vs. Double Brackets: Placement Differences
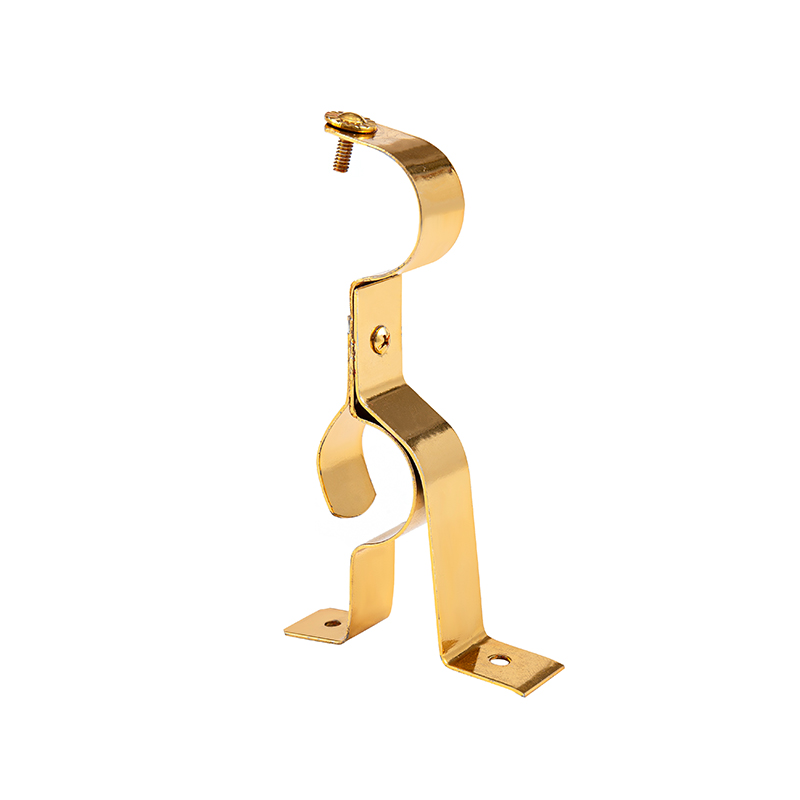
Single brackets hold one rod. Double brackets hold two rods, usually one for sheers and one for blackout or decorative panels. The placement logic changes because double brackets project farther from the wall. The rear rod sits closer to the window, and the front rod sits 3 to 4 inches (7 to 10 cm) farther into the room. That extra projection means the bracket center may need to move higher or farther out so the front curtain does not rub the rear curtain or block too much light.
For double brackets, check the distance from the wall to the front rod cup. If it is more than 4 inches, the front curtain will have a deeper fold and may need a wider side offset. Also check the return depth: the bracket arm must be long enough for the rear curtain to clear the window casing. If the casing protrudes more than 1 inch, a standard double bracket may not clear it.
Single brackets are easier to position because they have a smaller footprint. They work well for lightweight sheers, cafe curtains, and narrow windows. Double brackets are better for layered window treatments, but they demand more wall space and more careful vertical planning. A common mistake is to use the same bracket height for both rods; the front rod often needs to sit slightly higher or lower to keep the two hems aligned.
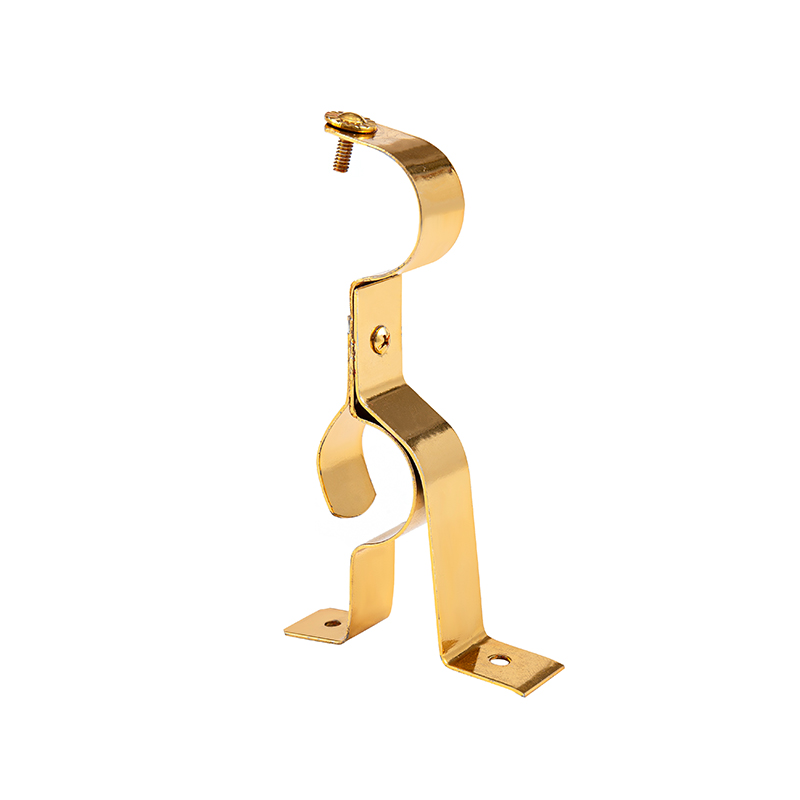 Metal Double Curtain Bracket for Layered or Heavy CurtainsThis double metal bracket supports two rods for layered or heavier curtains, offering added load capacity and stability for longer curtain setups.View Product →
Bracket Spacing, Rod Length, and Sag
Bracket spacing is the distance from one bracket center to the next. Too much spacing and the rod sags in the middle. Too little spacing and the brackets look crowded, and the curtain rings may not stack cleanly. A practical rule is to keep the unsupported span at or below 36 inches (91 cm) for light and medium curtains, and 24 to 30 inches (61 to 76 cm) for heavy drapes. The end brackets should sit 2 to 4 inches (5 to 10 cm) from the rod ends, leaving room for finials and rings.
Do not place a bracket directly on a telescoping joint. Telescoping rods have a smaller inner tube that slides into a larger outer tube. A bracket placed at that joint can crush or distort the inner tube, and the rod may not extend or retract smoothly. Keep brackets at least 2 inches away from any joint.
| Rod length | Minimum brackets | Suggested center spacing | Best use |
|---|---|---|---|
| Up to 48 in (122 cm) | 2 | Up to 36 in (91 cm) | Light sheers, cafe curtains, single narrow windows |
| 48 to 84 in (122 to 213 cm) | 3 | 24 to 36 in (61 to 91 cm) | Medium drapes, lined curtains, standard bedrooms |
| 84 to 120 in (213 to 305 cm) | 4 | 24 to 30 in (61 to 76 cm) | Heavy blackout panels, wide living room windows |
| Over 120 in (305 cm) | 5 or more | 24 in (61 cm) or less | Extra-wide openings, layered treatments, commercial spaces |
For very light sheers, plastic single brackets can be acceptable if they are anchored into studs or masonry. They are not suitable for heavy drapes or for drywall-only installations. Metal single brackets handle more load and resist flexing better. Whichever type you choose, match the bracket capacity to the total weight of the rod, rings, and curtains, then add a safety margin.
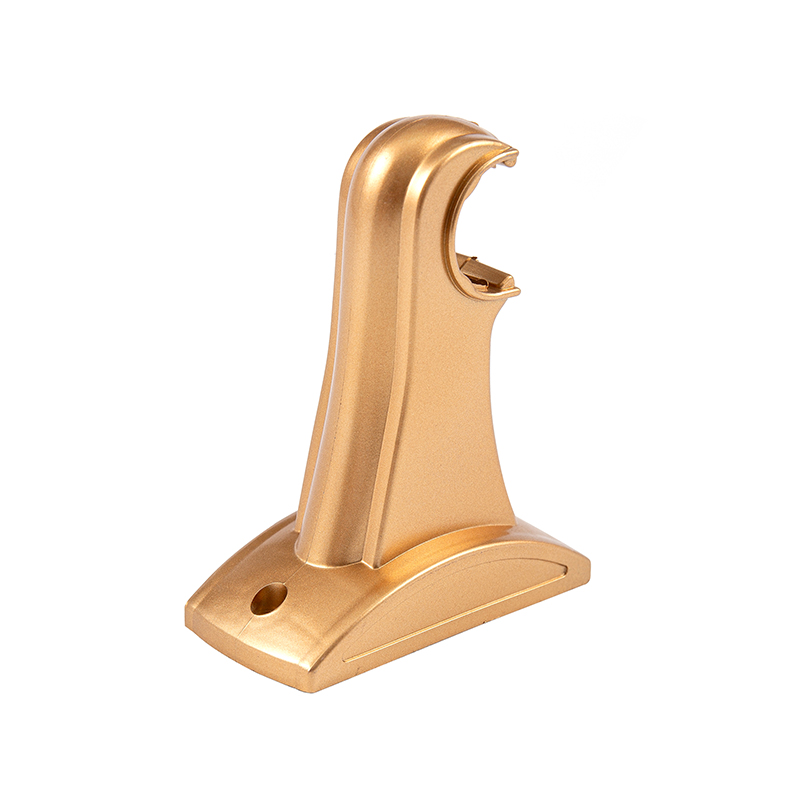 Plastic Single Curtain Bracket for Lightweight CurtainsA plastic single bracket for lightweight curtains, easy to install and available in multiple colors for simple window treatments in homes or offices.View Product →
Special Cases: Bay Windows, Sliding Doors, and Ceiling Mounts
Bay windows rarely accept a straight rod because the angles change the bracket geometry. The usual solution is a ceiling-mounted track or a bay-window rod with angled connectors. If you use brackets, place them at the corners where the wall sections meet, and check that the curtain rings can pass the angle without binding. A bracket placed too close to the corner can make the rings catch on the bend.
Sliding doors need a rod or track that extends 2 to 4 inches beyond the door frame on each side. That allows the curtain to stack clear of the glass when the door is used. Ceiling mounts change the offset calculation: the bracket or track clip is set 2 to 4 inches from the wall, depending on the curtain depth. Track clips are often spaced 12 to 20 inches apart because the track spreads the load more evenly than a rod.
For ceiling-mounted systems, the vertical placement is fixed by the ceiling height, so the critical number becomes the distance from the wall. Too close and the curtain rubs the wall; too far and the curtain looks like it is floating. Test with a scrap of fabric or a lightweight curtain before final tightening.
Common Placement Mistakes and How to Catch Them Before Drilling
Most bracket failures come from a few predictable errors. Catch them with a dry-fit check before the drill goes into the wall.
- Marking only one side and assuming the other side matches. Measure from the window center to each bracket center instead.
- Ignoring the curtain stack. Open the curtains and check that the fabric clears the glass by at least 1 inch.
- Placing brackets too far apart because the rod looked strong in the store. A bare rod can feel stiff, but a loaded rod bends.
- Forgetting the finial width. Decorative finials can add 2 to 4 inches to each end, so the bracket may need to move inward.
- Drilling into drywall only. Use a stud finder, and if no stud is available, upgrade the anchors before mounting.
- Setting the height before checking the hem. Hang the curtains temporarily with clips and measure the finished drop.
A simple dry-fit test takes ten minutes. Tape the bracket positions with painter's tape, mount the brackets loosely, slide the rod into place, and hang the curtains. Check three things: the rod is level, the hem is even, and the rings do not hit the brackets or the window casing. If any of those fail, adjust the tape marks before drilling the final holes.
Bracket placement is not a cosmetic afterthought. It is the load path, the alignment line, and the visual anchor for the entire window treatment. Start with the finished hem, find the strongest fixing points, set the horizontal offset wide enough for the curtain stack, and space the brackets close enough to prevent sag. When those four decisions are correct, the curtain rod disappears into the room and the window looks intentional. When they are wrong, every opening and closing reminds you of two holes that should have been marked differently.