English
 Français
 عربى
عربى
Hanging a curtain rod correctly comes down to two things: precise bracket placement and a dead-level line. If those are right, the rod will hold weight without sagging, the curtains will hang evenly, and the whole window will look intentional. If they are off, no amount of adjusting rings or fluffing fabric will fix the problem. The following step-by-step guide walks through the process from measuring to final check, with the tolerances and practical details that separate a professional-looking install from a weekend frustration.
Tools and Materials You Will Actually Need
Before you touch a drill, gather everything in one place. Missing a level or the right anchor halfway through is how brackets end up crooked. For a standard drywall installation, you need a tape measure, pencil, stud finder, drill with a 6 mm or 1/4-inch bit, screwdriver or bit driver, spirit level, and a step stool. For masonry or plaster walls, add a masonry bit and a hammer. If your rod came with a mounting template, keep it; otherwise a piece of cardboard works just as well.
- Measuring tape and pencil: mark once, check twice.
- Stud finder or magnetic stud scanner: essential for heavy drapes.
- Drill and bits: pilot bit for hardware, masonry bit for brick.
- Level: 12-inch or longer; a small bubble level is hard to read at bracket height.
- Anchors and screws: use the hardware supplied with the rod, or upgrade to toggle bolts for hollow walls.
- Curtain rod, brackets, finials, rings, and curtains: confirm all parts are present before drilling.
One industry note: bracket quality matters more than rod diameter in most residential installations. A thin rod with flimsy brackets will sag under blackout curtains, while a modest rod with solid steel brackets holds firm. If you are replacing builder-grade hardware, upgrade the brackets first.
Step 1: Measure and Mark Bracket Placement
Placement decisions should happen on the wall, not in your head. Start by deciding how high and how wide the rod will sit. The most common mistake is mounting the rod directly above the window frame. That works for a quick rental fix, but it makes ceilings look lower and can expose the top of the window frame when curtains are open.
Height: Why 4 to 6 Inches Above the Frame Works
For a standard 8-foot ceiling, mount the brackets 4 to 6 inches above the window frame, or 2 to 4 inches below the ceiling trim. This raises the visual height of the window and gives the curtain fabric room to stack without covering the glass. If you have 9-foot ceilings, going 6 to 8 inches above the frame is safer; the extra wall space above the window otherwise makes the rod look undersized. For blackout or heavy lined curtains, add another inch of clearance to prevent fabric drag.
Width: Extend the Rod 4 to 6 Inches Past Each Side
Brackets should sit 4 to 6 inches beyond the window frame on each side. This allows the curtains to open fully and lets in maximum daylight. A common tolerance is 4 inches for narrow windows and 6 to 8 inches for wide windows or sliding doors. If you plan to stack curtains tightly to one side, add 2 extra inches on that side. Use a pencil to mark the bracket height on both sides, then connect the marks with a level line. This line becomes your drilling guide.
| Window scenario | Rod height above frame | Rod extension past each side | Notes |
|---|---|---|---|
| Standard 8-foot ceiling, light curtains | 4 inches | 4 inches | Good balance of height and proportion. |
| Standard 8-foot ceiling, blackout curtains | 5 inches | 5 inches | Extra clearance prevents fabric drag. |
| 9-foot ceiling or tall room | 6 to 8 inches | 6 inches | Raises the window visually. |
| Narrow window (under 36 inches) | 4 inches | 4 inches | Wider extension can look oversized. |
| Wide window or sliding door | 5 inches | 6 to 8 inches | Allows full stack-back. |
For a deeper look at rod types and hardware compatibility, this complete guide to installing a curtain rod covers bracket choices and wall-anchor details.
Step 2: Find Studs or Choose the Right Anchors
Curtain rods fail at the brackets, not the rod. A single bracket pulling out of drywall can drop the whole assembly. If possible, drive at least one screw per bracket into a wood stud. Use a stud finder and mark the stud centers with painter's tape. When studs are not available, use toggle bolts or heavy-duty self-drilling anchors rated for at least 50 pounds each. Plastic expansion anchors that come with budget rods are usually adequate only for lightweight sheers.
For plaster walls, drill with a masonry bit and use a nylon plug before driving the screw. For brick or concrete, use a hammer drill and sleeve anchors. Always check that the anchor sits flush with the wall; a protruding anchor will keep the bracket from tightening against the surface. If you are installing a double bracket for two rods, confirm the rear rod has enough clearance from the wall for the curtains to slide freely.
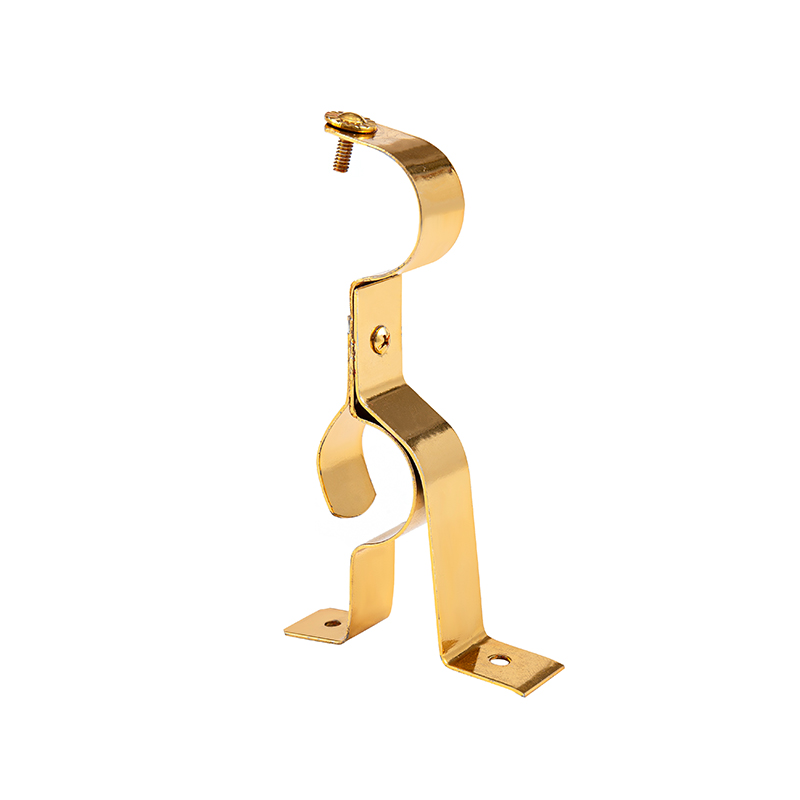 Metal Double Curtain Bracket for Heavy Layered CurtainsHigh-strength metal double bracket supports two curtain rods and layered treatments, offering stable load-bearing for heavy or double-layered curtains.View Product →
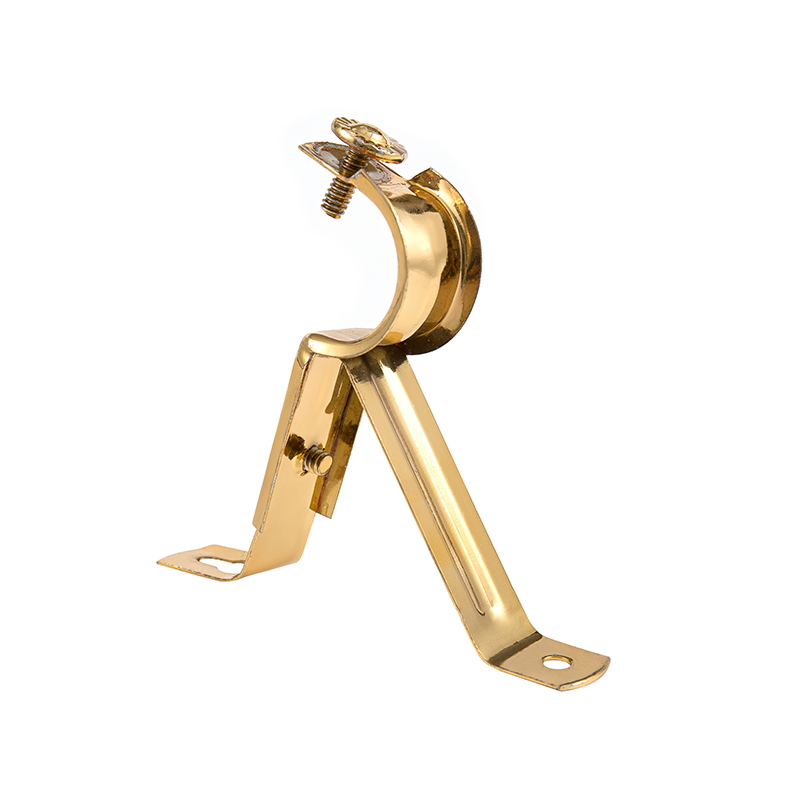
Metal double brackets are a practical upgrade for layered window treatments because they carry the load of both a sheer and a blackout panel without flexing. Look for brackets with a wide base and at least two screw holes per side; that geometry resists rotation better than a single-screw design.
Step 3: Drill Pilot Holes and Install Brackets
With your level line marked, hold the first bracket against the wall so its screw holes align with the line. Mark the hole centers through the bracket with a pencil. Remove the bracket and drill pilot holes at the marks. For drywall and wood, a 1/8-inch bit is usually right for the supplied screws; for anchors, follow the anchor manufacturer's drill size. Keep the drill perpendicular to the wall. Angled holes weaken the anchor's grip.
Using a Cardboard Template for Perfect Alignment
If you are installing more than two brackets, make a cardboard template. Cut a rectangle that matches the distance from the bracket's top edge to its screw holes, then mark the hole positions on the template. Hold the template against the wall, level it, and drill through the marks. This trick eliminates the most common cause of uneven rods: measuring one bracket, then eyeballing the other. For long rods, place a center support bracket if the span exceeds 48 inches or if the curtains are heavy. A center bracket prevents sag and keeps the rod from bowing.
Install the brackets hand-tight first, then check level across all brackets before final tightening. A half-turn on one screw can shift the rod by a quarter inch over a 72-inch span. Once level, snug the screws firmly but do not over-torque; stripping a wall anchor means starting over with a larger anchor.
Step 4: Assemble the Rod and Hang the Curtains
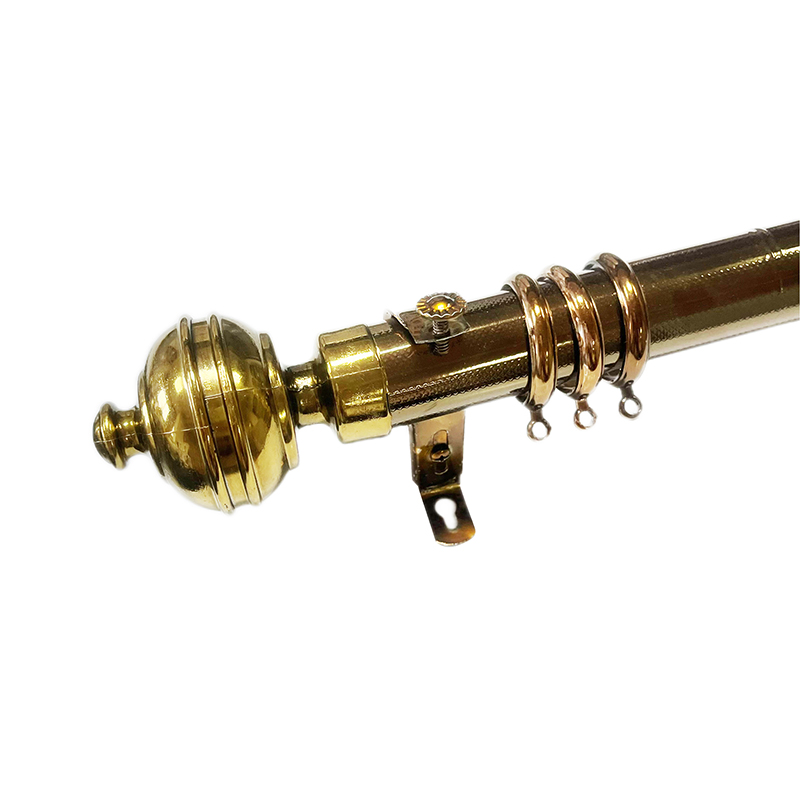
Assemble the rod on the floor or a padded table. For telescoping rods, slide the thinner section into the thicker one and twist the locking collar until it holds. For fixed rods with a center connector, thread the sections together and tighten the set screws. Add the finials last; they are decorative but can be fragile, so avoid using them as handles when lifting the rod.
Rod Types: Telescoping, Fixed, and Track Systems
Telescoping rods are the most forgiving for DIY installs because they adjust to slight measurement errors. Fixed-length rods look more substantial but require exact width measurements. Track systems use ceiling or wall brackets and carriers instead of rings; they are ideal for floor-to-ceiling curtains and heavy fabrics. If your rod has a built-in return or a curved end, confirm the bracket orientation before drilling; reversing it can put the curtain too close to the wall.
Thread the curtain rings onto the rod before mounting. For pinch-pleat or rod-pocket curtains, slide the rod through the pocket instead. With rings, use a drapery pin or hook to attach the curtain header to the ring eyelets. Space the pins evenly, generally every 4 to 6 inches, so the pleats fall consistently. If the curtains have a leading edge, make sure the first ring sits just inside the finial so the fabric does not slide off when opened.
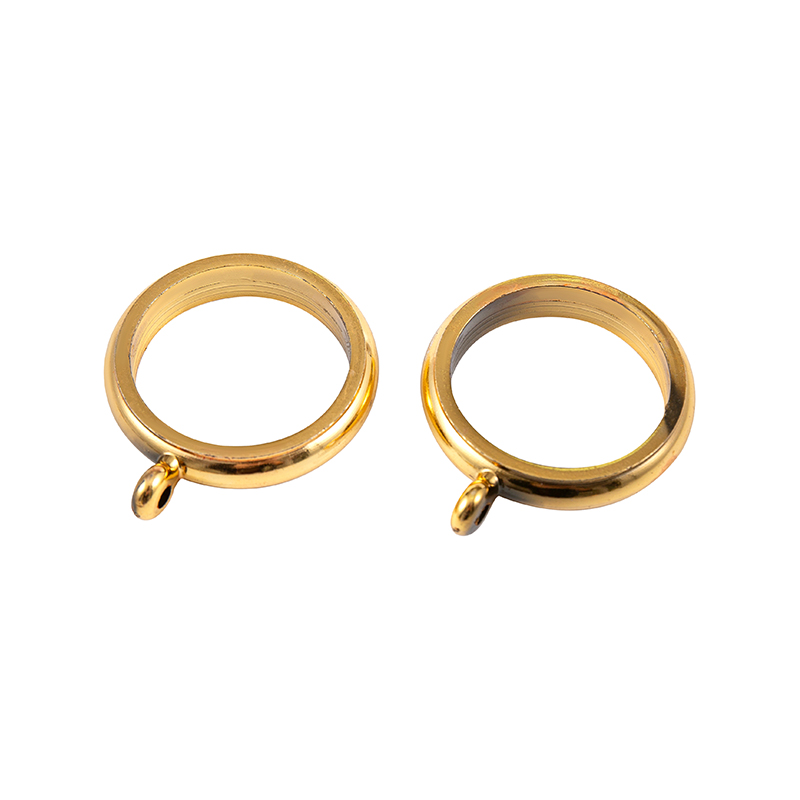 Standard Curtain Rings for Smooth Curtain Rod GlidingStandard curtain rings with smooth nylon or silicone lining, rounded edges, and 360-degree swivel fit U-shaped rods and rod-pocket curtains.View Product →
Standard curtain rings with a smooth interior finish reduce friction and noise. For wide windows, choose rings with an inner diameter at least 1/4 inch larger than the rod diameter; that gap prevents binding and makes the curtains glide with one hand.
Step 5: Final Check and Adjustments
Lift the assembled rod onto the brackets and seat it fully. If the rod is telescoping, make sure the locking collar is not resting on a bracket, which can weaken the joint. Step back and check the rod against the ceiling line and window frame. Then open and close the curtains several times. They should slide without catching, and the leading edges should meet or overlap by 1 to 2 inches when closed.
Common Mistakes and How to Fix Them
- Rod sags in the middle: add a center support bracket or move the existing brackets closer together.
- Curtains rub the wall: add a bracket extension or use a rod with a larger return; check that the rear rod on a double bracket has enough offset.
- Brackets pull loose: replace plastic anchors with toggle bolts, or relocate at least one screw into a stud.
- Uneven hem line: recheck bracket height with a level across the full span, not just one side.
- Rings catch at the bracket: file or sand any burr on the bracket, or switch to rings with a smoother inner surface.
Small adjustments matter. A quarter-inch of sag over a 96-inch rod is visible from across the room. Once everything is level and secure, tighten all screws, trim any excess curtain threads, and train the fabric folds by hand. Let the curtains hang for a day before making final length adjustments; some fabrics relax and drop slightly after unpacking.
Choosing Hardware That Supports the Install
The installation steps are only as good as the components. Aluminum rods resist rust and suit humid rooms, iron rods carry heavier fabrics, and PVC-wrapped rods offer decorative finishes without the weight of metal. For most residential windows, a 1-inch diameter rod with steel brackets handles medium-weight curtains. For blackout or layered treatments, move up to a 1.25-inch rod and use double brackets. The bracket's projection from the wall should be at least 3 inches so curtains can stack without crushing.
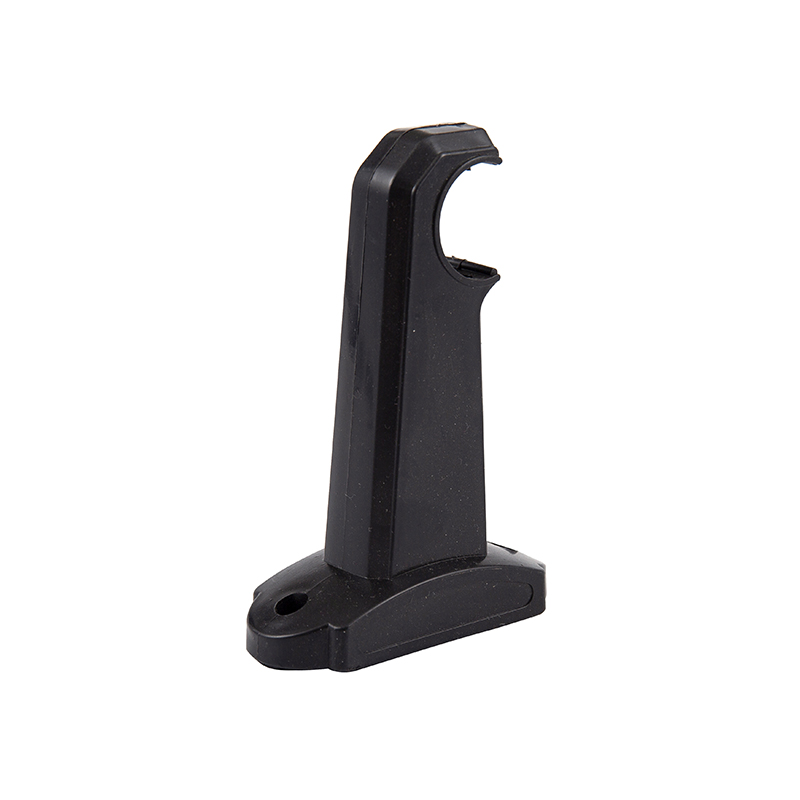 Single Crescent Aluminum Curved Curtain Rod for Bay WindowsCurved aluminum rod with customizable radius and honeycomb structure suits bay or arched windows, heavy drapes, and hidden mounting.View Product →
If you are matching existing hardware or ordering for a client, check that the finial, ring, and bracket finishes are from the same product family. Finish mismatches are more noticeable on a sunny window than almost anywhere else in a room. Also verify the rod's maximum load rating; a rod that looks sturdy can still bow if the span is too long for its wall thickness.
Hanging curtain rods correctly is a sequence of small tolerances: mark level, drill perpendicular, anchor into structure, and check the rod under load. Take your time on the bracket layout and the rest becomes simple. A rod that sits 5 inches above the frame and 5 inches past each side, secured with proper anchors, will outperform a decorative rod installed in a hurry every time. With the steps above, you can install a rod that looks built-in, holds heavy curtains without sagging, and slides smoothly for years.