English
 Français
 عربى
عربى
The correct curtain rod placement is a measurable standard, not a stylistic guess. Mount the rod 4 to 6 inches above the window frame, extend it 3 to 6 inches past each side of the frame, and set the outer brackets 4 to 6 inches in from the rod's ends. This combination creates a window treatment that looks intentional, lets you draw the curtains fully open without blocking the glass, and avoids the most common installation failures that come from guessing.
When you get the placement wrong, the consequences are visible from across the room. A rod mounted too low makes the ceiling feel lower and the window seem smaller. A rod that is not wide enough leaves the panel bunched over the glass when open, which cuts daylight and makes the window feel cramped. Brackets placed too close to the center can allow the rod to sag under the weight of heavy drapery. These are not hypothetical problems; they are the reasons why professionally installed drapes look more polished than DIY installs that follow a rough guess.
The good news is that the rules are consistent across rod types, materials, and curtain styles. Whether you are fitting an aluminum rod in a modern living room or a heavy iron rod in a traditional dining room, the placement logic stays the same. Understanding why the numbers are what they are will help you adapt them to your specific window, ceiling height, and curtain weight.
Why Curtain Rod Placement Is a Functional Decision
Many people treat curtain rod height and width as styling details. In reality, they determine whether your curtains actually perform their jobs. The three main jobs of a curtain are to block or filter light, provide privacy, and insulate the window. Placement directly affects all three.
Light Control and Privacy
When you mount the rod at the correct height, the top of the curtain panel covers the wall above the window rather than the glass itself. That means the curtain can extend past the frame on the sides, allowing you to draw it fully clear of the glass when you want maximum light. If the rod is too narrow, the panel's edge hangs directly over the glass line, and the window is partially blocked even when the curtains are fully opened. In an evening setting, that same overlap controls how much light escapes through the sides of the window, which matters for privacy.
Room to breathe is also a practical requirement. A rod that is mounted too close to the window frame typically forces the brackets or finials to sit right next to the casing. When you draw heavy curtains, the fabric bunches against the wall and can rub away paint. More seriously, brackets installed too close to the edge of the window may be anchored into drywall rather than into a stud, which shortens the life of the installation.
The Height-Ceiling Illusion
Height is where placement has its greatest visual impact. Mounting the rod halfway between the top of the window frame and the ceiling creates an illusion of taller ceilings. This is the same principle that interior designers use when hanging drapes at the ceiling line in high-end projects. The curtain wall, as it is sometimes called, visually raises the window opening and makes the whole room feel larger.
The psychological effect is real. In a room with a 9-foot ceiling and a window whose top frame is at 6 feet 8 inches, the halfway point is about 7 feet 10 inches. Mounting the rod there instead of at 7 feet 2 inches adds nearly 8 inches of perceived height to the window. That difference alone can change how spacious the room feels, especially in smaller bedrooms or dens.
The Impact on Curtain Movement
Placement also determines how easy the curtains are to open and close. If the rod is too close to the window, the fabric drags against the frame and the casing, which causes fraying and makes the curtains difficult to pull. When the rod is mounted 4 to 6 inches above the frame, the fabric has room to move freely. You should also consider the projection of the bracket from the wall. A bracket that projects too far creates a gap between the wall and the curtain, allowing light to enter from the sides. A bracket that projects too little causes the fabric to scrape against the wall.
The Height Rule: How High to Mount the Curtain Rod
The standard recommendation for correct curtain rod placement is to mount brackets 4 to 6 inches above the top of the window frame. This range works for most standard windows in residential settings because it leaves a clean strip of wall visible above the frame, which prevents the curtain from looking like it is swallowing the window.
Why 4 to 6 Inches Is the Sweet Spot
The 4- to 6-inch range represents a practical compromise. Mounting lower than 4 inches makes the curtain panels visually merge with the window frame, which makes the window look shorter. Height above 6 inches is fine, but it starts to introduce the question of extra curtain length and the risk of a gap between the top of the window frame and the rod when the curtains are open. The 4- to 6-inch zone is the point where the rod looks connected to the window but doesn't crowd it.
Go Higher for a Dramatic Effect
Designers often push the mount point to 8 to 12 inches above the frame when they want a more dramatic, custom look. This is especially appropriate in rooms with high ceilings or when you want to make a modest window feel more imposing. The key is to keep the rod at least halfway between the window frame and the ceiling. If the gap between the frame and the ceiling is only 8 inches, a 4- to 6-inch mount height gives you a balanced look. If the gap is 20 inches, you can go to 10 inches and still keep proportion.
There is a practical boundary, though. If you mount the rod more than 14 inches above the window frame, you need extremely long curtains to reach the floor. That means higher material costs and potentially a custom order. For most rooms, staying within the 6- to 10-inch zone gives you the visual benefit without forcing a custom length.
Rod Height Versus Curtain Length
Once you set the rod height, the curtain length is essentially decided. A 84-inch curtain panel is designed to hang from a rod roughly 84 inches above the floor. If you mount the rod above that height, the panel will float above the floor by the difference. The safest approach is to decide the curtain length first, then mount the rod so the panel's hem lands where you want it.
The standard options are 84, 96, and 108 inches. For a floor-length look, choose a panel that matches your rod height, or choose a longer panel and let it break on the floor slightly, depending on the style you want. A pooled hem, where the fabric sits on the floor by 1 to 3 inches, is a common way to add warmth to a room without buying a custom length. Just note that a pooled hem collects dust and can stain the fabric if the floor is muddy or wet, which is worth considering in high-traffic areas.
The Width Rule: How Far to Extend the Rod
The correct width for a curtain rod is 3 to 6 inches beyond each side of the window frame. This applies to the rod itself, not to the curtain panels. Extending the rod past the frame is what allows the curtains to be pulled completely off the glass so that the window is fully exposed when you want light.
Calculating the Total Rod Width
To determine the total rod width, measure your window frame from the outermost edge on the left to the outermost edge on the right. Then add 6 to 12 inches total depending on how far you choose to extend beyond each side. For example, if the frame width is 60 inches, a rod of 66 to 72 inches will work. This gives you 3 to 6 inches of extension on each side.
It is important to measure the frame, not the glass. Some manufacturers use the glass width as the basis for measuring curtains, but the rod should cover the frame plus the extension. Otherwise, the brackets may sit on the trim rather than the wall, and the rod will look too short.
The Curtain Stacking Factor
Fullness is the next consideration. Curtain panels need to be about two to two and a half times the width of the window to look full when closed. When they are open, the panels stack to the sides. A rod that is extended by only 3 inches on each side might not accommodate a wide stack, especially if you are using thick fabrics.
For a 60-inch window, a single panel set with a 2x fullness would be 120 inches of fabric. When drawn open, the fabric stacks to about 15 to 20 inches per panel, depending on how tightly it folds. To make sure that stack sits on the wall rather than over the glass, the rod should extend at least as far as the stack width. If you plan to keep the curtains open most of the time, err toward the higher end of the range, or even slightly beyond it.
How Wide Should Curtain Rods Be?
The rod should not extend so far that it looks disconnected from the window. More than 10 inches on each side starts to feel odd in a standard room. The exception is for very wide windows that need strong center support, or for corner windows where the curtain panels need to clear adjacent walls. In those cases, the extension is dictated by the layout rather than by the rule.
If you are working with a slider or a wide picture window, the width extension should be calculated from the edges of the opening, not the glass. For a sliding door, the rod should extend at least 4 inches on each side so the panels can stack clear of the door's opening. If the door is going to be used frequently, extending by 6 inches per side is the safer choice.
Bracket Placement: The Backbone of a Stable Installation
Correct bracket placement is just as important as the rod's height and width. The brackets are what carry the weight, and their positions determine whether the rod stays level and whether the curtains slide smoothly.
Distance from the Ends
Outer brackets should be placed 4 to 6 inches in from the end of the rod. This is a structural recommendation, not a stylistic one. If the bracket is too close to the end, the rod can wobble near the finial. If it is too far in, the overhang creates leverage that can bend a thin rod under the weight of heavy drapes.
To understand why, consider a 72-inch rod with a 6-inch finial. The actual usable rod length is about 60 inches. A bracket placed 5 inches from the end leaves a 5-inch overhang. That overhang is minimal under most curtain weights, but it becomes significant when you are hanging heavy drapes or when the rod is made of a softer material. The bracket placement should be adjusted based on the rod's diameter and the curtain's weight.
Supporting Long Rods
For any rod that spans more than 60 inches, you need a center bracket. The center bracket prevents sagging over time. It is especially critical for metal rods like aluminum and iron, which are durable but still subject to deflection under load. When a rod sags, curtains catch on the bracket, and the entire installation becomes difficult to use.
The center bracket also affects how far the outer brackets can be spaced. If a manufacturer recommends a maximum span of 48 inches between brackets, then a 96-inch rod needs three brackets: two outer and one center. The exact span is usually printed in the rod's specification sheet. As a general rule, rods over 60 inches should use a center bracket, and rods over 96 inches may need a second center bracket placed at the thirds.
Mounting into Studs Versus Drywall
Whenever possible, align the brackets with wall studs. For an outer bracket, the 4- to 6-inch inset rule often places it right where a stud would be near the corner of the window. If you cannot find a stud, use a plastic or metal wall anchor rated for the weight of your curtains. Heavier curtains, such as blackout or thermal drapes, need anchors that support at least 20 to 30 pounds per bracket. Anchors that are too small are a common cause of brackets pulling out of the wall.
You can locate studs with a stud finder, but the more direct way is to tap the wall and listen for a denser sound. If the bracket position falls between studs, you have two options: move the bracket slightly or use an anchor. Moving the bracket can cause visual inconsistency between the left and right sides. Using a high-quality anchor is the safer solution.
Bracket Style and Compatibility
The bracket style matters for placement as well. Double brackets allow you to layer two rods, which is useful for sheer and blackout combinations. Single brackets are sufficient for standard installations. A metal double bracket offers the strength needed for layered looks and heavy drapes. The bracket's projection from the wall should match the rod's diameter so that the rod does not rub or bind when you draw the curtains.
When you are specifying brackets, also consider the wall material. A drywall bracket with a 3-inch projection will not support a heavy iron rod without proper anchors, while a bracket designed for masonry uses different screws. The projection also affects the distance between the curtain and the window, which impacts whether light leaks through the sides.
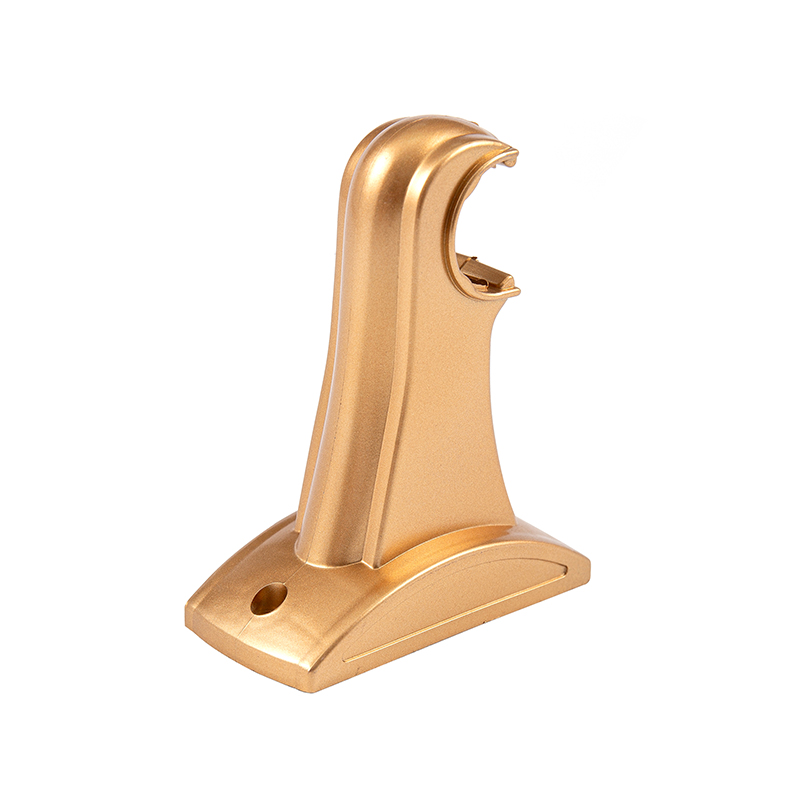
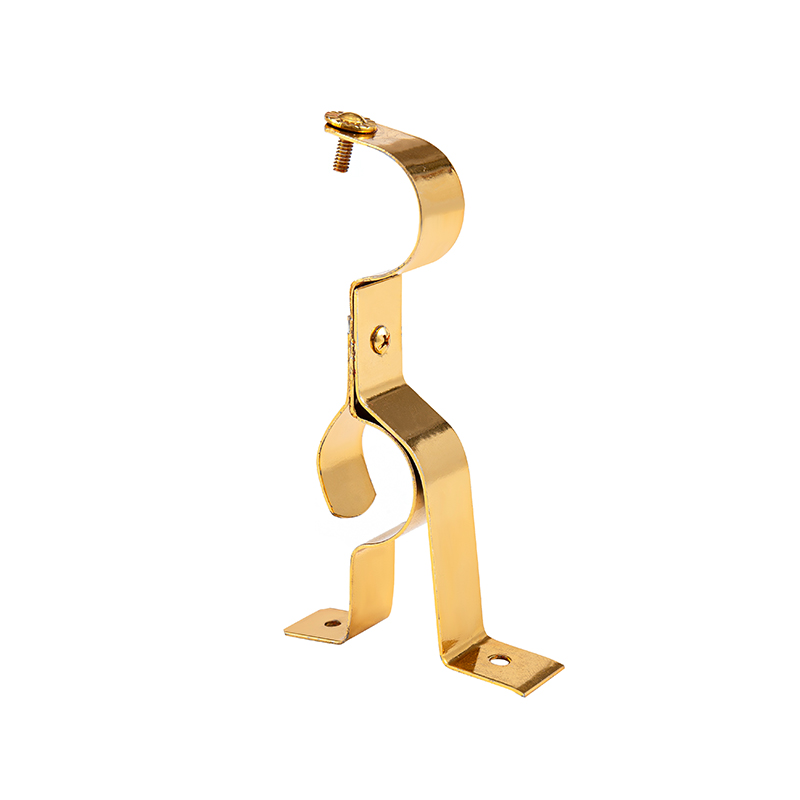 Metal Double Curtain Bracket for Heavy or Layered Curtain RodsThis sturdy steel or aluminum bracket supports double rods and heavy curtains with rust-resistant finishes. Its dual design adds stability for longer spans or layered treatments in homes and commercial spaces.View Product →
Choosing the Right Rod Material for Your Window
The placement rules apply to every rod material, but the material affects how the rod performs once it is mounted. This is where procurement decisions matter for B2B buyers and homeowners alike.
Aluminum Curtain Rods
Aluminum rods are lightweight, corrosion-resistant, and well suited to modern interiors. They are an excellent choice for wide windows because they are less likely to sag than thinner steel rods of the same diameter. The finish options also make them an easy fit for contemporary room designs. If you are buying for a project that requires clean lines and minimal visual weight, an aluminum rod is a sound default.
The diameter of the aluminum rod influences the bracket spacing. A 1-inch diameter rod can span longer distances without sagging than a 5/8-inch rod. For a 72-inch window, a 1-inch rod with a center bracket will remain straight, while a thinner rod may begin to bow even with a center bracket. If you are installing a single crescent aluminum rod, you can mount it at the standard 4- to 6-inch height without any adjustment. The material is light enough that the bracket spacing is comfortable.
 Single Crescent Aluminum Curtain Rod for Arched or Bay WindowsA curved, anodized aluminum rod with a honeycomb core supports up to 12 kg. Its flush mount and hidden cable channels suit modern interiors, offering a sleek solution for irregular window shapes.View Product →
Iron Curtain Rods
Iron rods provide a more substantial look and greater durability. They are heavier than aluminum, which means the bracket spacing and anchor choices matter more. Twisted iron telescoping rods add a decorative element that works in traditional or industrial settings. Because of the added weight, these rods require sturdier brackets and a more careful check of the wall anchors. For long spans, a center bracket is non-negotiable with iron rods.
If you are using a telescoping iron rod, the adjustable feature gives you flexibility in the field. You can extend the rod to fit the width precisely. However, telescoping rods have a break point where the sections overlap, and that junction is often the weakest point of the rod. The center bracket should be placed at the midpoint of the overlap, if possible.
PVC Wrapped Curtain Rods
PVC wrapped rods combine a metal core with a decorative surface. The wrapper adds color and texture, while the metal core maintains structural integrity. These rods are an attractive option when you want a specific finish without paying for solid metal. They are lighter than iron, which simplifies installation, but the standards for height and width still apply.
A PVC wrapped rod can be installed with the same bracket spacing as an aluminum rod of the same diameter. The surface finish is softer than metal, so be careful when using rings that are too small; the rings can scratch the wrapper over time. Stick to rings that match or exceed the rod's diameter, and choose a bracket with a smooth inner surface to protect the finish.
Material Comparison Snapshot
If you are deciding between materials, the most important comparison is weight and corrosion resistance. Aluminum is lighter and suitable for outdoor or humid environments. Iron is heavier and offers a more substantial look but requires a stronger mounting. PVC wrapped rods are the most forgiving when it comes to visual finish, but they are not as easy to clean as polished metal. For long-term durability, consider how the material responds to temperature changes in your region. Metal expands and contracts slightly, which can cause the rod to shift if the brackets are too tight. Leaving a small amount of lateral play at the finial helps address this.
Matching Curtain Length to Rod Height
Once the rod is placed, the curtain length determines the final look. There are four common lengths, and each one communicates a different intention.
- 84-inch curtains: End about half an inch above the sill or at the apron. This length is practical for kitchens and bathrooms, but it tends to make a living room window look smaller.
- 96-inch curtains: The most common choice for standard 8-foot ceilings. When the rod is mounted at about 90 inches, the hem lands just above the floor.
- 108-inch curtains: Work well in rooms with 9-foot ceilings or when mounting the rod higher than the typical 90-inch position.
- Custom lengths: Needed for non-standard window heights or when a rod is intentionally mounted at a dramatic height.
How length affects perception is simple. A 96-inch curtain that just skims the floor reads as polished and modern. A 108-inch curtain that pools by 2 inches reads as traditional and luxurious. A curtain that stops 2 inches short of the floor reads as a mistake. The goal is to avoid a hem that hovers at an ambiguous height.
When you are mounting a rod for floor-length curtains, measure from the floor to the bottom of the rod, then subtract the length of the panel. If you have a 96-inch panel and you want a hem that clears the floor by half an inch, the bottom of the rod should sit at about 96.5 inches. If the rod is installed at 90 inches, the hem will be 6 inches off the floor, which is too short.
| Curtain Length | Typical Rod Height | Best Use |
|---|---|---|
| 84-inch | 82 to 84 inches | Sill or apron coverage, casual spaces |
| 96-inch | 90 to 94 inches | Standard floor length in 8-foot rooms |
| 108-inch | 102 to 106 inches | Tall ceilings or dramatic pooling |
If you are using a no-drill or frame-mounted bracket, the rod sits closer to the window top, so the curtain length must be measured from the actual rod position. A tension rod mounted inside the frame will typically sit at about the top of the frame, which means a standard 84-inch curtain will end near the sill. If you want floor-length curtains with a tension rod, you may need to use a bracket that mounts higher on the wall or choose a longer panel.
Step-by-Step Installation for Correct Placement
Now that the calculations are clear, here is the process from measurement to mounting. Follow these steps with a helper for long rods, since leveling and holding multiple brackets at once is easier with two people.
Tools You Need
Before you drill, gather a tape measure, a pencil, a level, a drill with appropriate bits, a stud finder, screw anchors, and a screwdriver. For heavier rods, add a center support and a bracket template if you have one. If you are mounting into masonry, you need masonry bits and expansion anchors.
Step 1: Measure the Rod Height
Mark the desired height on the wall by measuring from the floor up to the target bottom of the bracket. The bracket's bottom edge is what positions the rod. If you want the rod at 90 inches, the bottom of the bracket should sit at 90 inches. Always make two marks: one on each side of the window.
Step 2: Mark the Bracket Positions
Using the width calculation, mark where the outer brackets will go. Remember to position them 4 to 6 inches in from the ends of the rod. If the rod has a decorative finial, the final position of the bracket is still measured from the rod end, not the finial. For a center bracket, find the midpoint between the outer brackets.
Step 3: Check the Level
Use a long level to connect the marks. A slight slope will make curtains slide to one side and will create an obvious visual flaw. Even a quarter of an inch off can be noticeable over a 72-inch rod. A laser level is the most accurate tool. If you are using a standard bubble level, hold it against the wall and make sure both marks touch the same edge.
Step 4: Drill and Anchor
Drill pilot holes, insert wall anchors if you are not hitting a stud, and mount the brackets. Torque the screws firmly but avoid overtightening, which can strip the anchor. If the anchor begins to spin, it is stripped and needs to be replaced. A plastic anchor that is too large for the screw will also fail, so match the anchor and screw sizes carefully.
Step 5: Hang the Rod and Curtains
Thread the curtains onto the rod before mounting it, or mount the rod first and then hang the panels using rings. For floor-length curtains, adjust the rod height until the hem just brushes the floor. Then give the rod a final level check. A common sequence is to hang the rod without curtains first, level it, then add the curtains and re-check the level. The weight of the curtain can sometimes pull a rod down if the brackets are not tight.
For a complete walkthrough of the installation process, refer to this detailed curtain rod installation guide.
Common Mistakes That Ruin Curtain Rod Placement
Even when the rules are understood, the same errors appear over and over in real installations. These are the five most frequent mistakes.
- Mounting the rod too low. This is the single most common error. A rod that starts at the top of the window frame or below it makes the window look smaller and the ceiling lower. It also causes the curtain to cover more of the glass when open, reducing natural light.
- Not extending the rod far enough. If the rod only extends an inch or two past the frame, the curtains bunch over the glass, blocking light and making the window feel tight. The side stacks also run the risk of rubbing against the wall or casing.
- Ignoring the stud pattern. Anchoring brackets into a void wall without proper anchors leads to sagging or torn drywall within a few months. This is particularly risky with heavier fabrics. The easiest fix is to find the studs before marking the bracket positions.
- Skipping a center bracket on long rods. A 72-inch rod with heavy curtains will bow over time. The sag may be subtle at first, but it becomes worse as the fabric pulls the rod downward. Curtains then stop sliding smoothly, and the rod can eventually fail.
- Choosing a rod that is too thin for the curtain weight. A thin rod can handle a lightweight sheer, but a thicker rod or a tracked system is better for heavy blackout drapes. The rod diameter and bracket projection must suit the curtain header and the weight.
There is also a significant mistake that is easy to overlook: not accounting for the finial. Finials add a few inches to each end, so the actual clearance between the bracket and the wall is shorter than it appears. If you are using a large crystal finial in a tight corner, you may need to reduce the overhang so the finial does not hit the wall when you open the curtains.
The placement rules are consistent across all installations. For a concise reference, see this breakdown of the rule for hanging curtain rods.
Special Cases That Change the Rules
Some window configurations require a slightly different approach. The general placement rules still hold, but you need to adapt them.
Bay Windows
Bay windows typically have three distinct window openings, and the standard approach is to mount a single rod that follows the bay's curve. Some systems use specially curved rods, while others use three individual rods connected by corner brackets. The height remains the same as for a flat window, but the width calculations need to be done for each segment. The middle segment is usually the widest, and it requires a bracket at each junction.
Corner Windows
For corner windows, the rod should extend far enough on the side that the curtain can stack against the adjacent wall. This often means extending more than 6 inches on the corner side. When you are planning the stack, leave at least enough room for the panel to fold neatly against the wall without crushing the finial. If the corner is tight, use a rod with a small finial or a flush-mount bracket that stays close to the wall.
Heavy Blackout Curtains
Blackout curtains are inherently heavier. They require a rod with a thicker diameter and brackets with a stronger wall anchor. The bracket spacing should be tightened, meaning the outer brackets should be placed at the lower end of the 4- to 6-inch inset range. A center bracket is almost always needed. If you are mounting to drywall with a heavy blackout curtain, use anchors rated for at least 25 to 35 pounds. A telescoping iron rod is often a strong candidate for this kind of installation because its adjustable length and solid profile handle heavier drapes well.
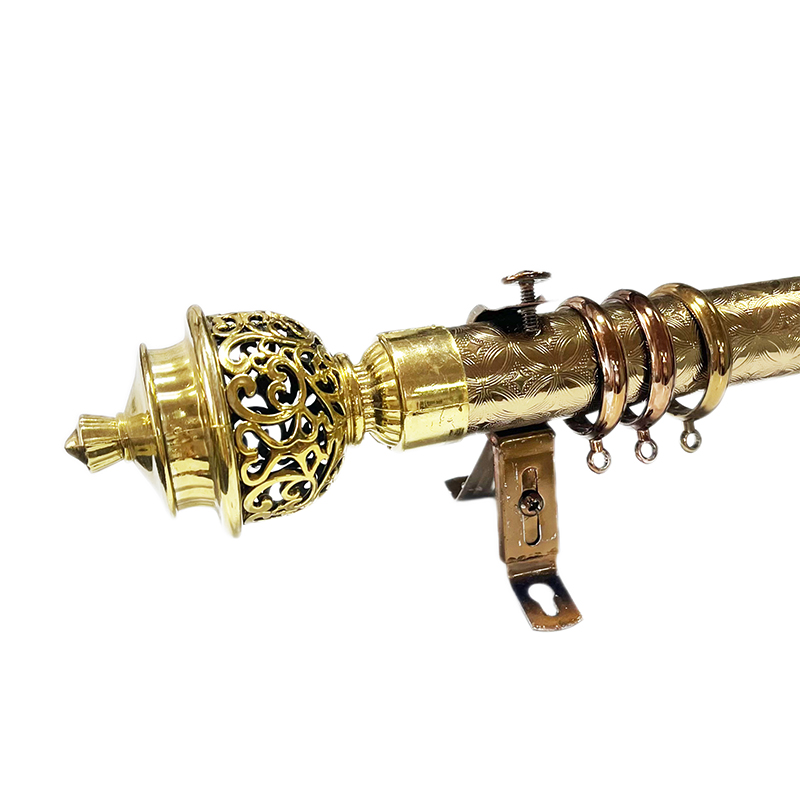
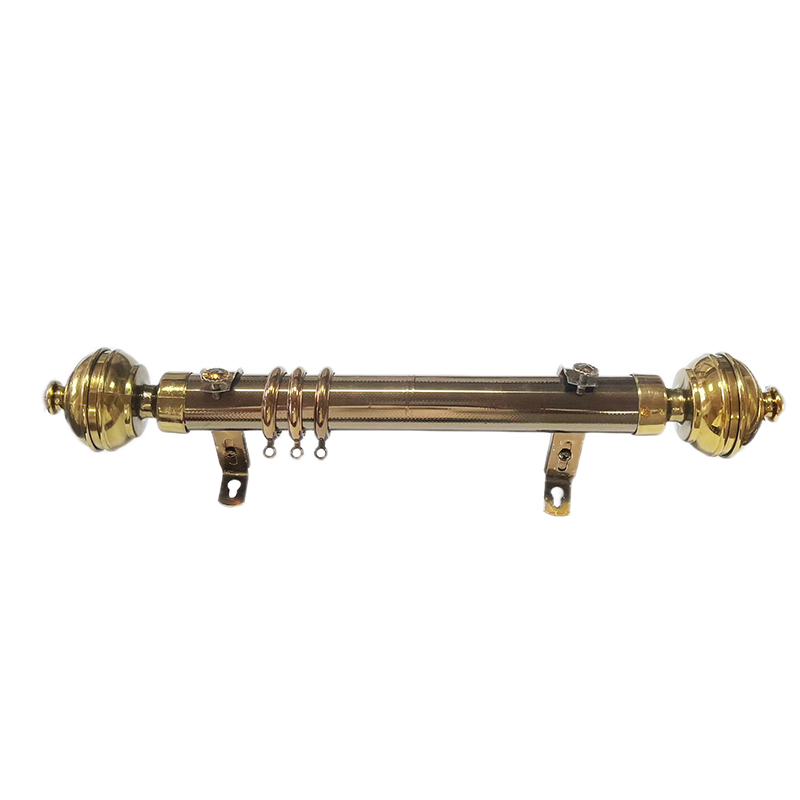
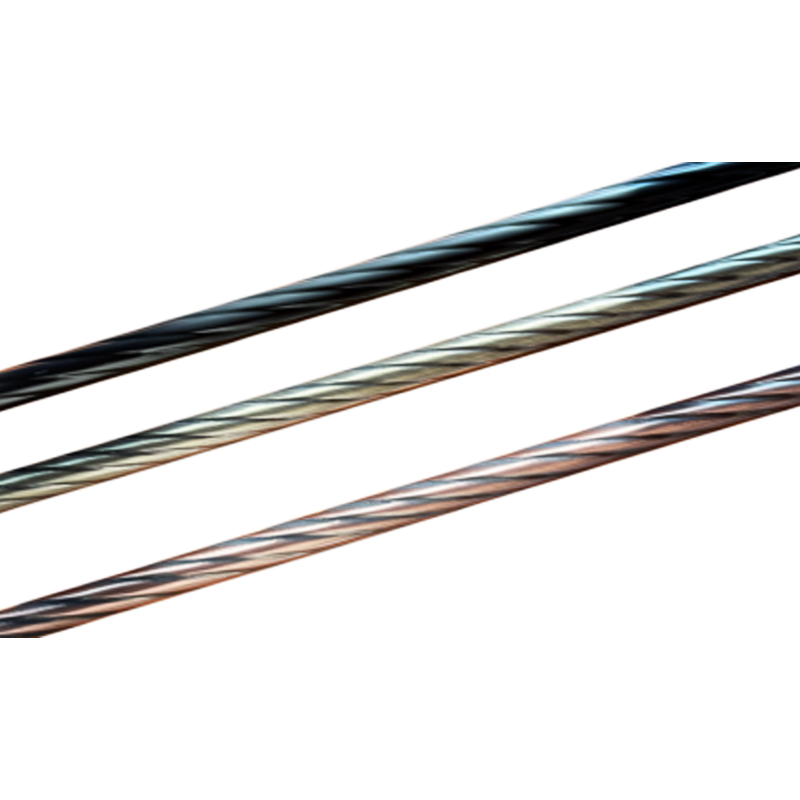 Twisted Iron Telescoping Curtain Rod with Adjustable LengthA decorative high-carbon steel rod with spiral detailing extends from 80 to 240 cm, handling up to 15 kg. Its tool-free adjustment and rubber tips make it a practical, vintage-style choice for heavier drapes.View Product →
High Ceilings and Double-Hung Windows
In a room with a 10-foot ceiling, the rule of halfway between the frame and the ceiling gives you a lot of room to work with. For a window whose top frame is at 8 feet, the halfway point is 9 feet, so the rod can sit at 9 feet. Curtains hung at that height need to be custom length. If you do not want the cost of custom panels, choose a standard 96-inch panel and mount the rod at a height that lets the panel reach the floor.
Rentals and No-Drill Options
If drilling is not an option, use no-drill brackets that clamp over the window frame or use tension mounts. The placement rules for height and width still apply, but the bracket positions will be limited by where the clamp can grip. For frame-mounted brackets, the rod will sit closer to the window than with wall-mounted brackets. You may need to choose a shorter curtain length to accommodate the lower mounting point.
Curtain Rings and the Rod System
When you use rings, the rod height should be adjusted to account for the ring height. Curtain rings add about 1 to 2 inches of drop between the rod and the top of the panel. With rings, the curtain hem will hang lower by that amount, so you may need to raise the rod height slightly or start with a shorter panel. The same applies when you use integrated rings with a tape header, which can change how the panel sits.
Placement for Different Window Types
The window type changes how you interpret the standard rules. Here is a quick reference.
Casement Windows
Casement windows open outward, so curtains do not interfere with the window's operation. You can hang panels right down to the floor and extend the rod moderately. The main consideration is not blocking the crank handle. If the handle is low, the curtain may catch it when you close the panel.
Sliding Windows and Doors
Sliding windows and doors need a rod that extends sufficiently so panels clear the opening when open. For a sliding door, extend the rod 4 to 6 inches on both sides, and consider a two-panel stack that can slide all the way off the glass. The height should be set so the hem clears the door's bottom track.
Picture Windows
Picture windows often demand a wider rod because the window is large. The standard rule of 3 to 6 inches beyond each side may be too little if you want the panels to stack fully off the glass. Extending 8 inches or more on each side is acceptable, and a center bracket is necessary for a span over 60 inches.
Arched Windows
Arched windows present a challenge because the top is curved. The rod should be mounted below the arch line, at the top of the rectangular portion of the window. If the window is fully arched and you want a curtain at the top, a curved rod may be necessary. The placement height is determined by where the arch begins, not by the highest point.
Why This Matters for Commercial Projects and B2B Sourcing
For buyers who are sourcing curtain rods and accessories for a project, the correct placement rules have direct commercial consequences. The height and width specifications affect the length of the rod, the quantity of brackets, and the anchor requirements. If you compile a bill of materials without accounting for the placement rules, you may end up with rods that are too short or brackets that do not match the wall construction.
Specification Standard for Installers
A well-documented specification should state the target rod height, the extension beyond the frame, the bracket spacing, and the center bracket requirement. This helps installers avoid deviations that lead to callbacks. Many installer teams use the same 4- to 6-inch rule but adapt it based on the curtain length and ceiling height.
Reducing Risk of Callbacks
The most common callbacks are related to sagging rods and poorly aligned brackets. Both are preventable with the correct placement. A center bracket on any rod over 60 inches is a reliable way to ensure the rod stays level over time. Similarly, specifying a heavier-duty bracket for blackout curtains reduces the risk of anchors pulling out of the wall.
Considerations for Large Volume Orders
When purchasing for a single-family home, the placement calculation is straightforward. When purchasing for a multi-unit project, the window sizes may vary between units. It is useful to specify a range of rod heights and bracket positions, such as 4 to 6 inches above the frame, and allow the installer to measure each window individually. This gives the project a consistent look without requiring a custom measurement for every unit.
A Practical Decision Framework for Buying Curtain Rods
For professional buyers and homeowners alike, it helps to have a checklist before choosing rods and brackets. Let me present the key questions.
- What is the curtain weight? Sheer curtains weigh less and put less strain on the anchor. Heavier fabrics require a sturdier rod and bracket.
- What is the span? A rod over 60 inches needs a center bracket.
- What is the header style? Grommets, rod pockets, and rings all affect the rod diameter you need.
- What is the room style? Minimalist rooms pair well with aluminum or PVC wrapped rods, while traditional rooms benefit from iron or decorative finials.
- How often will the curtains be opened and closed? Frequent use increases the importance of smooth bracket alignment.
- What is the wall construction? Drywall, masonry, and stud framing each have different anchoring requirements.
If you are sourcing for a project, these are the same questions you would ask a manufacturer. The answers determine not just the placement, but the rod, bracket, and ring specifications that will work in your installation.
Correct curtain rod placement is a straightforward set of decisions. Start with 4 to 6 inches above the window frame, extend the rod 3 to 6 inches past each side, and place the outer brackets 4 to 6 inches in from the ends. Then adjust based on ceiling height, curtain length, and the weight of the fabric. When you follow this framework, the result is a window treatment that looks professional, operates smoothly, and holds up over time.