English
 Français
 عربى
عربى
You have measured the window twice, chosen a pair of panels, and the rod is leaning against the wall waiting for the first hole. Stopping to double-check at this point is the right instinct. Nearly every curtain rod failure — sagging, tilted brackets, pulled-out anchors, curtains that never quite hang straight — traces back to decisions made before the drill bit touched the wall. The correct way to hang curtain rods is not a single trick; it is a sequence of deliberate choices: place the rod high enough and wide enough, measure the window and the clearance, select a rod and brackets rated for the actual fabric weight, then fix everything with anchors that suit the wall construction. When those choices line up, the installation itself becomes almost mechanical.
Start with Placement: High and Wide Is a Rule of Physics, Not Just Taste
The most common reason curtains look "off" is not the fabric; it is the rod position. Mounting the rod close to the window frame makes the window look smaller and makes the ceiling feel lower. The standard correction used by designers and curtain hardware suppliers is simple: mount the rod several inches above the frame and extend it well beyond the frame on both sides. This "high and wide" placement is not only about appearance — it also changes how much light enters the room, how much wall space the curtain covers, and how easily the panels glide when opened and closed.
Height Above the Window Frame
A practical starting point is 4 to 6 inches above the top of the window frame. For rooms with higher ceilings — 9 feet or more — many installers push it to 8 or even 10 inches, so the curtain panel covers more wall and the window feels taller. The most important constraint is consistency: both brackets must sit at exactly the same height, and the rod must be level once loaded. A gap between the rod and the ceiling can be intentional, but it should be a deliberate spacing, not an accidental one. If you plan to open and close the curtains often, a slightly lower rod is easier to reach, but the visual payoff of a higher mount is usually worth the compromise.
Width Beyond the Window Frame
On each side, the rod should extend at least 6 inches past the window frame, and 8 to 12 inches is considered better for a designer look. This is not decorative generosity. When curtains are open, the stacked fabric needs somewhere to sit; if the rod ends where the window ends, the panel will block a portion of the glass even when fully drawn open. Extending the rod lets the curtains clear the glass completely and admits maximum daylight. Wider placement also makes the window appear larger because the fabric covers wall space, not the view.
If you want the reasoning behind the height-to-width balance written out in detail, our rule guide for hanging curtain rods walks through the dimensions with worked examples.
A quick reference for typical installations:
| Parameter | Recommended range | Why it works |
|---|---|---|
| Rod height above window frame | 4–6 in (10–15 cm) standard; up to 8–10 in for tall ceilings | Raises the visual ceiling line and avoids a squat look |
| Rod extension past frame, each side | 6–12 in (15–30 cm) | Fully clears the glass when panels are open |
| Distance from finished floor to rod | Such that the panel hangs 1/2–1 in above the floor | Prevents dragging, keeps a crisp hem, avoids heat register blockage |
| Curtain panel width per side | Roughly 1.5–2 times the rod width divided between panels | Ensures the curtain looks full when closed |
The numbers in that table are starting points. A rod mounted higher shrinks the visible wall above it; a rod mounted lower shortens the window. Measure your ceiling height first, because that single number determines the realistic range for everything else.
Measure the Window and the Room Before You Buy or Cut Anything
The correct way to hang curtain rods depends on accurate measurements taken at the window, not from memory or product photos. Take four values: frame width, frame height, depth from the glass to the front of the frame or wall, and ceiling height. Write them down in inches or millimeters, and keep them in that order because each value feeds the next calculation. A small error at this stage becomes a large visual mismatch after the brackets are mounted.
Rod Width: Frame Width Plus Return and Overhang
Start with the outer width of the window frame. Add 6 to 12 inches per side for the rod extension described above. Some installations also need a return: an extra 2 to 4 inches on each end that turns the rod tip back toward the wall so the finial does not protrude into walking space. If you have outer-mounted blinds or a deep frame, include the extra depth in the calculation. The final number is the total rod width, which you compare against the rod's telescoping range — not the nominal length printed on the packaging.
Here is a worked example. A window frame measures 48 inches wide. Add 8 inches per side for extension, giving 64 inches. If the rod has 2-inch finials on each end and the bracket sits 2 inches from the finial base, the rod tube itself must be roughly 60 inches so that the finials bring the total installed width to about 64 inches. Many buyers forget the finial length and end up with a rod that is too short to reach both brackets comfortably.
Rod Height: Ceiling, Frame, and Floor All Matter
Three reference points set the height: the top of the window frame, the ceiling, and the finished floor. First, decide whether you want a standard 4–6 in above the frame or a higher placement for a tall ceiling. Then check the distance from the rod position down to the finished floor. Standard ready-made panels are sold for lengths such as 84 in, 96 in, and 108 in. The rod position must match a panel length that leaves a 1/2 in to 1 in gap at the floor, or pools slightly if that is the look you intend. Reversing the logic is the safer method: pick the panel length first, then set the rod height so the panel's hem lands correctly. If you prefer a puddled curtain, add 4 to 6 inches of extra length and plan to brush the fabric lightly on the floor — but remember that puddled fabric collects dust and needs more frequent cleaning.
Bracket Position and Projection
Brackets should sit, ideally, centered over the finials or within 2 to 4 inches of the rod ends when finials are used, so the rod extends far enough to seat in the socket. The bracket's projection — the distance the rod sits away from the wall — must clear the window frame's depth and the finial's base. If the frame protrudes more than the bracket projection, the rod will not sit parallel to the wall. And if you are installing over a double-hung window, check that the rod's height does not interfere with opening the top sash.
Once you have the finished width and height, you also know how many brackets you need, which is discussed in the bracket section below. Taking these measurements before purchase also protects you from buying a rod that is too short after finials are installed, since finials add 1 to 4 inches to the overall installed length. When in doubt, choose the longer telescoping range and extend the rod rather than forcing it to stretch to its listed maximum.
Fullness, Panel Count, and the Load That Reaches the Rod
Curtain fullness is the ratio of fabric width to the rod's covered width. A flat panel 40 inches wide stretched across a 60-inch rod looks thin; the same panel gathered or pleated looks intentional. Standard fullness factors are about 1.5 times the rod width for grommet tops, 2 times for pinch pleats, and 2.5 to 3 times for sheer or relaxed styles. The fabric width translates directly into the finished drapery weight, so the fullness factor determines the load on the rod, the rings, and the brackets.
| Header style | Typical fullness factor | Fabric width for a 72-in rod | Load implication |
|---|---|---|---|
| Grommet top | 1.5–2x | 108–144 in | Medium |
| Pinch pleat | 2–2.5x | 144–180 in | Medium-high |
| Sheer / relaxed | 2.5–3x | 180–216 in | Low weight per area, but high total |
For each panel, divide the total fabric width by the number of panels. That per-panel load is what the rings and the rod actually feel. A 96-inch rod with two 108-inch fabric panels is normal; four 54-inch panels are also normal, and each distributes its weight to a different set of rings. The rod does not care how many panels you use, as long as the total weight is within its capacity. When the curtains are heavy, use more rings per panel as well, so the load is spread across multiple support points rather than concentrated at two or three ring clips.
Choose the Rod by Weight Capacity and Wall Presence
A curtain rod is a load-bearing beam. The fabric panels, rings, and finials all hang from it, and it transmits that weight to the brackets and anchors. The most common mistake in rod selection is matching the rod to the room's style without matching it to the curtain's weight. A lightweight rod can look perfect in a showroom and still sag visibly under a lined velvet panel after two weeks.
Material Comparison in Practical Terms
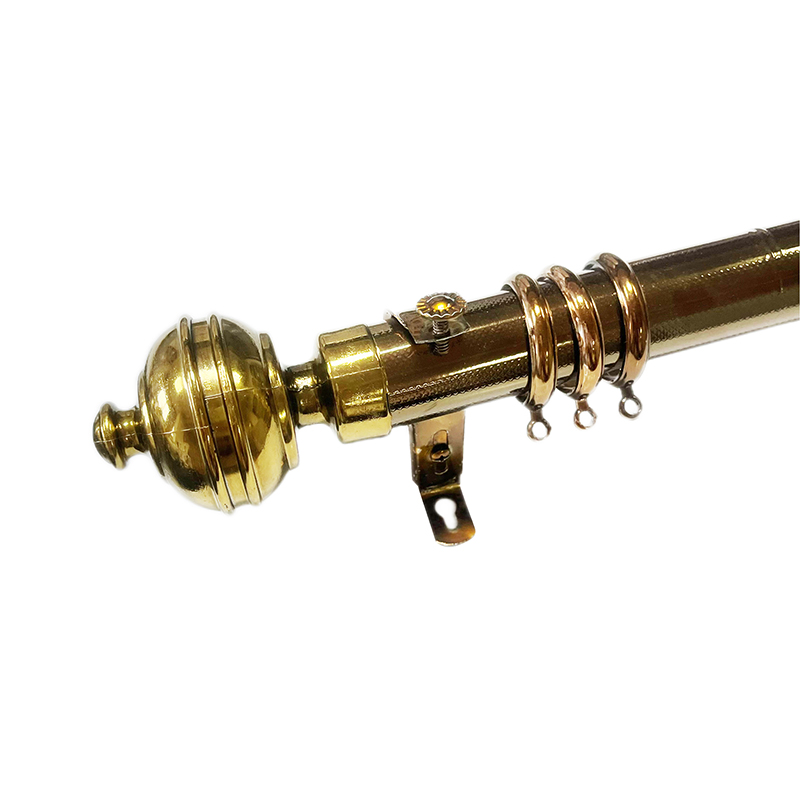
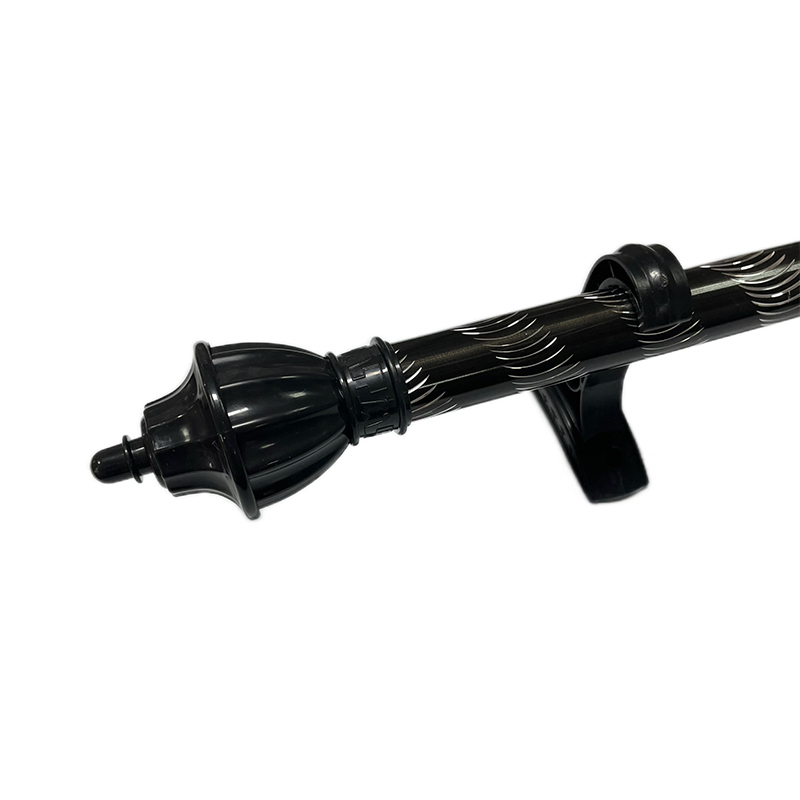
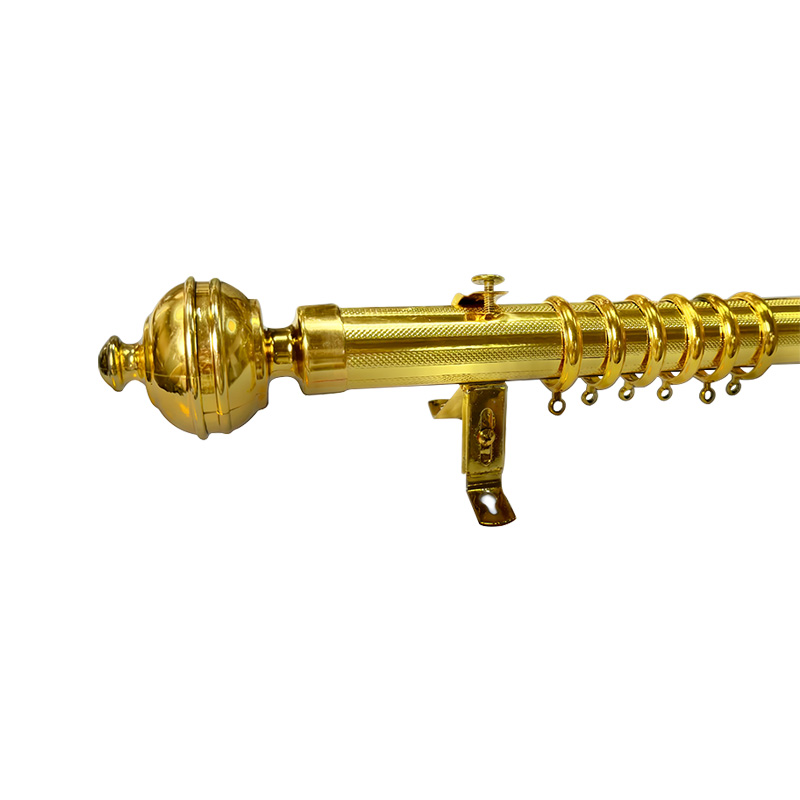
Three materials dominate the market: aluminum, iron, and PVC-wrapped steel or aluminum. Each has a different strength profile and a different visual weight. Aluminum is the everyday workhorse: light, corrosion-resistant, and easy to cut to length. Iron is heavier and much stiffer, which makes it the right choice for long spans and heavy fabrics. PVC-wrapped rods combine a metal core with a decorative outer layer that can imitate wood grain, brushed metal, or a dual-tone finish.
| Material | Strength and deflection | Visual character | Best suited to |
|---|---|---|---|
| Aluminum | Lightweight; low deflection at medium spans; resists corrosion | Clean, slim, modern | Standard drapes and sheer curtains in contemporary rooms |
| Iron | Heavy; very stiff; high load capacity | Bold, traditional, industrial | Heavy lined curtains, long unsupported spans, period interiors |
| PVC-wrapped | Medium weight; good stiffness with steel core; decorative surface | Textured finishes that mimic wood, metallic, or dual-tone patterns | Living rooms and bedrooms where appearance matters and loads are light to medium |
Diameter, Wall Thickness, and Sag
Rod diameter matters more than the logo stamped on the box. A 1-inch aluminum rod is fine for most curtain panels; a 3/4-inch rod is adequate for light sheers but will flex noticeably under a heavy lined drape. Iron rods in the 7/8-inch to 1-1/8-inch range are considerably stiffer than aluminum at the same diameter. For spans longer than 72 inches, choose the larger diameter and plan for a center support bracket. Remember that the rod's stiffness also depends on its wall thickness; a thin-walled tube can dent during installation and is more likely to take a permanent bend under uneven load.
Telescoping Rods and Adjustability
A telescoping rod is practical when you are working with existing holes or want flexibility. The internal overlap section is the weakest point, so install a telescoping rod so that the overlap is near a bracket, and do not extend it to its maximum length if the curtains are heavy. A rod extended fully apart from the overlap has much lower stiffness than a fixed rod of the same length. If you prefer an adjustable design with a smooth finish, a telescoping iron rod gives you the clamping strength and the ability to change widths after installation without cutting anything.
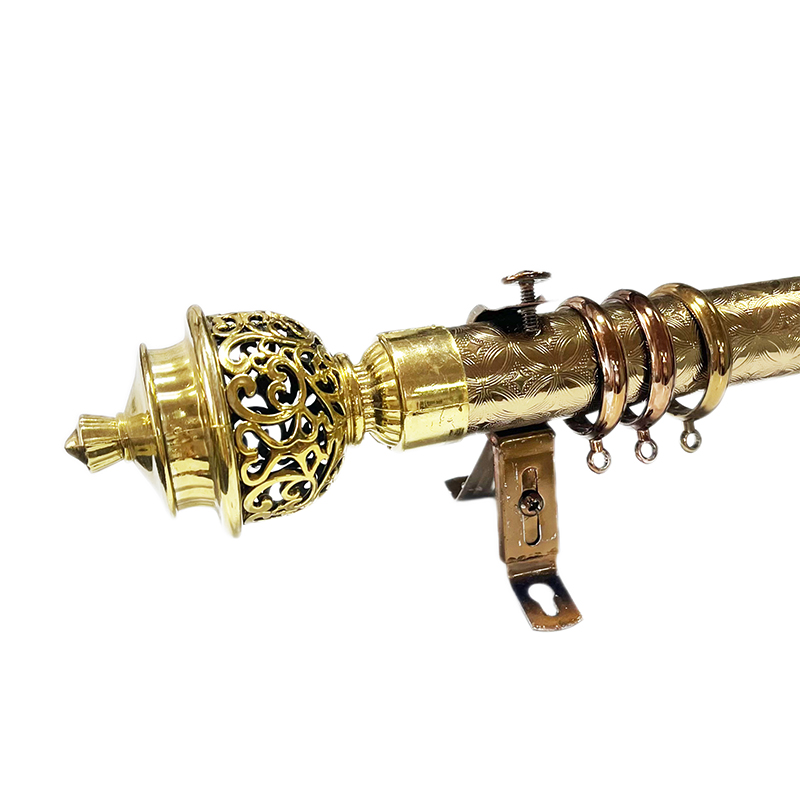
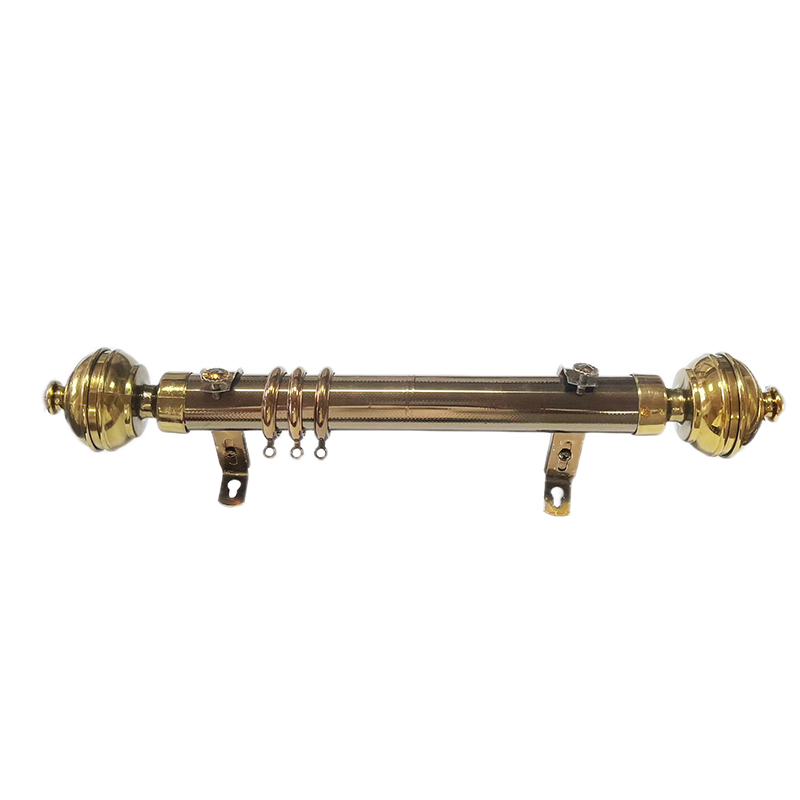
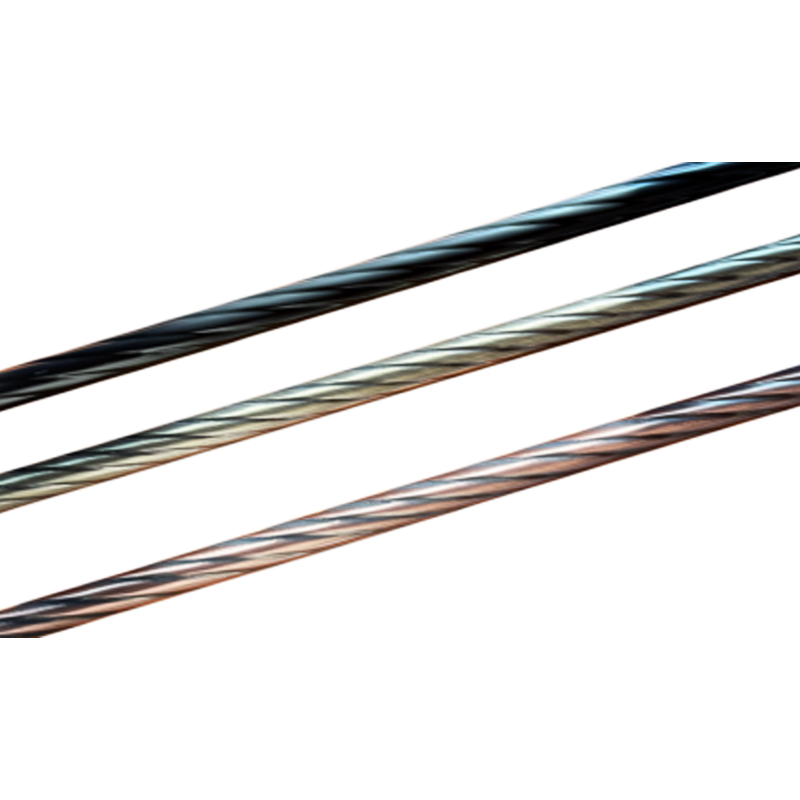 Twisted Iron Telescoping Curtain Rod with Spring LocksThis adjustable iron rod supports up to 15 kg and extends from 80 to 240 cm, making it a practical choice for flexible widths and arched spaces while maintaining a vintage twisted aesthetic.View Product →
Brackets: The Part That Does the Actual Work
The rod and the curtain can be perfect, but a bracket chosen on looks alone will fail. The bracket must do three things at once: support the rod's weight, resist the pull of the curtain when it is drawn open and closed, and hold the rod at a consistent distance from the wall so the curtain hangs in a single vertical plane. A bracket also needs to be rigid in torsion, because the moment created by pulling the curtain sideways can twist a flimsy bracket and tilt the rod over time.
Single vs. Double Brackets
A single bracket holds one rod. A double bracket holds two, which is useful for sheer-plus-blackout combinations where you want two layers of curtains on separate rods. Double brackets need a solid anchor point at every fixing position because they carry roughly twice the load and are usually used with two sets of curtains. If you are hanging one rod only, do not use a double bracket; it adds unnecessary leverage and makes alignment harder. For a layered installation, verify that the two rod sockets of the double bracket are spaced far enough apart that the outer fabric does not rub against the inner rod.
How Many Brackets Are Enough
The industry rule for curtain rods is straightforward: one bracket within 4 to 6 inches of each end, plus one additional bracket for every 30 to 36 inches of middle span. For a 48-inch rod, two end brackets are sufficient. For an 84-inch rod, add a center bracket. For a 120-inch rod, you need four brackets: two near the ends and two distributed across the middle, rather than one at the exact center, because panels concentrate load in distinct zones.
| Installed rod width | Minimum bracket count | Spacing notes |
|---|---|---|
| Up to 48 in | 2 | Place near the ends, inside the finials |
| 49–96 in | 3 | Center bracket or slightly off-center to match the panel split |
| 97–120 in | 4 | Distribute evenly; avoid relying on a single center point |
| Over 120 in | 4–6 | Every 30–36 in; consider a heavier rod if fabric is heavy |
Add a bracket for any rod that spans a sliding door or a wide picture window without intermediate support. The cost of an extra bracket is negligible next to the cost of a bent rod or torn drywall. Also, consider the position of the bracket relative to the seam between two panels: if the panel split lands exactly on the bracket, the rings may collide with the bracket as the curtains close. Adjust the bracket an inch or two away from the seam so the rings pass cleanly.
Construction and Fixing Points
Brackets should be fixed on the wall, not on window trim. Window trim is often thin molding with no structural value behind it; screws into trim pull out as soon as a curtain rod is used. The two fixing points on a bracket should both land on the same wall plane. For a corner or return panel, use a short separate rod with an angled bracket rather than bending one long rod around the corner — bent rods never align well and place unpredictable stresses on the mount.
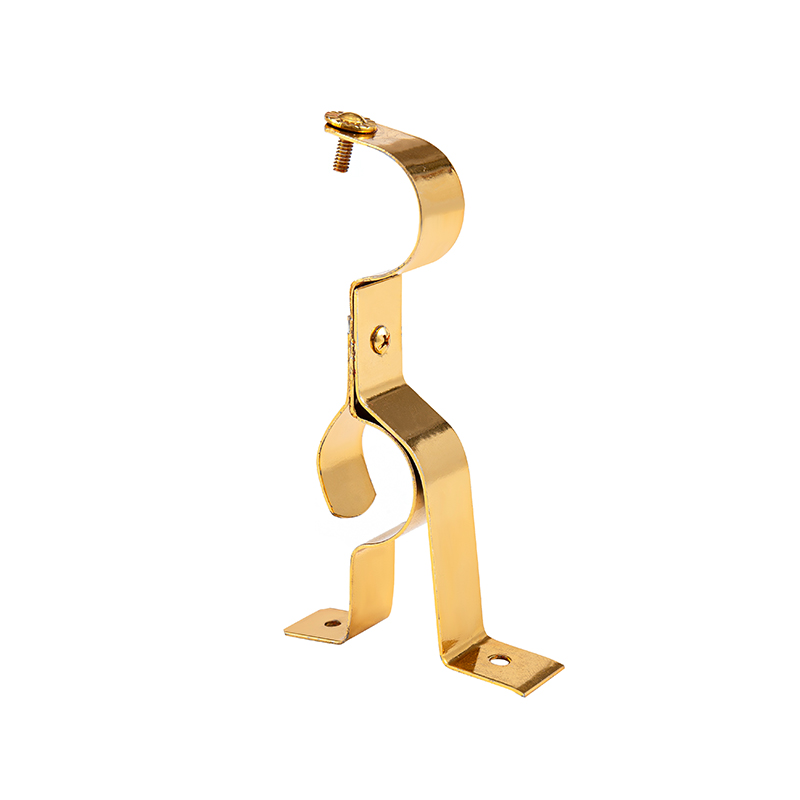 Rust-Resistant Metal Double Curtain BracketDesigned for heavy or double-layer curtains, this sturdy bracket provides stable support for long rods and is suited for residential and commercial settings, though wall anchoring remains essential.View Product →
Anchor Selection Determines Whether the Rod Stays Up
Most curtain rod accidents are anchor failures. The bracket is fine: the screw pulls out of the wall, leaving a hole and a falling rod. The way to avoid this is to match the fastener to the wall, not just push a plastic plug in and hope. The load path runs from the curtain fabric through the rings, rod, bracket, screws, and anchors to the wall. The weakest link in that chain is almost always the wall anchor.
| Wall material | Recommended anchor | Load behavior |
|---|---|---|
| Timber stud with drywall | Direct screw into the stud, or threaded drywall anchor away from the stud | Strongest if at least one screw hits the stud; anchors spread load across drywall |
| Hollow drywall with no stud | Toggle bolt or heavy-duty spring toggle (all-metal) | Spring toggles clamp behind the board and resist pullout well |
| Plaster over lath | Threaded drywall anchor or molly bolt, installed carefully | Plaster is brittle; pre-drill slowly to avoid cracking |
| Concrete or brick | Nylon wall plug sized for the screw, or metal expansion anchor | The masonry carries the load; the plug prevents movement |
| Hollow block or tile | Purpose-made hollow-block anchor or masonry plug | Do not use a standard plastic wall plug in thin hollow tile |
The weight of the whole assembly matters more than the number of screws. A standard set of lined curtains on a 72-inch aluminum rod with rings and finials typically weighs about 6 to 9 lbs. A heavy velvet or blackout liner set can push that to 12 lbs or more, and every draw of the curtains adds a dynamic pull that acts like a lever on the upper edge of the bracket. Use anchors rated for at least twice the static weight. In brick or concrete, screw into the masonry, not the mortar joint, unless the joint is the only practical option; mortar is softer and will crumble around the plug over time.
Standoff, Projection, and the Space Behind the Curtain
The bracket projection controls the distance between the rod and the wall. It matters for practical reasons: a tall baseboard, a protruding window sill, or an installed blind can push the curtain out of a clean vertical drop. If the projection is too small, the curtain fabric will crush against the wall when closed; if too large, you lose usable floor space and the finial base may not reach the bracket socket.
Standard projections range from 2 to 4 inches. An outer-mounted blind or a deep window frame needs more. Measure from the wall face to the outside of the window frame or blind and add a minimum of 1 inch of clearance for the fabric. When the rod is mounted above a recessed window, the bracket projection must be enough to let the curtain clear the frame and still hang straight against the wall below. If you are mounting a rod over a radiator, keep the fabric at least 2 to 3 inches away from the heat source and use a project-style bracket that holds the rod further out.
Step-by-Step Installation in the Correct Order
With placement, rod, brackets, and anchors decided, the install becomes a sequence. Work from the wall toward the rod, and check level at every stage. Gather the tools first so you do not have to hold a heavy rod while searching for a bit.
Tools You Will Need
- Stud finder and a pencil
- Level (a 24-inch spirit level or a laser level)
- Electric drill with pilot bits and screwdriver bits
- Wall anchors matched to the wall material
- Measuring tape and a step stool or ladder
- Rod, brackets, rings, finials, and curtains
Installation Sequence
- Mark the bracket positions. Using your measurements, mark the wall at the desired height on both sides of the window. Use a long level to draw a gentle horizontal line — or, better, a laser level — between the two marks. Place the brackets on the line and mark every screw hole with a sharp pencil.
- Find studs where possible. Run a stud finder across the marks. If a mark lands close to a stud edge, shift that bracket slightly so at least one screw grabs the stud; a 1-inch adjustment is invisible once the finial is in place.
- Drill pilot holes. Use a drill bit sized for the anchor, not for the screw. For drywall anchors, match the bit to the anchor body; for masonry, use a carbide bit. Drill slowly and keep the bit perpendicular to the wall. The pilot hole should be slightly shallower than the anchor's length so the anchor seats firmly.
- Insert the anchors. Tap or screw the anchor flush with the wall surface. If the anchor spins or the drywall crumbles, stop, enlarge the hole slightly, and use a toggle bolt instead. A spinning anchor will never hold tension properly.
- Mount the brackets. Screw the bracket to the wall, but do not overtighten. The bracket should not distort or bend. Distortion is a common cause of the rod sitting slightly crooked even when the wall marks were level.
- Level the second bracket. After the first bracket is fixed, place the rod in it and use a level on the rod itself to mark the exact height of the second bracket. This avoids the error of leveling the second bracket to the first when the first is slightly off.
- Assemble the rod. Slide rings or drapes onto the rod before mounting, per the manufacturer's recommendation, and attach the finials. Tighten the finial screws just enough to hold; plastic finials strip easily, and over-tightening a metal finial can dent the rod tube.
- Set the rod in the brackets. Check that the rod sits fully in the bracket cups, then verify the level again. Give the center of the rod a gentle pull downward; it should not dip more than a fraction of an inch when loaded.
Allow the curtain to hang for a few hours before judging the result. Fabric relaxes, and a folded panel will hang longer after it settles. Re-check the rod level after a day; if it has settled, loosen the bracket, adjust, and re-tighten.
Common Errors and How to Spot Them Before They Look Bad
Most installation mistakes follow a pattern. Learning to recognize them helps you avoid rework, especially after the holes are already in the wall.
Brackets Mounted Too Close to the Rod Ends
If the brackets are at the very ends of the rod, the finial and the bracket collide, and the rod cannot carry any load in the outer zone. The correct location is a few inches inside the finial, so the rod end is supported between the finial and the bracket. When the brackets are too far inside, the unsupported ends of the rod flex and the finial droops.
Rod Set Too High With a Wide Panel
A very high rod reduces the side wall above the frame and can make a short window look like a skylight. Use the 4–6 in rule as a starting point and adjust based on ceiling height and panel length, not just the urge to create height. If the rod is mounted 12 inches above the frame and the panels are still 84 inches long, the panels will either drag on the floor or leave a large gap at the bottom.
Center Bracket Placed Exactly in the Middle of the Window
The center bracket marks the line where the two curtain panels meet. If the window is off-center in the room — which happens often — the middle of the rod is not the middle of the window. Place the center bracket so the two panels can close fully without jamming against the bracket. A simple test: slide both panels to the center before mounting the bracket and see where the hem seams naturally align.
Using the Wrong Socket on a Double Bracket
Double brackets have two sockets. If you plan to use only the front socket, the rod will sit farther from the wall than necessary and the curtain will bow outward around the bracket. Similarly, if the back socket is closer to the wall, the curtain rubs against the wall. Match the socket to the projection you measured. If the manufacturer distinguishes between a "wall" socket and a "front" socket, read the label before assembling.
Sagging After a Few Months
Progressive sag indicates that the rod is bending, not the bracket slipping. A bent rod will not return when unloaded. Replace it with a thicker rod, or add a center bracket before it takes a permanent set. If you see paint cracks beside the bracket screw head, the anchor is being pulled from the wall; fix it promptly with a toggle bolt in a slightly larger hole. Ignoring this is the fastest route to a curtain rod crashing down at night.
Special Windows and Situations That Need a Different Approach
Not every window is a simple rectangle above a sill. Corners, bays, and wide casements require adjustments to the standard method.
Corner Windows
For a corner window with two adjacent glazing sides, the rod needs a corner connector or a double-bracket arrangement at the corner. The ideal is two separate rods meeting at the wall corner, with a shared bracket if your hardware supports it. Keep the brackets at the corner within a few inches of the actual corner point so the two rods align visually. If the corner bracket cannot be anchored into a stud, use a toggle bolt rated for the combined weight of both rods.
Bay Windows
A bay window usually has three connected sections. Use a bay window rod system with flexible or jointed joints, or use three separate rods with brackets at the two internal mullions and at the two ends. Match the rod's angle joints to the actual angle of the bay; do not force a straight rod across an angled bay. Measure the angle of each bay segment with a protractor or an angle finder before ordering a one-piece bay rod, because a fixed-angle rod will not adapt to a bay that is not exactly 30 or 45 degrees.
High Ceilings and Wide Windows
When the rod is mounted near the ceiling, use a ladder and a laser level. The rod should be hung at a height where the bottom of the curtain falls to the floor or to the sill with the right gap. For a wide window, more intermediate brackets are needed because there is no lintel support in the wall. A telescoping rod with a center overlap should be overlapped in the middle and supported at that point so the two tube sections do not sag relative to each other.
No-Drill Installations
For renters or tiled surfaces, tension rods or adhesive brackets with strong mounting tape are a temporary alternative. Tension rods are acceptable for sheers in a rental, but they are not a replacement for anchored hardware on heavy curtains. Adhesive hooks are also a compromise; they will not hold a heavy curtain rod over the long term, especially in humid rooms. If you choose this route, keep the fabric lightweight and test the bond for 24 hours before trusting it with a full panel setup.
Rings, Finials, and the Details That Affect How It Feels
Once the rod is level and the brackets are solid, the parts that actually touch the fabric matter. The rings slide along the rod thousands of times over the life of the curtain; the finial caps the rod and determines the visual stop at each end.
Ring Type and Surface Smoothness
The smoothness of the ring's contact surface matters more than the ring's style. Integrated rings with an attached tape, often used for pleated drapes, and standard rings with a metal or nylon glider both work, but the key is that the inside diameter of the ring should be a few millimeters larger than the rod's outside diameter. A ring that is too tight scrapes, shows wear, and makes noise. Standard rings, which slide directly on the rod, are a good upgrade for heavier curtains that need to glide smoothly, especially when the rod has a smooth powder-coated finish.
Finials and Balance
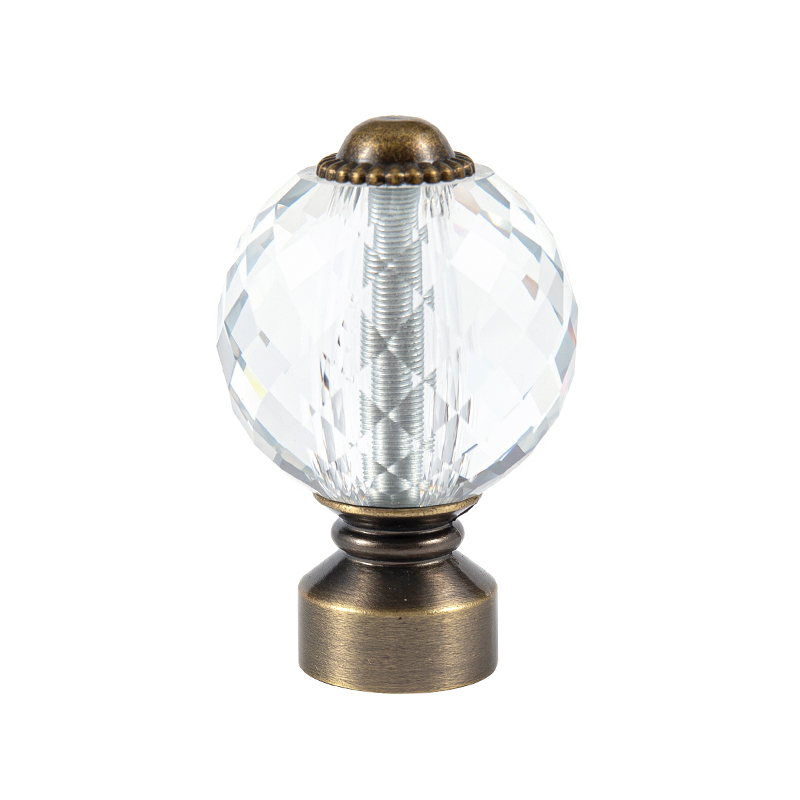
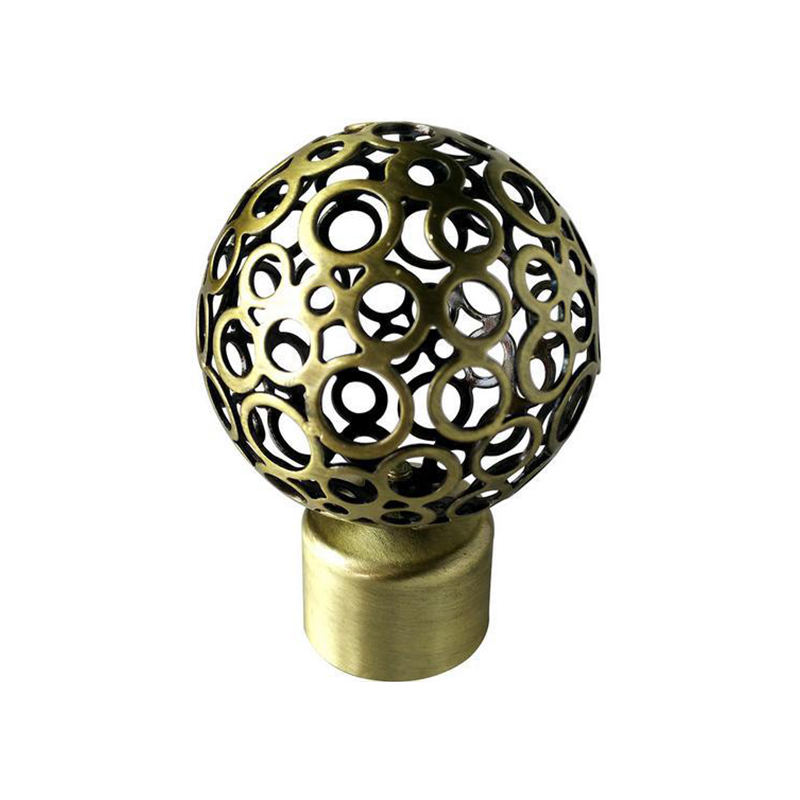
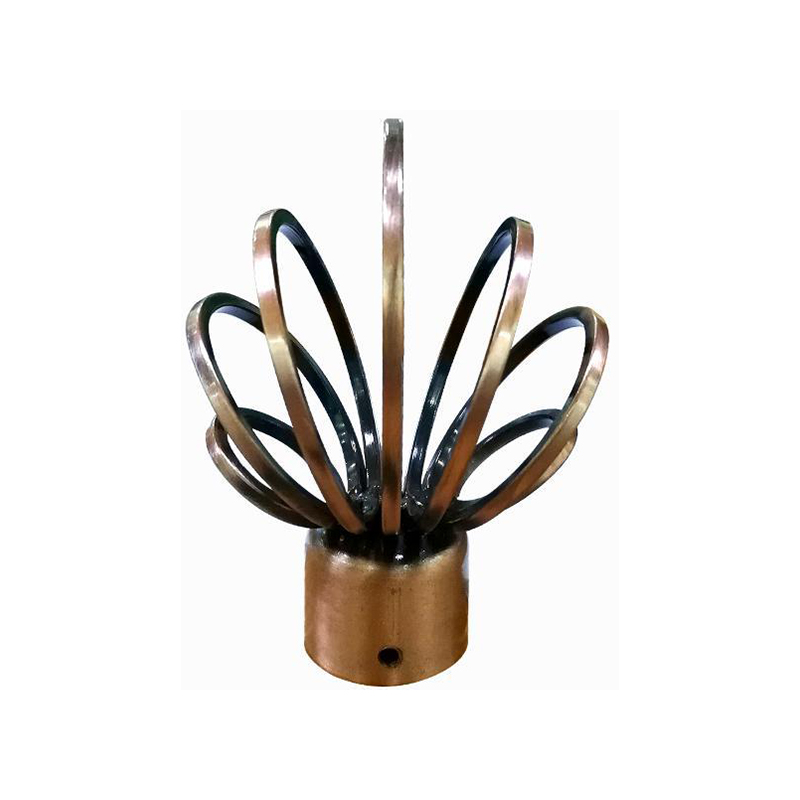
A finial is not just ornament; it protects the rod end and keeps rings from sliding off. It also shifts the visual weight of the rod. A room with minimal decor can carry a substantial decorative finial, while a small bathroom window looks better with a compact one. When the rod is long, match the finial size to the rod diameter so the joint looks intentional rather than stuck on. Also, confirm that the finial's base diameter is larger than the bracket socket opening, so the finial cannot be pulled through the bracket when the curtain is yanked.
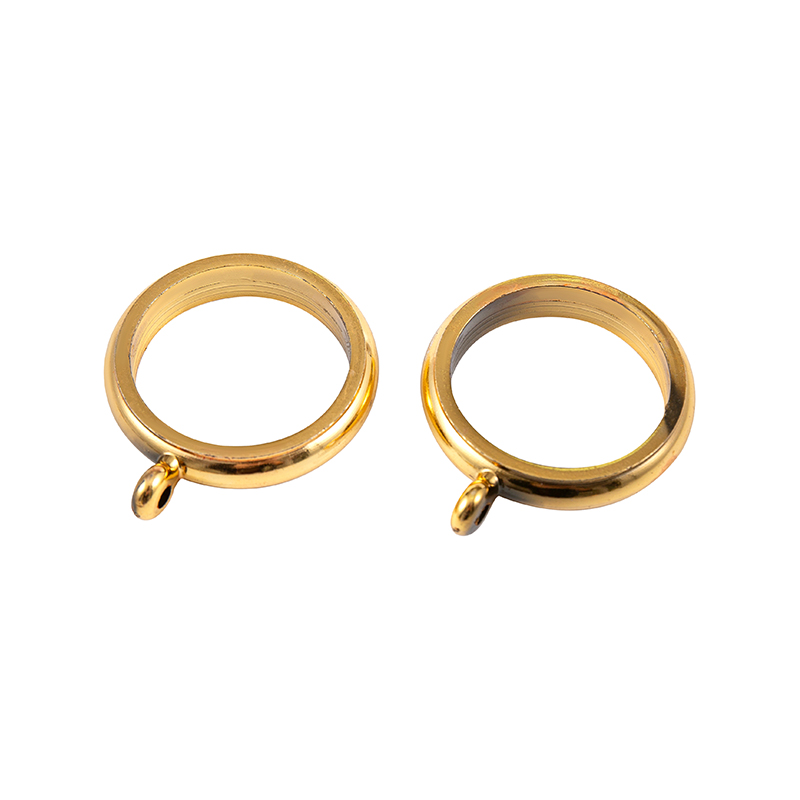 Silent Sliding Curtain Rings with Swivel JointsThese rings feature smooth rounded edges to prevent snagging and a 360-degree swivel for compatibility with various tracks, ensuring quiet operation for everyday curtain use.View Product →
A Practical Pre-Installation Checklist
Use this list to confirm that the correct way has been applied before you drill the first hole.
- Rod height is set 4–6 inches above the frame, or proportionally more for tall ceilings, and it clears the top of any existing blinds.
- Rod extends 6–12 inches past the frame on each side, and panels can clear the glass when open.
- Finished floor clearance leaves 1/2–1 inch between the panel hem and the floor.
- Rod material and diameter are matched to curtain weight and span; heavy liners push you toward iron or a thicker aluminum rod.
- Brackets are fixed to the wall, not the trim, with one within 4–6 inches of each rod end plus one per additional 30–36 inches of span.
- Anchors are selected for the wall material and rated for at least twice the total curtain and rod weight.
- The finial and ring sizes fit the rod; rings glide without the curtain catching.
- You have a level, a drill with the correct bits, and someone to hold the rod while you mark the second bracket.
If every item on that list has a concrete answer, you are ready to drill.
Keeping a Straight Rod Over Time
A newly installed curtain rod can drift for three reasons: fabric stretch, anchor creep, and seasonal moisture movement. After the first week, open and close the curtains a few times and watch the rod ends; if a bracket moves, retighten it. Once a year, check that the finial screws have not loosened and that the center bracket has not shifted. If a rod develops a slight dip after a change in fabric weight, add a bracket rather than trying to bend the rod back. A rod that was straight when installed should stay straight; if it does not, the load path has changed somewhere.
The correct way to hang curtain rods is less about following a rigid formula and more about respecting the mechanical relationships between the window, the rod, the brackets, and the wall. High and wide is the rule; the 4–6 inch height and 6–12 inch extension are starting points, not laws. The material of the rod must match the weight it carries, the brackets must support it at regular intervals, and the anchors must hold in the wall material underneath. When each of those decisions is made deliberately, the installation goes quickly and the result stays straight for years.
At our company, those compatibility questions are handled before the product ships: rods, brackets, rings, and finials are designed to work as a system, using consistent diameters, projections, and finishes. Because we manufacture the complete set, it is easier to build a setup that keeps the rod level and the curtain moving smoothly from the first day. Browse the full range here if you want to see the hardware options that match the guidance above.