English
 Français
 عربى

A 96-inch window, two lined linen panels that weigh about 8 lb each, and a client who has already bought two carved oak corbels at a salvage yard because she wants the rod to look built into the wall. Nothing about that plan is wrong. It only fails when one of four numbers is off: the bore of the rod socket does not match the rod diameter, the corbel face is too narrow to take the socket without splitting, the projection is too shallow for the rings, or the fasteners never reach framing.
So here is the short answer before the detail. A curtain rod corbel is not a bracket with a decorative face; it is a small architectural pier that carries load in compression and transfers it into the wall through its back edge. It will hold a rod perfectly well when the corbel is solid, at least 2 inches wide on the face, drilled or socket-mounted with the correct bore, and fixed with fasteners that pass through drywall into studs or proper anchors. It will fail, sometimes slowly and sometimes in one loud evening, when any of those conditions is missing.
The rest of this article treats corbels the way a buyer, fabricator or installer has to treat them: as components with dimensions, tolerances and load paths. We cover how corbels differ from standard curtain brackets, how to size them against rod diameter and drape weight, the three practical ways to convert a decorative corbel into a rod holder, where the real failure points sit, and what changes when you are sourcing corbel-and-bracket programmes in volume rather than buying two pieces for one window.
What a curtain rod corbel actually is — and what it is not
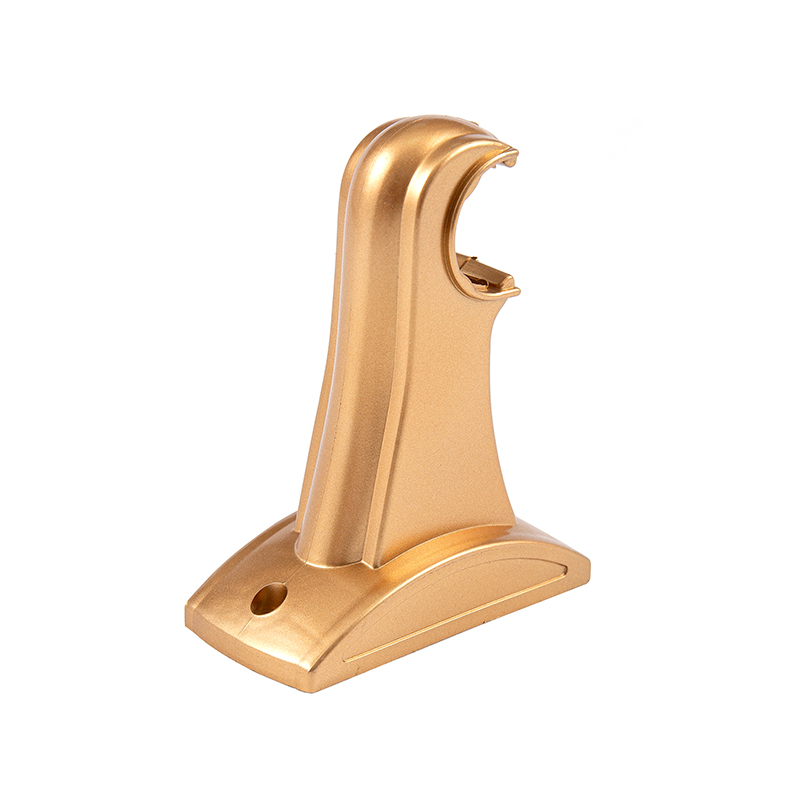
A corbel is an architectural bracket that projects out from a wall to carry a load, classically under a shelf, mantel, balustrade or vaulting rib. The defining feature is mass: a corbel is a solid body with a bearing surface on top and a flat back that sits against the wall. Its strength comes from the amount of material between the wall and the load, not from a folded steel arm.
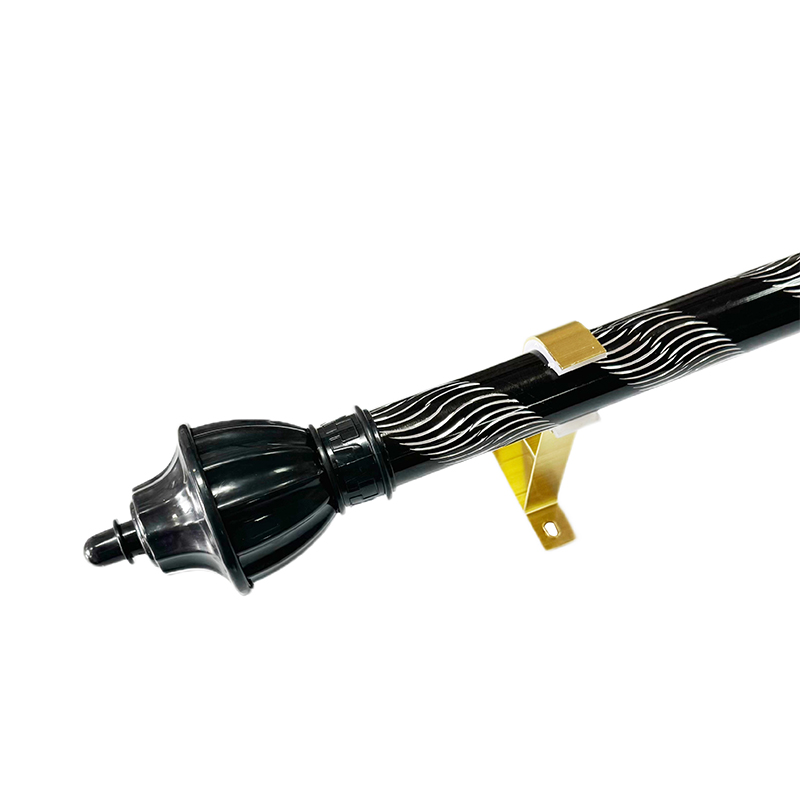
A curtain bracket is a different animal. A bracket has a back plate, an arm and a rod seat — usually a cup, a saddle or a clamp — and it is designed from the outset to hold a cylindrical rod at a fixed distance from the wall. The arm is thin because the material is steel or die-cast zinc and the geometry is optimised. A corbel has none of that built in. When people talk about "curtain rod corbels", they almost always mean a decorative corbel that has been adapted, either at the factory or on site, to accept a rod.
This is where the terminology in the trade gets loose, and loose terminology causes purchase errors. The same object may be listed as a corbel, a corbel bracket, a drapery corbel, a wood bracket, a shelf bracket or a rod holder. The words that actually matter in a specification are more specific:
- Bore diameter, expressed in millimetres or inches, and its tolerance.
- Face width of the corbel at the point where the socket is seated.
- Projection, measured from the wall plane to the centre line of the rod.
- Mounting pattern: hole count, hole diameter, countersink depth, and the vertical distance between the fixing centres.
- Material and moisture content, if the corbel is timber.
Typical decorative corbels run from 2 to 6 inches wide, 6 to 16 inches tall and 3 to 12 inches in projection. That is a huge range, and only some of it is useful for drapery. A shallow 3-inch corbel is fine for a slim 16 mm rod carrying sheers in a low-traffic room; it is not fine for a 28 mm rod carrying interlined velvet, because the rings will rub the wall and the fixing pattern will sit in a very small area of timber.
Materials you will encounter
Solid hardwood — oak, rubberwood, beech, mahogany, ash — is the reference material for load-bearing corbels. It takes screws well, resists crushing at the fixing points and can be drilled cleanly if you respect the grain. MDF and finger-jointed composite corbels are cheaper, paint beautifully and are dimensionally stable, but they have low screw-holding capacity and their edges crumble if a fastener is overtightened. Resin and polyurethane corbels are cast or moulded reproductions; they are light, uniform and good for large ornamental profiles, but they are essentially a shell, and unless the casting is filled or the design includes a metal insert, they should not be trusted with heavy drapery. Plaster and cast stone corbels belong to restoration and exterior work and rarely suit a curtain rod at all.
The practical rule for anyone specifying corbels as rod supports: if you would not stand on it, do not hang 20 lb of interlined velvet from it.
The four dimensions that decide whether a corbel works
Most corbel problems trace back to one of four dimensions. Get them right and the installation is unremarkable, which is exactly what you want.
1. Bore diameter and rod fit
The rod socket, cup or flange is the part that actually holds the rod, and its bore must match the rod's outer diameter within a small tolerance. Common nominal sizes are 16 mm, 19 mm, 22 mm, 25 mm, 28 mm and 32 mm, which correspond roughly to 5/8, 3/4, 7/8, 1, 1-1/8 and 1-1/4 inch. A socket that is 0.5 mm oversize lets the rod rattle and rotate; one that is undersize will not accept the rod at all, or will scrape the finish during assembly.
For a production programme, specify the bore with a tolerance rather than a nominal figure — for example 25.0 mm +0.2/−0.0 — and require a go/no-go check with a plug gauge at final inspection. Hand-drilled conversions on site rarely hold better than ±0.5 mm, which is another argument for buying a corbel that already has a machined socket.
2. Face width at the socket
The socket needs enough timber around it. As a working rule, the corbel face should be at least twice the socket's outer diameter at the mounting point, and never less than 2 inches for a 25 mm socket, or 2.5 to 3 inches for 28 to 32 mm rods. Narrow faces are where splitting happens: the screw holes crowd the bore, the remaining web of wood is a few millimetres thick, and the first serious pull on the rod opens a crack along the grain.
3. Projection and ring clearance
Projection is measured from the wall to the centre line of the rod, and it has to clear more than the curtain. A flat panel hung on rings needs roughly 1.5 to 2 inches of clearance so the fabric does not drag the wall; a pinch-pleat heading with a deep return needs 2.5 to 3.5 inches; a double treatment with a sheer behind and a heavy drape in front needs 4 to 6 inches, which is usually the point where a corbel stops being the right answer and a double bracket takes over. Remember that the corbel's own depth contributes to this figure — a 6-inch corbel with a surface-mounted cup often gives you close to 5 inches of usable projection, which is generous.
4. Load path and fasteners
The corbel transfers load into the wall through its back face. Screws should reach studs wherever possible; where they cannot, use a tested anchor rated well above the calculated load. Corbels concentrate force near their lower fixing, because the rod sits at the top of the corbel and creates a lever. Two screws in a vertical line near the bottom edge of a tall corbel is a weaker arrangement than three screws spread in a triangle. Deep countersinks weaken timber; shallow ones leave screw heads proud and interfere with the socket.
| Rod outer diameter | Minimum corbel face width | Typical socket bore | Suggested projection | Drape weight per panel |
|---|---|---|---|---|
| 16 mm / 5/8 in | 40 mm / 1-1/2 in | 16.2 mm | 75–100 mm | Up to 3 lb (sheers, café curtains) |
| 19 mm / 3/4 in | 50 mm / 2 in | 19.2 mm | 90–125 mm | 3–6 lb (unlined cotton, linen blends) |
| 25 mm / 1 in | 55–60 mm / 2-1/4 in | 25.2 mm | 100–150 mm | 6–10 lb (lined linen, blackout) |
| 28 mm / 1-1/8 in | 65 mm / 2-1/2 in | 28.2 mm | 125–175 mm | 10–16 lb (heavy lined, wool) |
| 32 mm / 1-1/4 in | 75 mm / 3 in | 32.2 mm | 150–200 mm | 16–25 lb (interlined velvet) |
Styles, finishes and the moisture question
The decorative language of corbels is inherited from architecture, so the styles on offer tend to cluster. Classical scroll and acanthus corbels suit traditional interiors and pair naturally with turned finials and fluted rods. Mission, Shaker and block corbels are geometric and quiet, and they work with slim iron rods and simple rings. French and rococo profiles carry carving, sometimes applied rather than cut, and they need a finish that highlights the relief. Modern slab corbels — essentially a rectangular block with a chamfer — are the easiest to specify for volume programmes because they are simple to machine and simple to pack.
Finish is a bigger sourcing issue than most buyers expect. Raw timber needs sealing before installation or it will absorb humidity and move. Primed corbels can be topcoated on site to match trim. Stained and lacquered corbels look superb but introduce lot-to-lot colour variation, particularly on oak and ash where the grain takes stain unevenly. Resin corbels paint well but cannot be stained convincingly, and they will not match a powder-coated steel rod no matter how carefully the colour is matched.
The realistic strategy is contrast rather than imitation: paint the corbel to match the wall or the window trim, and let the rod and finials carry the metallic finish. Trying to match a powder-coated bronze with a painted timber corbel almost always produces a visible mismatch under daylight, and it invites complaints that no amount of rework will fully solve.
Moisture content and acclimatisation
Timber corbels should be supplied at 8 to 12 percent moisture content for interior use in temperate climates. If a container of corbels arrives at 15 percent and is installed into a dry, centrally heated room, the wood will shrink across the grain, the socket will loosen and the paint film will crack along the edges. Two practical controls: ask the supplier for moisture readings taken at final inspection, and let corbels acclimatise in the room where they will be installed for 48 hours before drilling or fixing.
Three ways to convert a decorative corbel into a rod holder
There is no single correct conversion. The right method depends on whether you are making one pair for a client or running a repeatable programme, and on how much load the corbel has to carry.
Method A: surface-mounted rod socket or flange
A metal cup, flange or U-shaped socket is screwed to the top or front face of the corbel, and the rod sits in it. This is the fastest method, requires no machining of the corbel, and keeps the corbel intact. It is also the most forgiving for renovation work, because the socket can be positioned exactly where the rod needs to sit rather than where a pre-drilled hole happens to be. The weakness is visual and mechanical: a surface-mounted socket adds 6 to 12 mm of stand-off and can look like an afterthought on a finely carved piece, and if the corbel face is narrow, the socket screws have almost no timber around them.
Method B: through-bore with a socket insert or dowel
The corbel is drilled through its face, and a socket insert, sleeve or wooden dowel is fitted into the bore. The rod then passes into the bore or over the dowel. This is the cleanest-looking conversion and the strongest, because the load is transferred into the full body of the corbel rather than into four small screw holes. It also allows the bore to be machined at the factory with a controlled diameter and a parallel axis, which matters for long rods spanning several supports. The risk is accuracy: an off-axis bore of half a degree across a 10-inch corbel moves the rod seat by around 1 mm, and a 5-degree error makes a long rod visibly out of line.
Method C: open saddle or U-notch
A notch is cut into the top face of the corbel, and the rod drops in. This suits rustic installations where a dowel rod sits on two chunky timber brackets and is held by gravity plus a small retaining strap or screw. It is quick, honest and easy to disassemble. It is also the least secure option: a strong pull on the curtain can lift the rod out of the saddle, which is why a retaining plate or a screw through the saddle is worth the extra ten minutes.
| Method | Tools and skill | Typical load capacity per corbel | Best for | Main risk |
|---|---|---|---|---|
| Surface-mounted socket | Drill, screwdriver; low skill | 15–30 lb with proper fixings | Single installations, retrofits, rented spaces | Stand-off and screws crowding a narrow face |
| Through-bore and insert | Drill press or CNC; medium to high skill | 30–50 lb in solid hardwood | Production runs, long spans, heavy drapery | Bore misalignment and grain splitting |
| Open saddle or U-notch | Router or saw; medium skill | 10–25 lb, depending on retention | Rustic and dowel-rod installations | Rod lifting out under load |
A fourth option worth knowing about
The strongest arrangement in many high-end installations is not a conversion at all. A conventional steel bracket is fixed to the wall and sized correctly for the load, and a hollowed or reduced corbel is fitted over the bracket as a decorative shell. The corbel carries nothing; the bracket carries everything. This gives the period look with engineering-grade reliability, and it is the approach most commonly used where drapery weight is high and the visual brief calls for timber.
If you need the installation sequence itself, the practical steps are covered in our curtain rod installation guide, including how to mark a level line when the two ends of a wall differ in height by a few millimetres.
Span, load and bracket spacing: the arithmetic that keeps rods straight
Sag is the most visible failure in drapery hardware, and it is almost always a spacing problem rather than a material problem. A 25 mm steel rod spanning 12 feet with supports only at the ends will deflect noticeably under its own weight, before a single curtain is hung.
Practical spacing rules that hold up in service:
- Space supports at 30 to 36 inches for medium-weight drapery, and no more than 48 inches even for light sheers.
- Set the outer supports 4 to 6 inches in from each end so the finials and the rod ends are not cantilevered.
- Reduce spacing to 24 inches for interlined or velvet panels, and add a centre support for any span over 96 inches.
- For a double treatment, use a bracket designed for two rods rather than two separate single brackets, so the front and back rods stay parallel.
A worked example makes the arithmetic concrete. Take a 120-inch span carrying two interlined velvet panels at 18 lb each, a total of 36 lb plus roughly 4 lb of rod and rings — about 40 lb spread across the assembly. With four supports, each corbel carries roughly 10 lb vertically. That sounds comfortable, and it is, but the figure that matters is not the vertical load; it is the pull-out load at the top fixing. A person closing a heavy panel exerts a horizontal tug of perhaps 5 to 10 lb at the rod, and because the corbel acts as a lever, that tug translates into a pull-out force several times larger at the upper screws. This is why a corbel rated at 50 lb static can still come off the wall in a household with children.
For anything above 12 lb per panel, either fix through to studs at every support, or specify a bracket system engineered for the load. Double brackets in particular are designed to carry two rods and the associated leverage in one unit:
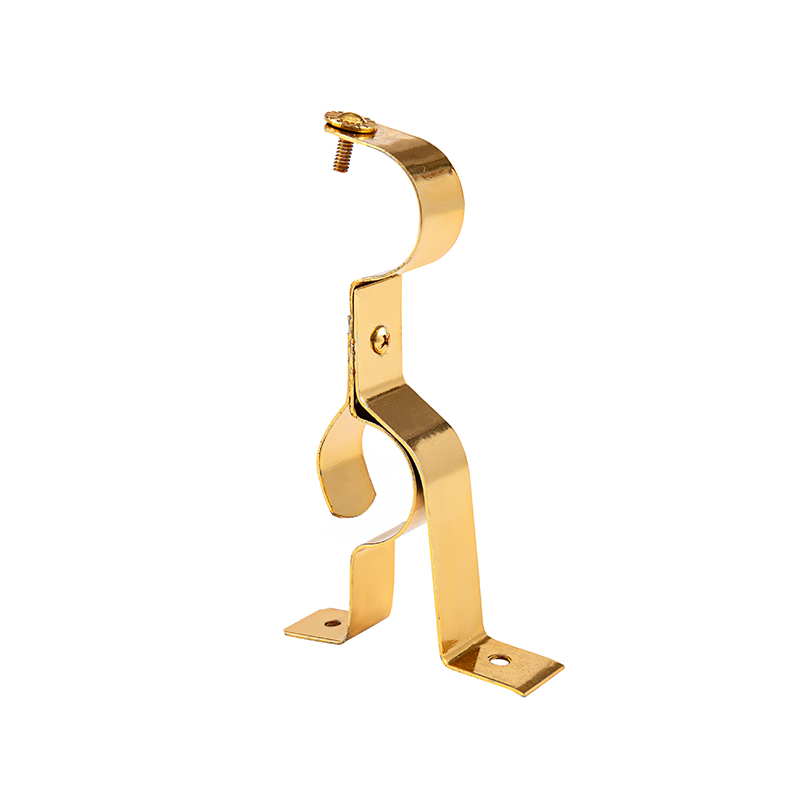 Metal Double Curtain Bracket for Heavier Curtain LoadsEngineered double-rod bracket available in 26 mm and 35 mm sizes, designed for heavier or layered curtains and greater load-bearing stability.View Product →
The seven failure points you will actually see
Field experience narrows the failure list down quickly. These are the recurring ones, with the fix for each.
- Grain split from the bore. Drilling a large hole into a narrow face with the grain running vertically splits the timber along the grain. Fix: keep at least one full diameter of timber between the bore edge and the face edge, drill with a brad-point bit at slow speed, and clamp the workpiece.
- Socket screws pulling out of MDF or resin. These materials have almost no screw-holding capacity in thin sections. Fix: use a through-bolt with a washer at the back, or a threaded insert, or switch to solid timber for load-bearing corbels.
- Rings rubbing the wall. Insufficient projection, usually because the corbel is shallow and the socket adds stand-off in the wrong direction. Fix: choose a deeper corbel or a socket with a longer neck, and check clearance with the heaviest ring fitted before drilling.
- Rod ends cantilevered past the last support. The unsupported tail of the rod bends, and the finial droops. Fix: move the outer supports inboard and shorten the rod overhang to 4 to 6 inches.
- Fasteners into drywall only. Fine for a 3 lb sheer; not fine for anything else. Fix: locate studs with a detector and confirm with a fine pilot hole, or use a tested heavy-duty anchor rated at four times the calculated load.
- Socket bore oversize. The rod rotates when the curtain is drawn, and rings bunch at the support. Fix: specify bore tolerance, and use a socket with a nylon or rubber liner where a slightly loose fit is unavoidable.
- Finish damage during assembly. Screw heads, drill chucks and ring clips all scar painted timber and powder-coated metal. Fix: mask the corbel face, drill pilot holes for every screw, and fit the rings before the rod goes up.
There is a related point about the rule for hanging the rod in the first place. Height and width decisions affect how much load each support sees, because a rod mounted well above the frame carries a longer drop of fabric and often a wider panel; the standard guidance is covered in our note on how high and how wide to hang a curtain rod. Get that right first, then size the corbels to the load it implies.
Corbels versus metal brackets: an honest comparison
Corbels win on character and lose on everything measurable. That is not a criticism; it is the trade-off a buyer is choosing. The useful question is not which is better, but which brief you are serving.
| Criterion | Timber corbel (converted) | Metal curtain bracket |
|---|---|---|
| Load capacity | 15–50 lb per support depending on material and method | 30–80 lb per support for die-cast or steel double brackets |
| Dimensional consistency | Lower; timber moves with humidity | High; die-cast and pressed parts hold tight tolerances |
| Projection options | Wide, but fixed by the corbel's depth | Wide and adjustable on many models |
| Finish options | Paint, stain, lacquer, wax | Powder coat, plating, brushed and antique effects |
| Installation time | Higher; drilling and fitting usually on site | Lower; pre-set fixing pattern |
| Visual character | High; reads as architecture | Low to moderate; reads as hardware |
| Cost per support | Moderate to high for solid hardwood | Low to moderate in volume |
| Best use | Period interiors, feature windows, light to medium drapery | Heavy drapery, long spans, contract and hospitality work |
Where a single rod is carrying moderate weight and the wall is sound, a well-made single bracket does the same job with less fuss and a predictable fixing pattern:
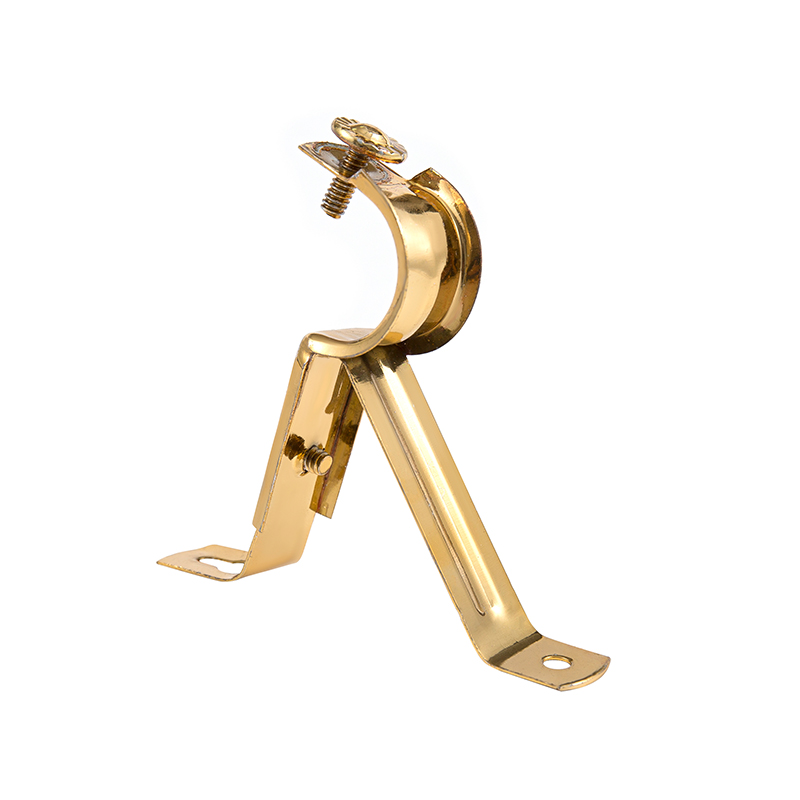 Metal Single Curtain Bracket for Moderate-Weight RodsSimple metal bracket in 26 mm and 35 mm sizes, suited to lightweight or medium-weight curtains where a sound wall and straightforward fixing are enough.View Product →
For projects that mix the two — corbels on the feature windows, brackets everywhere else — keep the projection consistent. A corbel at 5 inches and a bracket at 3.5 inches on the same wall looks like a mistake, even though each is individually correct.
For brands and importers: sourcing corbels and brackets as one programme
Most buyers do not actually want corbels and brackets as separate purchases. They want a window treatment system where the decorative element and the load-bearing element arrive together, in the same carton, with a finish that does not fight itself. That framing changes the specification work considerably.
Start with the fixing pattern, not the profile
The fixing pattern is what determines whether an installer can fit the product in fifteen minutes or fifty. Ask for a drawing with hole positions, hole diameters, countersink angles and the distance from the wall plane to the rod centre line. Then check that the same drawing is used on the production line and in the installation leaflet. Mismatches between the drawing and the physical part are one of the most common causes of returns in this category.
Control the bore, not just the nominal size
Specify bore diameter with a unilateral tolerance and a gauge. Decide whether the rod is meant to pass through the socket or seat in it, and state the minimum wall thickness around the bore. If the corbel is timber, add moisture content at packing — 8 to 12 percent — and a grain direction requirement so the bore runs across the grain rather than along it.
Decide the kit structure early
A corbel programme usually ships in one of three structures: corbel only, with the socket packed separately; corbel with socket factory-fitted; or a complete kit including rod, rings, finials and fixings. The third is the most attractive commercially and the most demanding operationally, because every component's tolerance now affects the perceived quality of the whole. A 0.4 mm bore error is invisible on a loose socket and maddening on a pre-assembled kit.
Build a short, hard inspection list
| Check | Acceptance criterion | Method |
|---|---|---|
| Bore diameter | Nominal +0.2/−0.0 mm | Plug gauge, 100 percent on sampled lots |
| Bore-to-edge timber | At least one bore diameter | Visual and caliper |
| Socket fit | No rattle, no forced entry | Trial assembly with production rod |
| Moisture content (timber) | 8–12 percent | Pin meter, three readings per piece |
| Finish adhesion | No flaking at 2 mm cross-hatch | Cross-hatch tape test on one sample per lot |
| Metal coating (brackets) | No red rust after 48 hours | Salt spray on sampled parts |
| Fixing hardware | Screws match drawing; correct count | Count and gauge in packed carton |
| Carton drop | No damage or loose parts | Drop test from 76 cm on one carton per pallet |
Packaging decides the damage rate
Timber corbels are heavy for their size and they have corners. A carton with a single layer of bubble wrap and no internal divider will produce chipped edges and cracked scrolls at a rate that eats the margin on the whole order. Specify moulded pulp or EPE corner protectors, individual wrapping for finished surfaces, and a carton board grade that survives a 76 cm drop test. Include the fixing pack in a sealed bag so screws do not migrate and scratch the finish in transit.
Keep the range coherent
A buyer assembling a catalogue benefits from a bracket range that shares fixing patterns across models. If a single bracket, a double bracket and a ceiling-fix variant all use the same back-plate hole spacing, the installer drills one template and the retailer stocks one fitting pack. It is a small design decision with a large effect on returns handling:
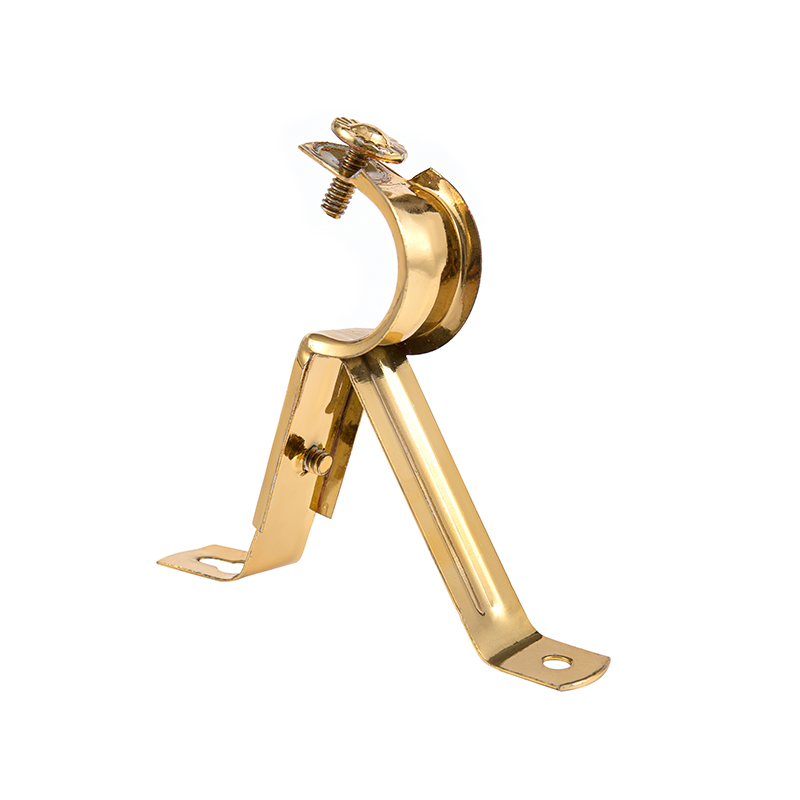 OEM/ODM Curtain Rod Bracket Range for Trade BuyersOEM/ODM bracket range including single, double and plastic variants, offered for buyers seeking coordinated curtain rod mounting options across a catalogue.View Product →
Finally, treat corbels as a complement rather than a substitute. The strongest commercial offer pairs decorative corbels for feature windows with engineered brackets for the rest of the range, so a reseller can serve both briefs from one supplier without compromising either.
Installation sequence that avoids rework
The order of operations matters more than the speed of any single step. This sequence works for both converted corbels and conventional brackets.
- Measure the window opening, then decide rod height and side extension before buying anything. A rod 4 inches above the frame and 3 to 6 inches wider than the opening on each side is the dependable default.
- Mark the rod centre line with a laser or chalk line, not with a tape measure held by hand at each end.
- Locate framing with a detector and confirm with a fine pilot hole. Mark every fixing position on the wall, not on the corbel.
- Hold the corbel in place and transfer the fixing positions through its own holes with a pencil or brad awl.
- Drill pilot holes sized to the screw shank, not the thread, and drill them deeper than the screw by a few millimetres.
- Fit the socket or insert to the corbel on the bench, not on the wall, where gravity and awkward angles cause cross-threading.
- Fix the corbels to the wall, checking level across the pair and plumb on each face.
- Assemble rings onto the rod before lifting it, then seat the rod in both sockets with a second pair of hands at the centre.
- Fit finials last, and check that they clear the wall and any return of the curtain.
- Hang the panels, draw them open and closed several times, and watch the fixing line for movement. Any visible deflection means a support is missing.
Cost, lead time and where the money actually goes
A solid hardwood corbel of 8 to 10 inches with a machined 25 mm bore typically costs several times what a die-cast single bracket costs at the same volume, and the gap widens once finishing and individual packing are included. That price difference is not waste; it is the cost of material, machining time, hand finishing and lower production rates. Buyers who expect corbel pricing to converge with bracket pricing at volume are usually disappointed, because the labour content of a carved and lacquered timber part does not scale the way a die-casting does.
Lead times follow the same logic. Standard bracket ranges ship from stock; corbels in a specified profile and finish are typically made to order, with sampling and finish approval adding the largest single block of time to the schedule. Two things shorten it: choose profiles that already exist in the supplier's tooling, and approve finish on a physical sample rather than on a screen.
There is also a maintenance dimension worth mentioning to end customers. Timber corbels benefit from a re-wax or re-lacquer every few years in dry interiors, and they should never be cleaned with a wet cloth. Metal sockets and brackets should be wiped dry, and any chipped powder coat on a load-bearing bracket should be touched in promptly, because corrosion starts at edges and threads.
To return to the opening scene: the two salvage-yard corbels will hold that 8 lb linen panel comfortably, provided the sockets are bored to match the rod within a fraction of a millimetre, the faces are wide enough to leave timber around the bore, the projection clears the rings by an inch or more, and the screws reach framing rather than drywall. Every one of those conditions is a number you can check before drilling, which is the whole point. Decorative corbels are not risky hardware; unspecified hardware is.
If you are specifying corbels and brackets together for a range rather than a single window, work backwards from the fixing pattern and the bore tolerance, then choose the profile. That order keeps the parts interchangeable, the installation predictable and the returns rate low — and it lets the decorative element do its job without pretending to be something it is not.