English
 Français
 عربى
عربى
The Mounting Is What Makes a Curtain Rod Work
A curtain rod that pulls out of drywall at 2 a.m., blackout drapes that sag into a shallow valley in the middle, a bracket that sits visibly crooked above an otherwise tidy window. If you have installed more than a few curtain rods, you have seen all three. And in nearly every case, the fault is not the rod, the fabric, or the bracket itself. The fault is in the installation: an anchor that did not match the wall, brackets that were never measured as a pair, or a rod mounted at a height that makes the whole window feel wrong.
Here is the honest conclusion before we go any further: installing a curtain rod correctly is about 20 percent hardware and 80 percent preparation. If you measure the window properly, choose the right anchor for the wall, and get both brackets level with each other, the hanging itself takes minutes. Most problems that people blame on the rod are actually decision problems made before the rod was ever mounted. The rod is just a tube; the installation is what carries the weight.
This guide covers the complete sequence from unboxing to the final tug on a curtain panel: what tools to gather, which measurement rules to apply, how to match a wall anchor to drywall, plaster, wood, metal stud, or masonry, how to mount brackets so both sides sit exactly level, and how to assemble and hang the rod without scratching the finish. It is written for people doing their first install, and for buyers, designers, and contractors who need to get the job right the first time so they do not have to come back.
The same sequence applies whether you hang a single decorative rod in a living room or install fifty matching rods across a hotel floor. What changes is the scale, not the method. For teams working at volume, the measurement and marking steps are where consistency is won or lost, because a rod that sits 2 cm higher on one side and 2 cm lower on the next reads instantly as sloppy work, even if each individual window looks acceptable alone.
Many renters and first-time installers look for a way to avoid drilling altogether. Adhesive strips, tension rods, and clip-on brackets do have their place: they can support a light sheer weighing a kilogram or two, and they avoid leaving holes in a rental wall. But the physics is unforgiving. A window treatment that is meant to block light, provide privacy, or frame a room usually weighs several kilograms, and that weight must be transferred through the bracket into the wall structure. If the wall has nothing solid behind it, no adhesive on earth will keep a heavy rod mounted. Drilling with the correct anchor is not a compromise; it is the standard that makes the installation safe.
If you prefer a condensed version of this process, our complete installation guide for curtain rods covers the same steps in a shorter format and is useful as a quick reference on the job site. What follows here is the more detailed version, with the numbers, tolerances, and edge cases that matter when the install has to be right the first time.
Before You Touch a Drill: Tools, Fasteners, and Wall Types
Most installation problems start in the tool selection, not in the drilling. The right tools do not need to be expensive, but they need to be the right size and type. A drill with a worn bit, a tape measure too short to span the window, or a level too small to bridge the brackets will each produce a different, predictable failure. A worn drill bit wanders across the wall and turns a clean pilot hole into an oval scar; a short level lets you level each bracket individually while the two brackets remain out of level with each other; a short tape measure forces you to guess the remaining distance in your head.
Pull this list together before you open the rod packaging, because once the rod is out of the box and the curtains are waiting, the temptation to skip a step grows with every trip back to the toolbox.
| Tool | Why you need it |
|---|---|
| Tape measure (3 m minimum) | Sets the rod width, the bracket spacing, and the height above the window frame. |
| Pencil | Marks bracket positions so you can check the layout before committing to a drill bit. |
| Level (60 cm minimum) | Keeps the two brackets level with each other and parallel to the window frame. |
| Stud finder | Locates wood or metal studs behind drywall so you can anchor into solid structure when available. |
| Drill with assorted bits | Creates pilot holes and drives screws; a driver setting helps avoid stripping screw heads. |
| Hammer | Seats expansion anchors flush with the wall surface. |
| Screwdriver or driver bit | Tightens bracket screws by hand where sensitivity matters more than speed. |
| Wall anchors | Carry the load when the bracket does not land on a stud. |
The screw that comes with a bracket is rarely the star of the show. The anchor behind it is. When a bracket is mounted directly into a wood stud, the screw carries the load with very little help. When the same bracket is mounted into hollow drywall, the anchor spreads the load over a wider area of the board. Choose the anchor based on the wall, not based on the size of the screw in the package.
Wall Types and the Anchors That Match Them
An anchor is only as good as its match to the wall behind it. The table below summarizes the standard combinations used in residential and light commercial installation work. The load ranges are conservative planning figures for a single bracket holding one end of a rod; treat them as the maximum you should ask the wall to carry, not as a rating you should design up to.
| Wall surface | Best anchor type | Typical safe load per bracket |
|---|---|---|
| Drywall (standard) | Expansion (nylon) anchor or toggle bolt for heavier drapes | 5–20 kg (11–44 lb) |
| Plaster over lath | Plaster-safe threaded anchor or toggle bolt | 5–15 kg (11–33 lb) |
| Wood stud | #8 or #10 wood screw directly into the stud | Up to 25 kg (55 lb) or more |
| Metal stud | Self-tapping fine-thread screw or toggle bolt | 10–20 kg (22–44 lb) |
| Concrete or brick | Sleeve anchor or masonry plug | 10–30 kg (22–66 lb) |
Unless the rod is extremely light and the wall is solid wood, avoid the cheap plastic plug that ships with many consumer rods. Those plugs are molded to a single size, are often made from brittle recycled plastic, and are the number one cause of rods that pull out of the wall weeks after installation. A better-quality nylon expansion anchor or a correctly sized toggle bolt costs little and removes almost all the risk from the fastening step.
Plaster deserves extra respect. It is harder than drywall but more brittle, and an ordinary drill bit can chip or crack the surface. Stick a strip of painter's tape over the marked point, drill through the tape, and use a bit rated for plaster or a new sharp bit at moderate speed. Concrete and brick, by contrast, need a hammer drill with a masonry bit; a standard drill will spin for a long time without making progress and will overheat the bit.
Measure First: The Height and Width Rules That Actually Work
The biggest mistake in curtain rod installation is treating the window width as the rod width. A rod that matches the window exactly forces the curtains to sit in front of the glass, blocks a large part of the daylight, and makes the window look smaller than it is. The rod has to be wider than the window, and the brackets have to be positioned so that the curtain panels can clear the glass completely when they are pulled open.
There is a standard rule that professional installers use, and it is remarkably consistent across different room types. The rod should extend 20–30 cm (8–12 in) beyond the window frame on each side. The brackets should sit 10–15 cm (4–6 in) in from the decorative end of the rod. This combination gives enough space for the finial to clear the wall, enough room for the curtain panel to sit fully beside the glass, and enough load distribution to keep the ends of the rod stable.
The Height Rule
Height is where the aesthetic payoff happens. When a window sits under a standard 2.4–2.7 m (8–9 ft) ceiling, hang the rod halfway between the top of the window frame and the ceiling, but do not exceed 30 cm (12 in) above the frame. In practical terms, that usually works out to 10–15 cm (4–6 in) above the frame. This lifts the eye upward and makes the ceiling feel taller, which is why the same window instantly looks better with a rod mounted high rather than tight against the frame.
If the room has crown molding, keep the rod 10–15 cm (4–6 in) below it, otherwise the rod competes with the molding for visual attention. If there is a radiator, an air conditioner, or a desk below the window, keep the rod high enough that the curtain panels hang clear of the obstruction; panels resting on a radiator are both a fire risk and a source of fabric discoloration.
The Width Rule
Width mistakes show up as light gaps. When the rod extends only 5 cm past the frame, the curtain panel covers the outer edge of the glass when open, which blocks a thin but annoying strip of daylight and makes the window feel crowded. The standard 20–30 cm (8–12 in) overhang on each side solves this cleanly. For a window that is 150 cm (60 in) wide, the rod should be roughly 190–210 cm (76–84 in) in total width, with the brackets mounted so that the usable span between them is slightly less than the rod's full length.
| Measurement | Recommended value | Reason |
|---|---|---|
| Rod overhang past the frame on each side | 20–30 cm (8–12 in) | Lets curtains clear the glass and widens the visual frame. |
| Bracket inset from the rod end | 10–15 cm (4–6 in) | Distributes load and leaves room for the finial. |
| Rod height above the window frame | 10–30 cm (4–12 in) | Raises the eye and makes the ceiling feel taller. |
| Gap below crown molding | 10–15 cm (4–6 in) | Avoids a crowded top edge. |
| Overlap for two-piece rods | 8–10 cm (3–4 in) | Prevents a light gap where the sections join. |
These numbers are starting points, not straightjackets. Bay windows, sloped ceilings, radiators, and very wide spans all justify adjustments. The article on the standard rule for hanging curtain rods explains the reasoning behind each value so you can adapt them confidently to unusual windows instead of guessing.
For drapery to look full, the fabric width also has to match the rod span. A general fullness ratio of 1.5 to 2 times the rod length is typical for pleated panels, while grommet and tab-top panels usually need a slightly narrower fullness because the fabric stacks differently at the sides. This matters at the installation stage because it determines how much weight the rod will carry: a 240 cm rod holding double-width blackout panels can easily carry 8–12 kg of fabric, which changes both the wall anchor requirement and the bracket spacing.
Mark Both Brackets Before You Drill Anything
The fastest way to get a crooked rod is to drill one bracket, mount it, and then try to match the other by eye. Because most walls and ceilings are not perfectly level, and because window frames are often not square, your eyes will lie to you. The rod needs two things at the same time: it needs to be level in the true sense of the bubble in the level, and it needs to look parallel to the window frame and the ceiling line. When a house is out of level by a small amount, the visual parallel wins; when the difference is large, true level wins and the rod will still look deliberate if the brackets are matched to each other.
Use the floor as the reference rather than the window frame. Frames are frequently not square, and a rod mounted parallel to a crooked frame will look wrong in a different way from a rod that is genuinely level. Measuring up from the floor on both sides gives you a controlled starting point that you can then correct with a level.
- Measure up from the floor to the planned rod height on the left side of the window and mark the wall with a pencil.
- Repeat on the right side using the same measurement from the floor.
- Hold the level as a straightedge between the two marks and adjust the marks until the bubble reads level; draw a faint horizontal line.
- Working from the line, mark the two bracket positions, each placed 4–6 in from where the decorative end of the rod will sit.
- Hold each bracket against the wall at its mark and use a pencil through the screw holes to mark the drilling points.
Check the marks from across the room before drilling. Walk to the other side of the room and look at the line with the window in view; this is the single best way to catch a line that drifts upward or downward over the window. What reads as acceptable from directly in front of the bracket often looks clearly wrong from an angle.
Ceiling-Mounted vs Wall-Mounted Brackets
Most installations use wall-mounted brackets because they are easier to align and keep the rod close to the window. Ceiling-mounted brackets are the right choice when the rod needs to hang far from the wall, when the window runs nearly to the ceiling, or when the wall is made of a material that makes drilling difficult. A ceiling mount transfers the load vertically, which means it depends on the ceiling joist instead of the wall structure; if the bracket lands between joists, it needs a heavy-duty toggle or a piece of plywood backing. For a standard room with a normal window, wall mounting is simpler, faster, and easier to adjust.
One detail that installers forget is that the two marks must be square to the window, not just level in the vertical plane. If the bracket positions are correct in height but shifted horizontally so that the rod runs at a slight angle toward the window, the error shows up as a rod that appears to point in one direction. Measuring the distance from the window frame to each bracket position on both sides catches this before you drill.
Drill the Pilot Holes and Set the Right Anchor
The rule of the pilot hole is simple: drill a hole small enough that the anchor fits snugly, but not so small that the anchor distorts or splits the surrounding material. You should be able to push the anchor in with firm hand pressure, then seat it flush with a couple of taps from the hammer. If you have to hammer hard, the hole is too small and the anchor will crush the drywall as it goes in; if the anchor slides in with no resistance, the hole is too large and the anchor will spin when you drive the screw.
For an expansion anchor, use a drill bit slightly smaller than the anchor's outer diameter. The exact size is printed on the anchor packaging in most cases; when it is not, a 6 mm bit for a standard 8 mm anchor is a safe starting point. Drill straight into the wall, blow or brush the dust out of the hole, and tap the anchor in until it is flush. Insert the screw through the bracket and drive it until the anchor expands and grips the back of the drywall.
For a toggle bolt, drill a clearance hole large enough for the folded wings to pass through, insert the bolt through the bracket, thread the wings on, and push the assembly through the wall. Pull back gently on the bolt to engage the wings against the back of the board, then tighten until the bracket is snug. Do not over-tighten a toggle bolt; the wings will deform the drywall if you keep turning after the bracket is firm.
For masonry, drill with a hammer drill and a masonry bit, then tap a sleeve anchor or a masonry plug into the hole and tighten the screw to expand it against the sides of the hole. Masonry anchors hold by radial pressure, so hole depth and cleanliness matter more than with drywall anchors.
Why does this step deserve so much attention? Because the bracket screws do not actually carry the load in hollow drywall; the anchor does. A 10 kg set of blackout drapes hung on a cheap 4 kg plastic plug will pull out of the wall within weeks, usually right at the edge of the plug where the plastic has cracked. The rod then falls, the brackets bend, and the wall needs patching. Replacing the anchor with one rated for the actual weight takes two minutes at the start and saves a repair job later.
- Expansion anchors: for drywall and plaster; rely on the anchor body gripping the cavity behind the board.
- Toggle bolts: for heavier drapes and for locations where no stud is available; the wings spread the load over a wide area.
- Sleeve and masonry anchors: for concrete, brick, and stone; require a hammer drill and a correctly sized masonry bit.
If a stud lies exactly behind the bracket position, the stud is always the better choice than an anchor. A screw into wood holds several times the weight of an anchor in drywall and will never wobble loose. Use a stud finder to trace the stud edges, then drill a pilot hole into the center of the stud with a bit slightly smaller than the screw shank. The screw should be long enough to sink at least 25 mm (1 in) into the wood, which usually means a screw of 40–50 mm total length when you include the bracket thickness.
Mount the Brackets, Then Check Them Twice
Bracket mounting is where the preparation pays off. Hold the bracket against the wall with its mounting holes aligned to your marks, start the top screw first, and drive it most of the way before adding the bottom screw. This lets you correct the alignment before the bracket is locked in place. Tighten the screws until the bracket does not move when you press on it; any more tension risks stripping the anchor or cracking the plaster.
After both brackets are mounted, lay the level across the rod sockets or the bracket arms. This second check catches a subtle error that the pencil line cannot reveal: the brackets may be level to the line but the sockets may sit at different heights because the brackets themselves are not identical. Rotate or shim the offending bracket until both sockets are level with each other before the rod goes on.
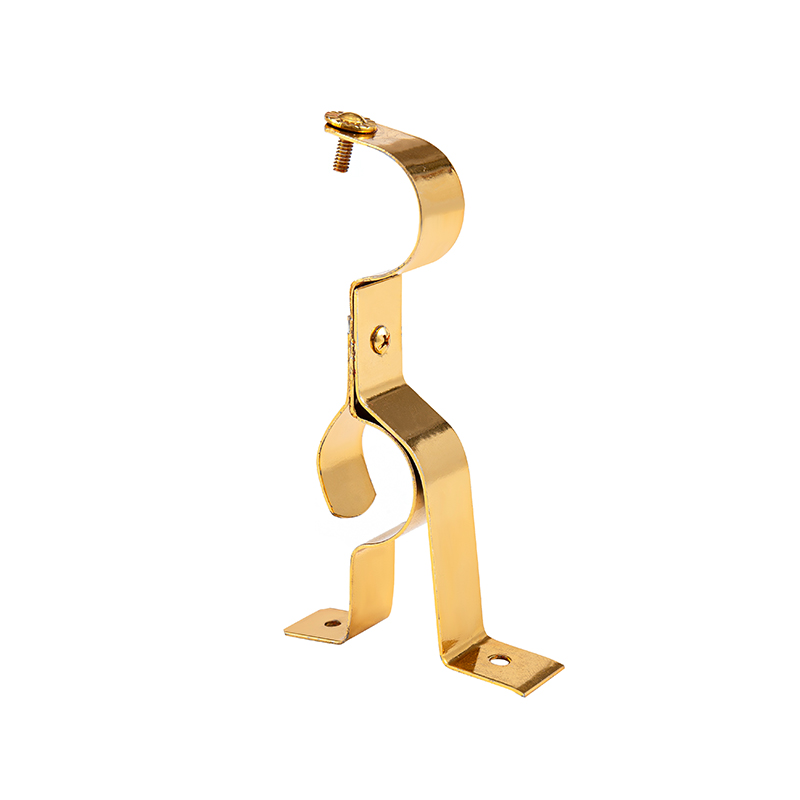
For installations carrying heavy drapes or two layers of fabric, the single-bracket layout is often not enough. A metal double curtain bracket provides two parallel support points on a single mount and spreads the load across two anchors. It is the practical choice for a sheer panel combined with a blackout panel, or for any window where the layering creates more than roughly 6–8 kg of fabric weight per bracket pair. The double bracket also solves the alignment problem of trying to hang two separate rods at exactly the same height: the two sockets are built into one piece, so they are level with each other by design.
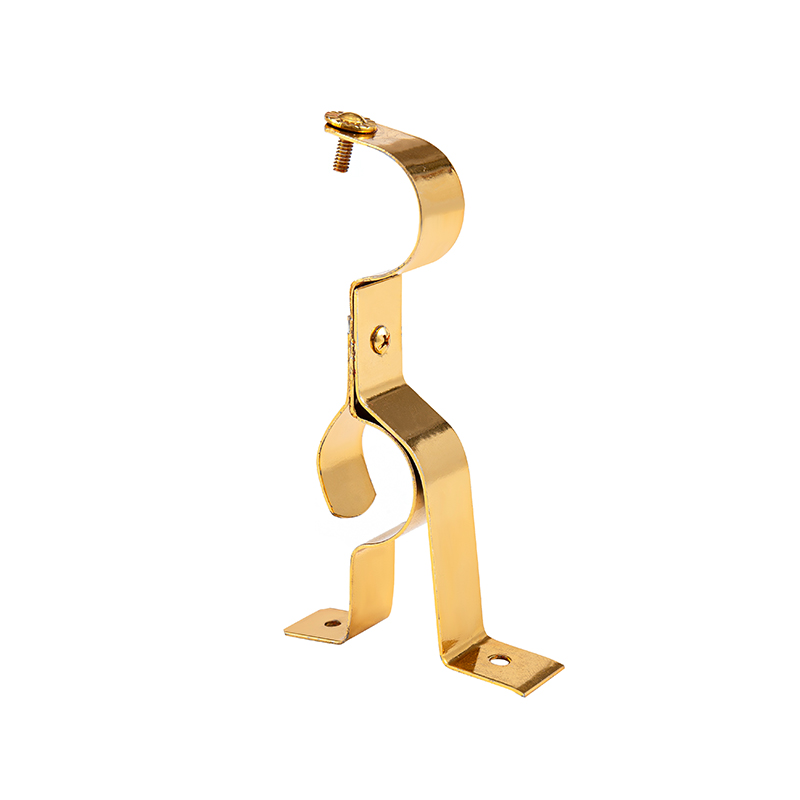 Custom Metal Double Curtain Bracket Suppliers, FactoryZhejiang Riyuexin Trading Co., Ltd. is China custom Metal Double Curtain Bracket suppliers and factory. Curtain Bracket Metal Double Bra...View Product →
If the wall surface is tile or stone, switch to a specialty tile bit and drill at low speed with light pressure. Tape the surface first to stop the bit from skating across the glazed finish, and stop as soon as the bit passes through the tile into the material behind it. The same rule applies here as everywhere else: the anchor or fixing behind the tile is what does the real work.
Once the brackets are mounted, wait before declaring victory. Put the rod in place, add the curtains, and check the level again. A bracket that was fine when empty can deflect by a few millimeters under load, and that small deflection is enough to make a long rod look sagging at one end. If the loaded bracket moves, loosen the screws, correct the position, and tighten again.
Assemble the Rod, Slide on the Rings, and Hang the Curtains
Rods generally arrive in one of three forms: a one-piece fixed length, a two-piece design with a center connector, or a telescoping rod with an inner sliding section. Assembly order matters because the finials and the rings must go on before the rod is lifted into the brackets. Trying to slide rings onto an already mounted rod is possible with clip rings but extremely awkward with any ring that has to pass over a finial.
- Lay the rod on a clean, soft surface. Remove both finials and keep the small set screws or washers in a safe place.
- If the rod is telescoping, extend the inner section to the measured width and tighten the locking mechanism. Leave at least a few centimeters of overlap between the sections; a rod extended to its absolute limit loses stiffness and can sag in the middle.
- Slide the curtain rings onto the rod if you are using rings. Do this while the rod is still on the floor or the table.
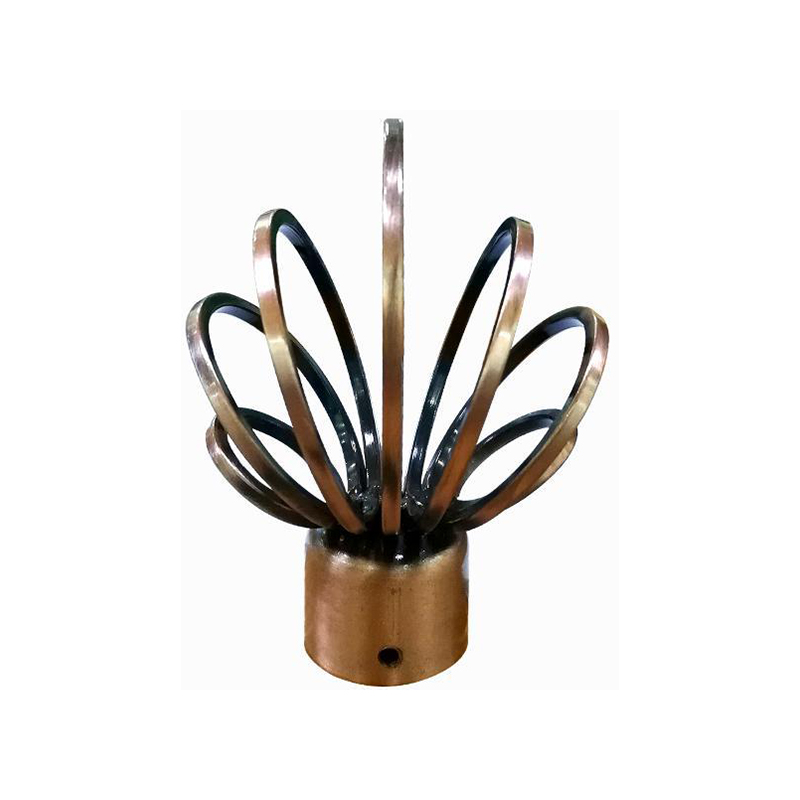
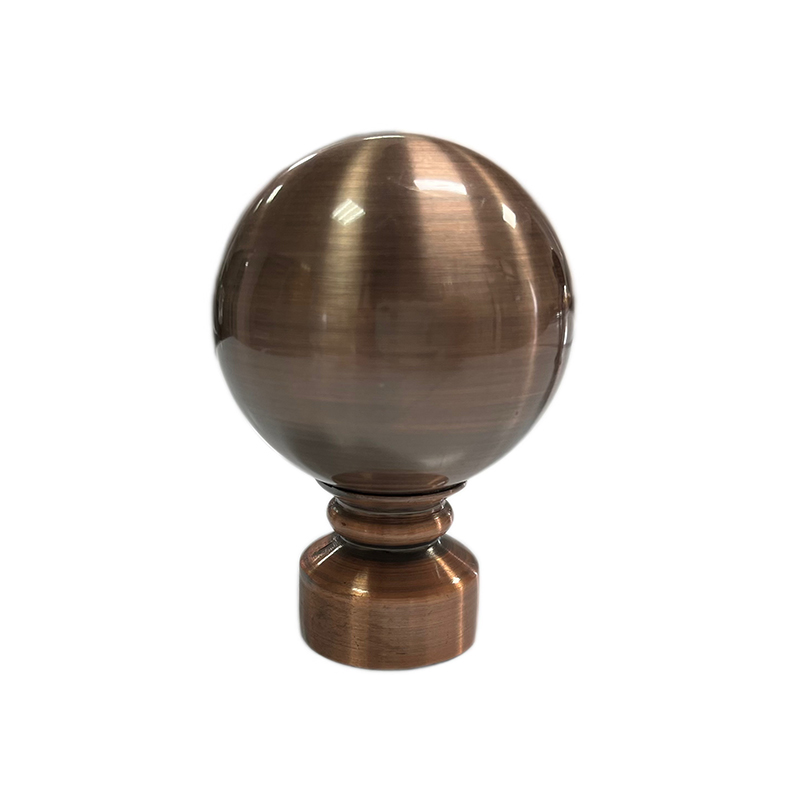
- Reattach the finials. Some finials screw on, others use a set screw; in both cases tighten them just enough to hold firmly without crushing the rod finish.
- Lift the rod into the bracket sockets one end at a time, center it so the overhang is equal on both sides, and tighten any set screws on the brackets.
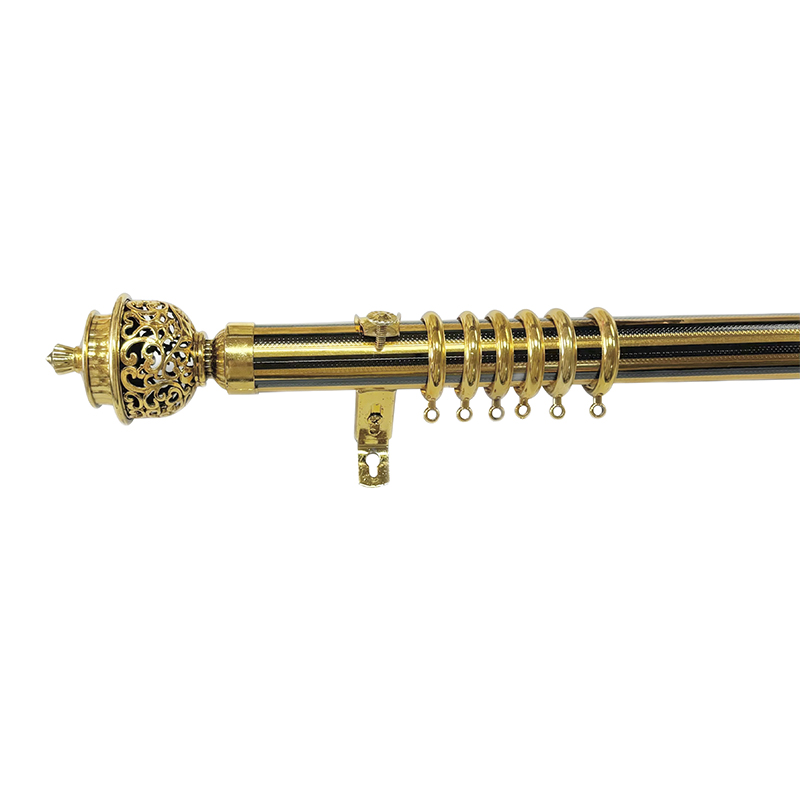
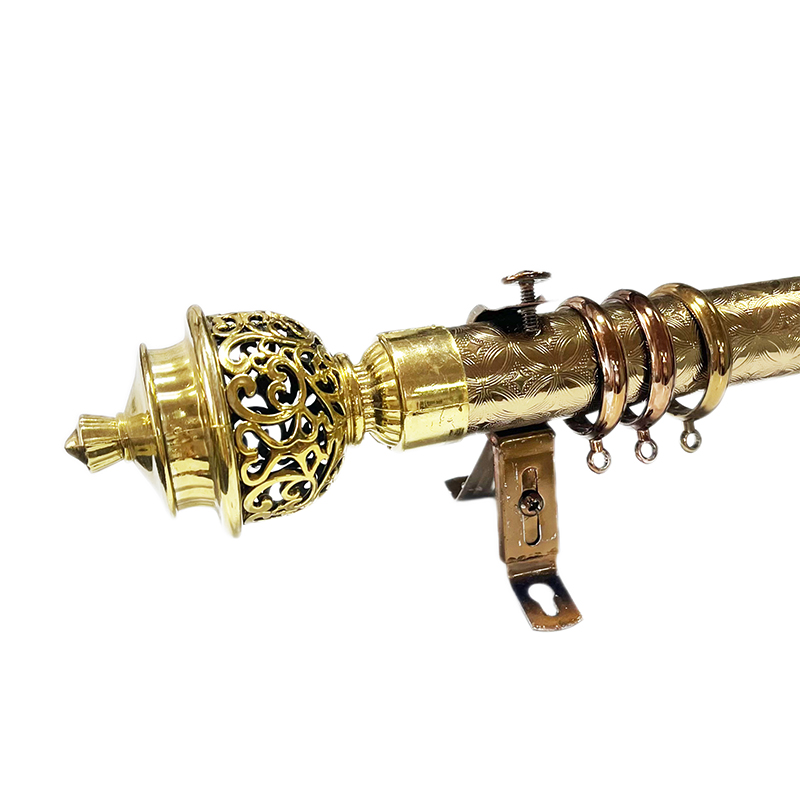
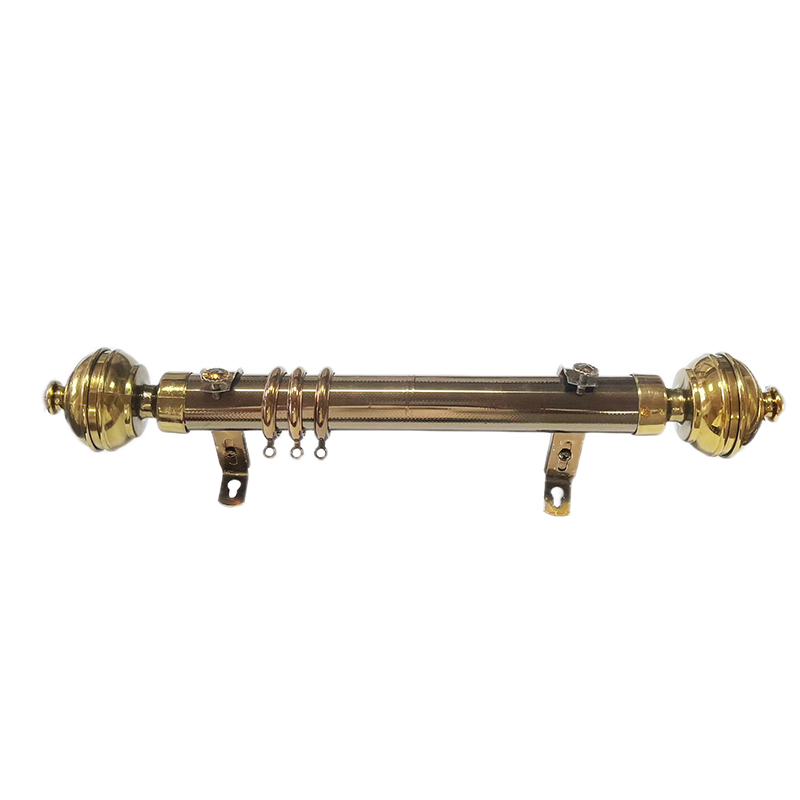
Telescoping rods are the most forgiving option for windows whose exact width you cannot remeasure, and they eliminate the need to cut a fixed rod to length. A twisted iron telescoping curtain rod is a good example of the type: it adjusts across a range of widths while keeping a decorative twisted profile, and it is strong enough for mid-weight drapes. The trade-off is that the inner sliding section is never quite as rigid as a one-piece rod of the same diameter, so for a very wide span, a fixed two-piece rod with a strong center connector is the more dependable engineering choice.
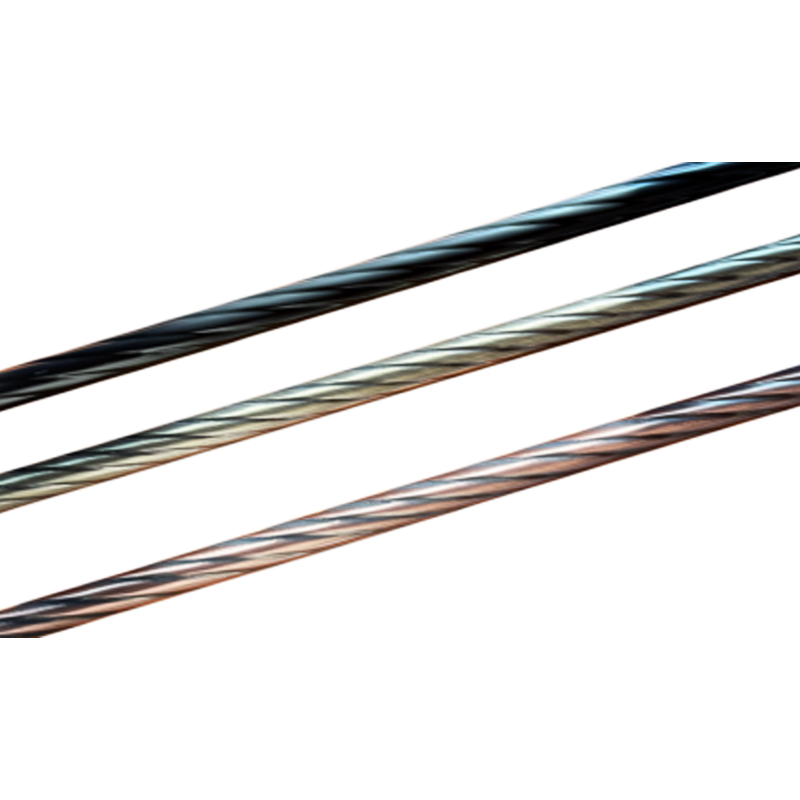 Custom Twisted Iron Telescoping Curtain Rod Suppliers, FactoryZhejiang Riyuexin Trading Co., Ltd. is China custom Twisted Iron Telescoping Curtain Rod suppliers and factory. Product Name: Twisted Iro...View Product →
The ring choice affects both the look and the ease of installation. Clip rings are the fastest for pinch-pleat panels: you clip the fabric directly to the ring, and you can position the clips without threading anything. The alternative, an integrated curtain ring with tape, combines the ring and the header tape in a single piece, which shortens the installation process and produces a more uniform gather because every ring carries exactly the same amount of fabric. For a row of windows in a hotel or an office, that consistency is what makes a fifty-window installation look like a single window that was repeated.
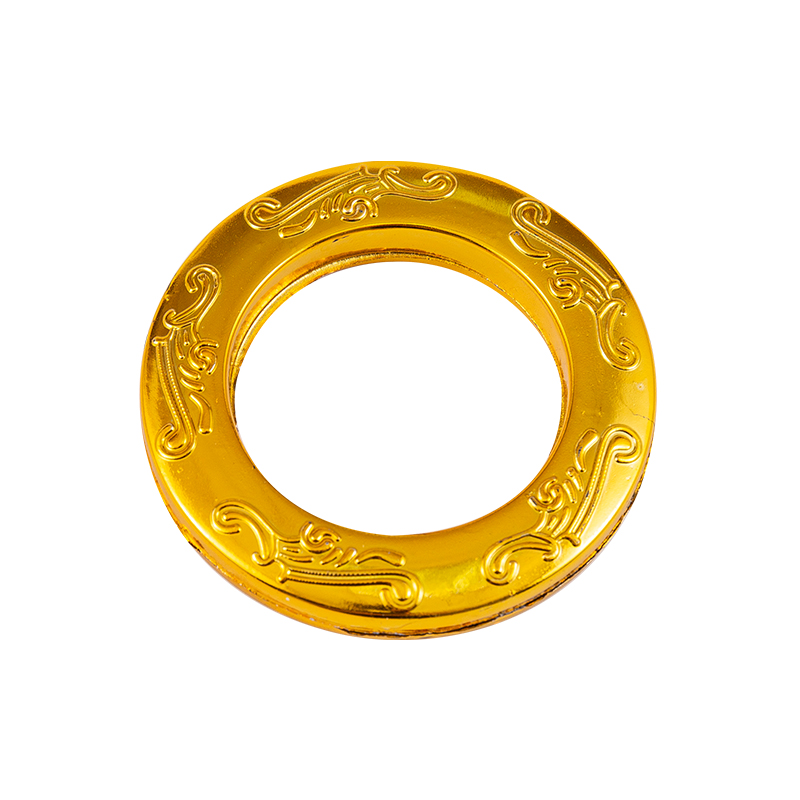 Custom Integrated Curtain Rings with Tape Suppliers, FactoryZhejiang Riyuexin Trading Co., Ltd. is China custom Integrated Curtain Rings with Tape suppliers and factory. Material: Tape: High-densi...View Product →
When the rod is in place, distribute the curtain panels evenly. Pull the leading edge of each panel toward the wall so the fabric clears the glass, then run your hand along the header to spread the pleats or gathers at consistent intervals. This final hand-finishing step takes thirty seconds per panel and separates a professional installation from a purely functional one. If the panels are so heavy that the rod visibly bends when you let go, the rod diameter or the wall mount is undersized; fix that before you walk away, because the sag will only get worse with time.
Seven Mistakes That Turn a Simple Install Into a Repair Job
Every curtain rod failure comes down to a handful of recurring errors. They are easy to recognize once you know what to look for, and each one has a straightforward fix at the planning stage.
- Making the rod exactly as wide as the window. The curtains block the glass at the sides, daylight escapes around the edges, and the window looks smaller. The fix is to apply the 20–30 cm overhang rule on each side before ordering the rod.
- Setting the two brackets at different heights. The rod looks level when you are close to it and visibly tilted from across the room, and the curtains will slowly slide toward the low side. The fix is to measure both brackets from the floor, then confirm with a level before drilling.
- Skipping wall anchors in drywall. A screw driven directly into drywall without an anchor holds a kilogram or two at best, and the head of the screw pulls through the paper facing when the drapes are drawn. The fix is an expansion anchor rated for the actual fabric weight.
- Hanging the rod too low. A rod mounted just above the frame makes the ceiling feel lower and shortens the visual height of the room. The fix is the height rule: halfway between frame and ceiling, with a practical cap at 30 cm (12 in).
- No center support on a wide span. Any rod longer than about 150–180 cm (60–70 in) develops a visible sag in the middle once the curtains are hanging, because the weight of the fabric is concentrated at the center of the span. The fix is a center support bracket or a thicker rod.
- Using a single bracket where the load needs two. A window with two layers of panels, or a very long rod carrying heavy blackout fabric, places more load on each bracket than a standard single mount can safely carry. The fix is a double bracket with a second set of anchors.
- Overtightening screws and anchors. The screw keeps turning after the bracket is firm, strips the anchor, and leaves a wobbly mount. The fix is to stop at snug: the bracket should not move when pressed, and nothing more is needed.
How to Fix a Rod That Sagged or Pulled Out
A sagging rod is usually a sizing problem rather than a hardware failure. Add a center support bracket first; if the rod still dips under the weight, replace it with a larger-diameter rod or a stiffer material. A rod that pulled out of the wall needs a more involved repair. Patch the damaged hole with a filler rated for the wall material, let it cure, and re-drill at a slightly different position if possible. Use a toggle bolt or drive a screw into a stud this time, and reduce the load by using a lighter panel or a second bracket.
If the rod pulled out because the anchor was undersized, the same mistake will repeat wherever the same anchor has been used. Walk the room and inspect every bracket before rehanging the curtains; it is faster to replace a questionable anchor now than to patch a wall later.
Choosing the Right Rod and Brackets for the Job
Installation is not a separate problem from product selection. The material of the rod sets the weight range it can carry, the span it can cross without sagging, and the anchor requirements on the wall. Aluminum, iron, and PVC-wrapped rods behave differently in exactly the ways that matter at installation time.
| Material | Typical load range | Corrosion resistance | Best applications | Installation notes |
|---|---|---|---|---|
| Aluminum (extruded) | 8–20 kg over a 150 cm span | High | Modern interiors, long straight runs, frequent adjustment | Light and easy to lift; does not strain the anchors. |
| Iron (steel) | 15–30 kg | Medium; needs a protective coating | Heavy blackout drapes, traditional and twisted decorative profiles | Much heavier; anchor quality and support spacing matter most. |
| PVC-wrapped | 5–12 kg | Very high | Humid rooms such as kitchens, bathrooms, and balconies | Light and easy to handle; check the bracket diameter match. |
Treat the load ranges as planning numbers, not guarantees. The real capacity depends on the wall, the bracket type, and the span. For a window wider than 150 cm, choose a thicker rod or plan a center support bracket. For a rod approaching 240 cm, the center support is basically mandatory unless the rod is a very stiff aluminum or steel profile designed for wide spans.
The comparison of which material is best for curtain rods goes deeper into these trade-offs and is worth reading before you commit to a product or a quotation. It covers corrosion behavior, finish durability, and typical price positioning, which are the factors that show up in the field long after installation day.
For buyers purchasing in volume, installation behavior is part of the product specification. If your end customers will install a telescoping rod, the packaging must include clear instructions and a correctly sized anchor kit. If the rod arrives with all screws and plastic anchors mixed together in one bag and no guide, the first thing your customer will do is lose the small parts and then guess. In our experience as a curtain rod manufacturer, the same rod with clear instructions and matched accessories generates far fewer after-sale questions than a simpler product that arrives without hardware organization. Stock keeping units that share a common bracket diameter and anchor kit across several finial styles also simplify installation for the installer, because one bracket type becomes familiar after the first window.
The rod that is easiest to install is not always the cheapest rod; it is the one whose length, diameter, and bracket system are matched to the window span and the curtain weight. That is the same calculation whether you are hanging one rod in a bedroom or quoting a hundred rods for a renovation project.
Final Check: Step Off the Ladder Only When This Is True
The last sixty seconds of an installation are the most valuable. Before you put the ladder away and close the curtains for the first time, run through this checklist from the floor. It catches nearly every error described above while they are still easy to fix.
- The rod extends an equal distance past both sides of the window frame.
- Both brackets are level with each other, checked again with the rod and curtains in place.
- The anchors are matched to the wall type and show no sign of pulling or spinning.
- The rod is centered, and the finials are tight on both ends.
- The curtain rings slide freely past the bracket sockets with no scraping or binding.
- The panels clear the glass completely when open and reach the intended length when closed.
- The center of a wide rod shows no visible sag.
Curtain rods are one of the few hardware items that must be both functional and visible. The installation is what makes that possible. Measure twice, match the anchor to the wall, and keep the brackets level with each other, and the rod will be the last thing you think about, which is exactly how it should be. The time spent on preparation does not slow the job down; it is the job.