English
 Français
 عربى
عربى
Here is the practical answer up front: mount the rod 6 to 12 inches above the window frame, extend it 4 to 10 inches past each side of the frame, and position the brackets so the stacked curtain panels rest on the wall, not over the glass. If you apply only one rule from this guide, make it this one. These numbers are not pulled from a single room type; they come from decades of window treatment practice and they work because they balance proportion, light, and hardware engineering at the same time.
This guide explains where those figures come from, how to adjust them for ceiling height, window width, curtain length, and room function, and where most do-it-yourself installations go off track. You will also learn how the weight of the rod, the type of bracket, and the kind of curtain rings you choose can change your mounting height and width. By the end, you will have a complete measurement system that works for standard windows, oversized windows, bay windows, sliding doors, and every awkward corner in between.
Why Curtain Rod Placement Deserves More Planning Than the Curtains
Most people choose curtain fabric first and think about the hardware last. That is backwards. The rod is the structural and visual anchor of the whole window treatment, and its position decides whether the curtains look intentional or accidental. A beautifully tailored panel can look wrong if the rod sits too low, too narrow, or too close to the window casing.
The first reason placement matters is light. A rod mounted close to the window frame leaves the top of the glass uncovered, which means daylight still enters through the upper portion of the window even when the panels are fully open. That height also affects how the panels stack when drawn. When the rod is too low, the stacked fabric blocks a significant part of the glass; when it is high, the stack sits mostly on the wall and the entire window stays available for light.
The second reason is perceived room height. The eye naturally follows the vertical line created by the curtain panels. If that line starts close to the window top, the ceiling feels lower. If the rod lifts toward the ceiling, the eye travels higher and the room feels taller. This is not a decorative trick; it is a well-documented principle of interior proportion, and it works in rooms with 8-foot ceilings as well as rooms with 10-foot or higher ceilings.
The third reason is perceived window width. A rod that extends beyond the window frame draws the eye horizontally, making the window read as broader than it actually is. Narrow windows in particular benefit from this. A 36-inch window fitted with a rod that extends 10 inches on each side suddenly contributes a full 56 inches of visual width to the wall, which changes how the whole elevation is perceived.
The fourth reason is structural. Drywall holes are not easy to hide, and moving a rod often means patching, sanding, and repainting. If you plan positioning and bracket spacing carefully, you drill once. That is why every measurement step in this guide has an engineering reason behind it, not just an aesthetic one.
The High-and-Wide Principle: A Designer's Foundation
Interior designers frequently describe correct curtain rod placement as the "high and wide" approach. It is a simple concept: mount the rod higher than the window frame and make it wider than the window itself. Every exact measurement in the sections that follow is a refinement of this idea.
The height portion of the principle can be summarized as the halfway rule. Measure the distance between the top of your window frame and the ceiling, then mount the rod roughly halfway between them. In practice, this usually lands at 6 to 12 inches above the frame for standard 8-foot ceilings and a few inches lower than the ceiling for rooms with higher ceilings. The rule keeps the curtain panels visually connected to the window while drawing the eye upward.
The width portion works the same way. A rod that barely clears the window frame makes the window feel small and forces the curtain panels to cover part of the glass when fully open. The high-and-wide approach solves this by moving the rod outward far enough that the open panels sit entirely on the wall beside the window. The standard 4 to 10 inches of extension on each side is the practical distance that achieves this in most rooms.
There is one more number that pairs with the high-and-wide principle: fullness. Fullness describes how much wider the curtain panel is than the window it covers. Most ready-made and custom curtains are designed at a fullness ratio of 1.5 to 2 times the width of the window. A 60-inch window should therefore have panels totaling at least 90 inches of fabric width to hang attractively when drawn. You need to plan for this fullness before you mount the rod, because the stacked fabric needs wall space on both sides. As a general guide, the stack of each open panel consumes roughly one-third of the panel's full width. If your window is 60 inches wide and your panels are each 45 inches wide, then each stack will occupy about 15 inches of wall space, which means the rod must extend about 10 to 15 inches beyond each side of the window to reveal the full glass.
This is the moment to check your geometry before drilling. Measure the wall space on both sides of the window. If you only have 6 inches of clear wall on one side, you cannot achieve the full designer effect with standard panels. In that case, you either reduce the panel width, use a lighter draw, or accept a partial stack over the glass. Knowing this before you buy hardware saves a great deal of frustration later.
How High Should the Curtain Rod Sit?
Rod height is the single most important placement decision, and it is also the one most people get wrong. The common mistake is mounting the rod just a few inches above the window casing, often because the person installs the bracket where it is easiest to reach rather than where it looks best. Getting the height right changes everything else about the window treatment.
The default height for a standard window in a room with an 8-foot ceiling is 6 to 12 inches above the top of the window frame. For most windows, the sweet spot is 8 to 10 inches. If you hang the rod at the lower end of that range, the curtain remains visually attached to the window; at the higher end, the room feels taller but the rod begins to float away from the window, so you have to balance the two effects.
Standard Windows in 8-Foot Ceiling Rooms
In an 8-foot ceiling room, the window frame typically ends 4 to 7 feet above the floor. Mounting the rod 6 to 12 inches above the frame leaves 2 to 4 inches of wall between the rod and the ceiling, which reads well visually. If you mount the rod only 2 or 3 inches above the frame, you get the common "low and squat" look that makes the ceiling feel shorter and the window feel boxy.
Lower Ceilings
For ceilings below 8 feet, your strategy changes slightly. The goal shifts from drawing the eye up to maximizing every inch of visual height. Mount the rod as close as 4 to 6 inches below the ceiling, regardless of where the window frame ends. This is the one case where the ceiling position matters more than the distance above the frame. Floor-length curtains on a high-mounted rod will make a 7-foot-6-inch ceiling appear closer to 8 feet. You should also use a rod with a smaller finial in lower-ceiling rooms so the visual line stays lean.
Tall Ceilings of 9 Feet or More
In a room with 9-foot or taller ceilings, you have room to be more generous. Mount the rod 8 to 12 inches above the window frame, or even higher if the window is not very tall. The key is maintaining a visual connection between the rod and the window. If the rod floats too far above the window, the curtains look disconnected and the wall looks empty. A useful reference for tall rooms is to mount the rod one-third of the way between the window frame and the ceiling line, rather than halfway.
Rooms with Crown Molding
Crown molding changes the height calculation because the molding itself creates a visual boundary. When crown molding is present, mount the rod just below the bottom edge of the molding, leaving 1 to 3 inches of clearance. Do not mount the rod above or on the molding itself, because the brackets will not sit flush and the curtain will block the decorative profile. If the crown molding is deep, you may need to use brackets that space the rod outward from the wall so the curtain panels clear the molding when hanging.
Windows with Transoms
Transom windows above the main window require a completely different approach. Never mount the rod between the main window and the transom; doing so breaks the window into two unrelated sections. Instead, mount the rod above the transom, usually 2 to 4 inches below the ceiling. You will need longer curtains to cover the combined height of the window and transom, but the result is a continuous, elegant line. For transoms that are arched or unusually shaped, consider mounting the rod at the ceiling with ceiling-mounted brackets so the entire assembly reads as one element.
Cathedral Ceilings
Cathedral ceilings follow another rule entirely because there is no level ceiling line to reference. Here the recommendation is 4 to 6 inches above the window trim, with the rod length and finial size chosen to fill the visual space of the tall wall. Because the ceiling slopes away, the rod height should still connect with the window; mounting too high makes the panels look stranded in a vast wall of space. If the window is very tall, you may also need a longer rod to create enough horizontal presence to balance the vertical wall.
| Room condition | Rod height above window frame | Distance from ceiling |
|---|---|---|
| Standard 8-foot ceiling | 6 to 12 inches | 2 to 4 inches |
| Ceiling below 8 feet | As high as possible | 4 to 6 inches |
| Ceiling of 9 feet or more | 8 to 12 inches | 4 to 10 inches |
| Crown molding present | Just below the molding | 1 to 3 inches below molding |
| Transom window above | Above the transom | 2 to 4 inches |
| Cathedral ceiling | 4 to 6 inches above trim | Follows the slope, no fixed ceiling reference |
How Wide Should the Rod Extend Beyond the Window?
Once the height is settled, the next decision is width. The standard guidance is 4 to 10 inches beyond each side of the window frame, and the exact number within that range depends on your window width and your curtain panel width.
Start with the formula: rod width equals the window width plus 8 to 20 inches total. A 48-inch window would therefore use a rod that is 56 to 68 inches long between the finials. A narrower window inside that range gives a tighter, more tailored look, while a wider extension creates a more generous, luxurious appearance.
Planning for Stack-Back Space
The most practical way to determine the ideal extension is to account for the stack-back of your curtains. When the panels are open, the fabric gathers against the wall beside the window. If the rod is not wide enough, the gathered panels cover part of the glass. To avoid this, measure the width of one fully gathered panel stack and compare it to the available wall space beside the window. For a standard 48-inch window with two 36-inch-wide panels, each stack will occupy roughly 10 to 12 inches of the rod. That means the rod must extend at least 10 to 12 inches beyond each side of the window for the full glass to remain visible. In most rooms this falls comfortably within the 4 to 10 inch guidance if you choose panels with a fullness ratio of no more than 2. If you prefer a fuller look, you may need to extend the rod closer to the upper end of the range or beyond it.
Bracket Distance from the Rod Ends
The rod brackets should not sit at the very ends of the rod, and they should not sit directly beside the window frame either. A good rule is to position each bracket 3 to 6 inches from the end of the rod, measured from the inside face of the finial. Placing the bracket too close to the window frame concentrates the load at the point where the curtain stack hangs and leaves the outer section of the rod unsupported. Placing it at the very end can cause the finial to interfere with the bracket and makes the rod more likely to twist. The bracket should also clear the outside edge of the window frame by at least 2 or 3 inches so that the stacked curtain panel hangs on the wall and not over the casing.
Inside Mounts versus Outside Mounts
For window frames that are deep enough, an inside mount places the rod hardware completely inside the window opening. This is a clean, architectural look, but it reduces the rod width to the interior width of the frame and requires a narrow rod profile so the rings can slide freely. Inside mounts also limit the available space for the curtain stack, which makes them best suited to single panels or decorative curtains that are not meant to be drawn fully open. Outside mounts, which is what nearly all of the guidance in this article assumes, give you the freedom to extend the rod beyond the frame and control exactly where the stacked panels land.
Bracket Placement: Where the Hardware Meets the Wall
Bracket placement is where the visual rules meet engineering reality. Even a perfectly positioned rod will fail if the brackets are not spaced and anchored correctly. The bracket must hold not only the weight of the rod but also the weight of the curtain panels, the rings, and the inevitable tugging that happens when someone opens and closes the curtains.
Bracket Positioning Relative to the Window
The first bracket on each side should be positioned outside the window frame, typically 4 to 6 inches past the outer edge of the casing. This keeps the curtain stack clear of the frame and places the bracket over solid wall, where you have more freedom to locate a stud. The outer bracket should sit 3 to 6 inches inward from the end of the rod, as described in the width section, so the finial has room to emerge cleanly.
Spacing Between Brackets
For rods up to 60 inches long, two brackets are sufficient if they are placed near the two ends. For rods longer than 60 inches, add a center bracket to prevent the rod from sagging under the weight of the panels. For rods longer than 90 inches, use three brackets and consider a heavier rod profile or a rod with a thicker wall. The general spacing guideline is no more than 30 to 36 inches between support points. A 60-inch window with a 76-inch rod needs a center bracket to keep the middle of the rod from bowing over time, especially if you plan to hang full-length panels.
Finding Studs and Choosing Anchors
Before you mark anything, run a stud finder across the wall at the intended bracket height. A bracket that connects directly to a wooden stud is far stronger than one held by drywall anchors. If the stud does not align with your ideal bracket position, you have three options: shift the bracket a few inches along the rod, shift the whole rod height slightly, or use high-quality hollow-wall anchors rated for the combined weight. Hollow-wall anchors are acceptable for lightweight aluminum rods with lightweight panels, but they should not be used for heavy iron rods or dense blackout curtains. For those, the bracket must reach a stud or a solid backing.
Bracket Types for Heavy Curtains
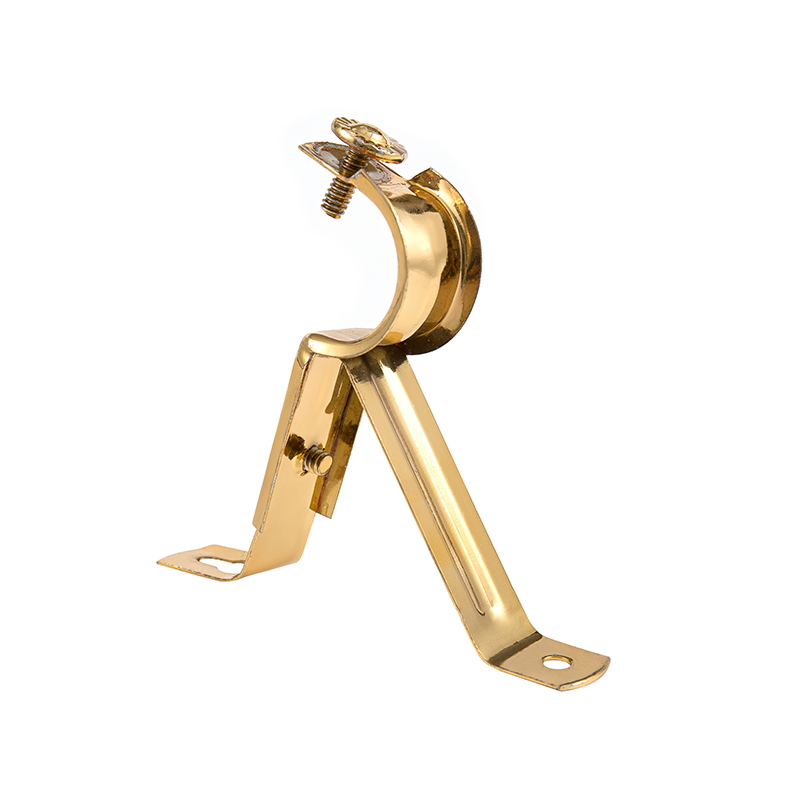
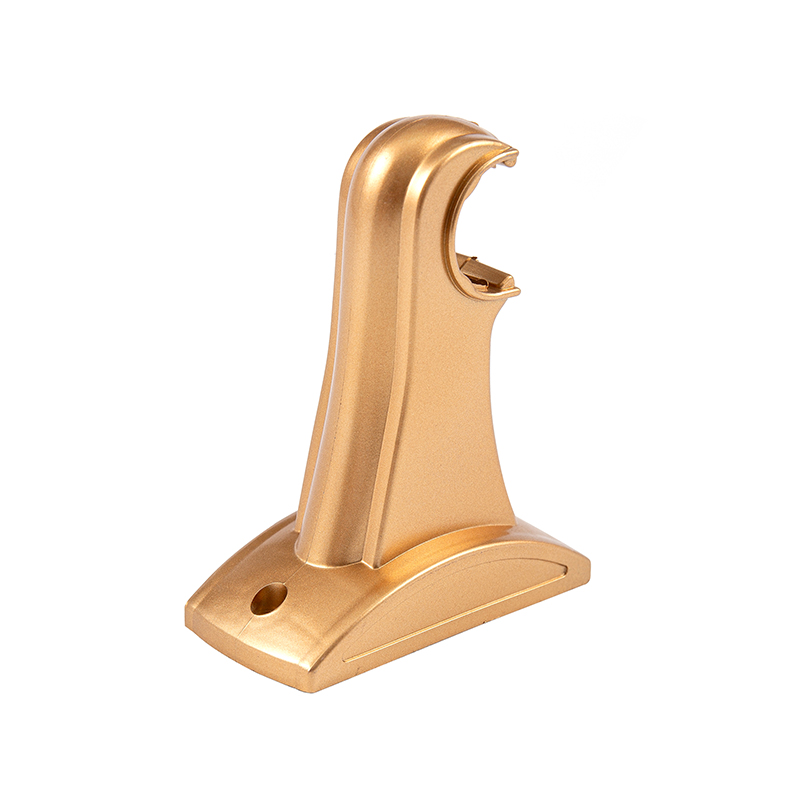
Standard single brackets support rods up to about 5 pounds of combined rod and fabric weight in most installations. If your curtain panels are made from heavy upholstery-weight fabric, lined panels, or blackout material, plan for significantly more force at each bracket. A metal double curtain bracket provides two points of contact and is designed for exactly this situation; it also allows you to hang two layers of curtain on separate rods, which is common when a sheer panel and a heavier blackout panel share the same window. Double brackets also help distribute the weight of a long rod with a center seam, and they are a practical choice for sliding glass doors and oversized windows that demand a longer, heavier assembly.
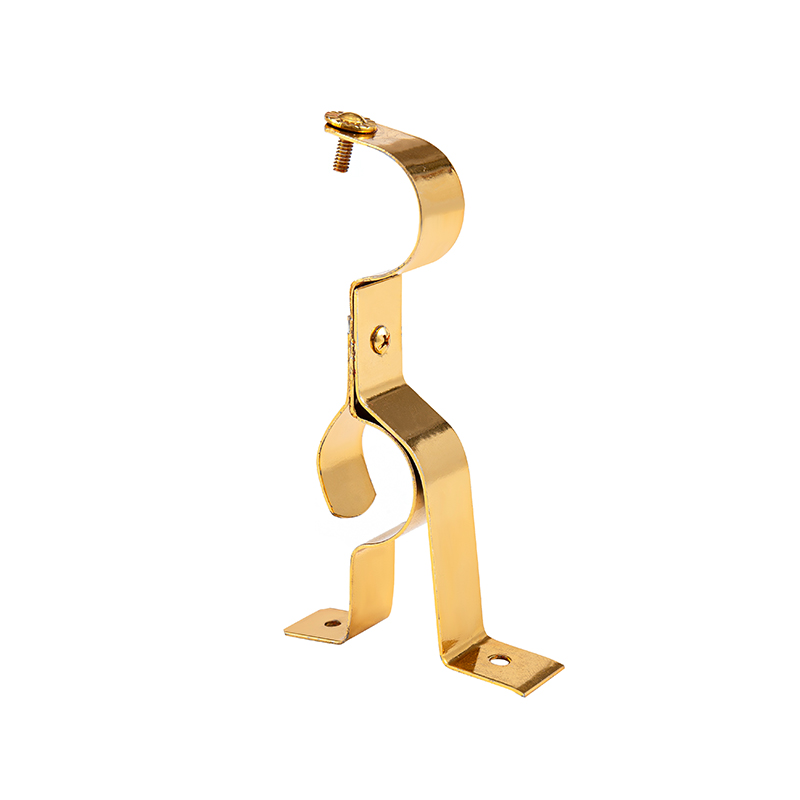 Custom Metal Double Curtain Bracket Suppliers, FactoryZhejiang Riyuexin Trading Co., Ltd. is China custom Metal Double Curtain Bracket suppliers and factory. Curtain Bracket Metal Double Bra...View Product →
Matching Rod Height to Curtain Length
Rod height and curtain length must be decided together, because the rod position determines where the bottom of the curtain will land. The most common error is mounting the rod and then discovering that the floor-length curtains are either dragging on the floor or hovering too high above it. To avoid that, decide which curtain length look you want first, then calculate the rod height backward from that decision.
Floor-Length Curtains
Floor-length curtains should end about 1/2 to 1 inch above the floor so they clear carpet and flooring while still looking intentional. If the rod height is 84 inches from the floor and you want a 1/2-inch floor clearance, the curtain panels need to measure 83.5 inches from the top of the rod to the bottom hem. Since the fabric measuring point depends on how the panel hangs from rings, grommets, or a rod pocket, always account for the hanging hardware when you order or cut panels.
Sill-Length and Apron-Length Curtains
Sill-length curtains end 1/4 to 1/2 inch above the window sill, which keeps the fabric clean and works well in kitchens and bathrooms where moisture or countertops make floor-length panels impractical. Apron-length curtains end 3 to 4 inches below the sill, which is a common choice for windows where you want more coverage than sill length but do not want fabric all the way to the floor. Both of these looks tolerate a wider range of rod heights, because the curtain is anchored at the bottom by the sill. You can mount the rod higher or lower and simply adjust the panel length accordingly.
Puddling and Break Styles
Formal living rooms sometimes use a "puddle," where the curtain fabric intentionally pools on the floor by 1 to 6 inches. This style requires a rod height that leaves enough fabric to create the puddle, and it works best with fabrics that have good drape and weight. A lighter "break" style, where the curtain just touches the floor and folds over slightly by 1 to 2 inches, is a more contemporary compromise. Both styles require more fabric than the standard floor-length measurement, so plan the panel length before you mount the rod.
Room-by-Room Placement Adjustments
Every room has a different function, and the ideal curtain rod placement changes with it. The high-and-wide principle is a universal starting point, but the following adjustments for specific rooms will give you a more refined result.
Living Rooms
Living rooms are where the high-and-wide approach delivers the most dramatic payoff. Mount the rod at the upper end of the 6-to-12-inch range, use floor-length panels with a fullness ratio of 2, and extend the rod 6 to 10 inches beyond each side of the frame. This creates a frame around the window that visually expands the room and provides maximum flexibility for the panels to open fully. This is also the room where double brackets and layered sheers are worth considering.
Bedrooms
Bedrooms typically need light control, so blackout panels are common. Heavier fabric means additional load, which argues for stud-mounted brackets and a sturdier rod. Position the rod 6 to 12 inches above the frame, but if the ceiling is low, place it closer to the ceiling. The important bedroom-specific consideration is that blackout panels are denser and stack wider, so you need the full 10 inches of side extension or more to keep the glass uncovered when the curtains are open. If you already ordered your panels, measure the stack width before choosing the rod length.
Kitchens
Kitchens rarely need floor-length curtains. The standard choice is sill length or apron length, and the rod is mounted 4 to 6 inches above the window frame or just below the bottom edge of any upper cabinets above the window. If the window is between two upper cabinets, make sure the rod, finials, and curtains clear the cabinet faces when fully open. A rod with a shorter extension is usually acceptable in a kitchen because the main goal is privacy and softness rather than dramatic styling.
Bathrooms
Bathrooms combine privacy needs with moisture and heat. Sill-length curtains are typical, and the rod should be mounted high enough that the top of the window stays clear and the panels do not drape over a tub or sink. In a bathroom, leave at least 5 to 6 inches between the rod and the window frame so that steam can escape and the fabric does not sit in condensation. Use telescoping rods that are easy to adjust if you are renting.
Home Offices and Nurseries
Home offices benefit from adjustable light control, so consider mounting the rod high and using panels that you can easily tie back. Nurseries and children's rooms should use cord-free rings and panels that are floor length but do not create a puddle, since loose fabric on the floor is a tripping hazard. If the crib is near the window, keep the curtain pull mechanism simple and out of reach.
Special Window Shapes and Awkward Configurations
Standard rectangular windows are only part of the story. Corner windows, bay windows, sliding glass doors, and extra-wide openings each need their own placement logic.
Corner Windows
Corner windows occur when two windows meet at the corner of a room, usually with no wall space between them. The cleanest treatment is a single bendable rod that follows the corner, or two separate rods joined at a specialized corner bracket. When positioning the brackets, the key is to align both rods at the same height so the continuous line wraps the corner without a visible step. If you use two separate rods, each should extend 4 to 6 inches onto the wall opposite the corner so the panels do not bunch awkwardly into the corner.
Bay Windows
Bay windows have three or more angled sections, and they need either a custom bay rod with adjustable angle connectors or three separate rods. The brackets go on the walls at each joint of the bay, plus a center bracket in the middle section if the bay is wide. Heights should be consistent across all three sections. Bay windows are expensive to treat, so measure the face width of each section and the angles between them before ordering custom hardware. A full-length curtain on a bay window adds visual weight, so keep the finials proportionate to the size of the bay.
Sliding Glass Doors
Sliding glass doors are treated much like wide windows, but with an extra emphasis on stack-back clearance. The rod should extend 4 to 8 inches beyond each side of the door frame so that the curtain panels can slide completely away from the glass. Because sliding doors are tall and wide, choose a rod with a larger diameter or a center support, and mount the brackets into studs. Floor-length panels are the only appropriate choice; sill-length panels above a door look unfinished.
Extra-Wide Windows
Windows wider than 72 inches require a rod that may exceed the maximum single-piece length of many rods. In this case, use a joinable rod system with a center seam and a third bracket at that seam. The side brackets follow the same 3-to-6-inch rule from the ends, and the center bracket goes at the midpoint. For very wide windows, a telescoping rod with a locking mechanism is practical because it allows you to adjust the total width by small increments during installation. Aluminum rods are better than PVC rods at this width because they maintain more rigidity over long spans.
Windows Above Radiators
Windows above radiators create a conflict between the curtain, the heat source, and the depth of the window sill. If you want floor-length curtains over a radiator, the brackets must extend outward enough that the curtain falls in front of the radiator without resting against it, which can be a fire hazard and a heat-blocking problem. Alternatively, use apron-length curtains that stop just below the sill, well above the radiator top, and mount the rod 6 to 10 inches above the frame. This is the safer and more practical choice in most homes.
How Rod Material and Hardware Affect Placement Decisions
The material and profile of the rod influence how far apart the brackets can be, how high you can mount the rod, and what kind of rings and finials you can use. Understanding the relationship between material strength and span prevents sagging and premature failure.
Aluminum Rods
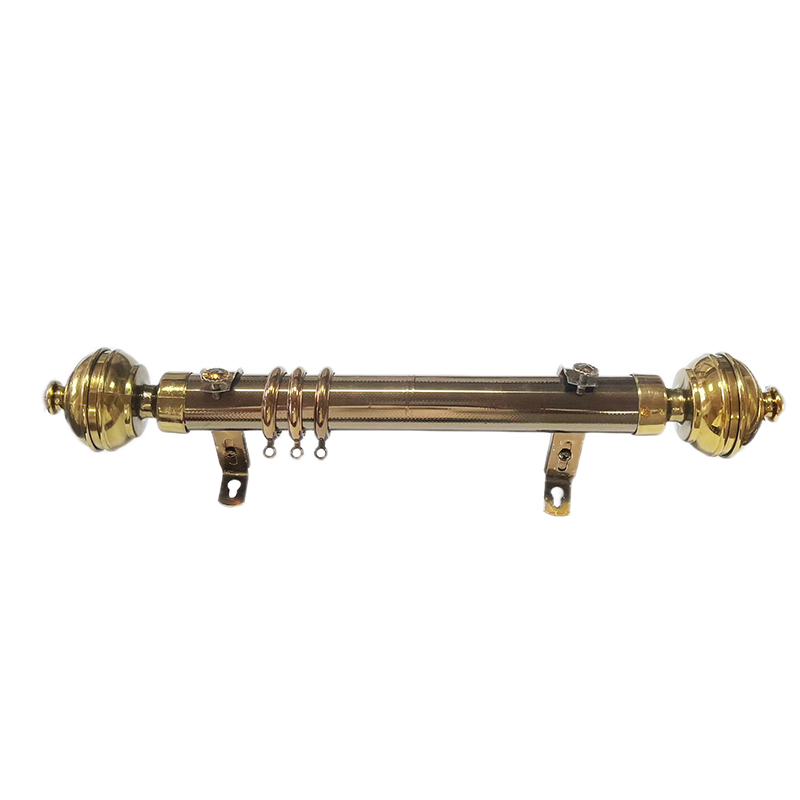
Aluminum is the recommended material for most standard residential installations because it is lightweight, corrosion-resistant, and rigid enough to support long spans without excessive bracket spacing. A well-made aluminum rod with a diameter of 22 to 28 millimeters can comfortably span 60 to 90 inches with only two end brackets plus a center support. Aluminum also works well with a dual crescent aluminum curtain rod profile, where the decorative crescent shape adds visual interest without adding weight. Because aluminum is lighter, you can safely mount it at the higher end of the height range using drywall anchors, though studs are still preferred.
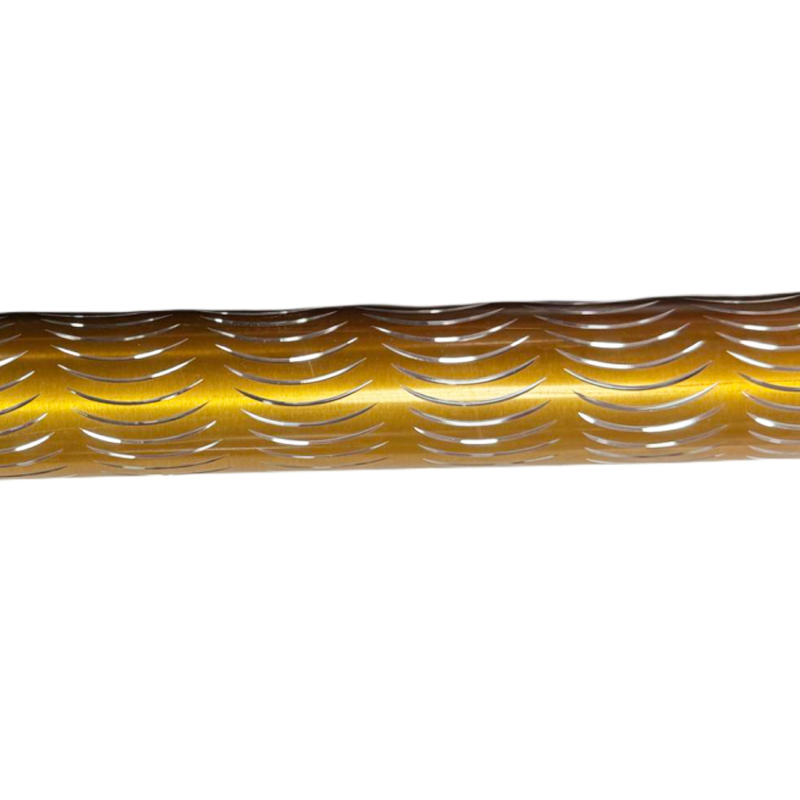 Custom Dual Crescent Aluminum Curtain Rod Suppliers, FactoryZhejiang Riyuexin Trading Co., Ltd. is China custom Dual Crescent Aluminum Curtain Rod suppliers and factory. Redefining large-span windo...View Product →
Iron Rods
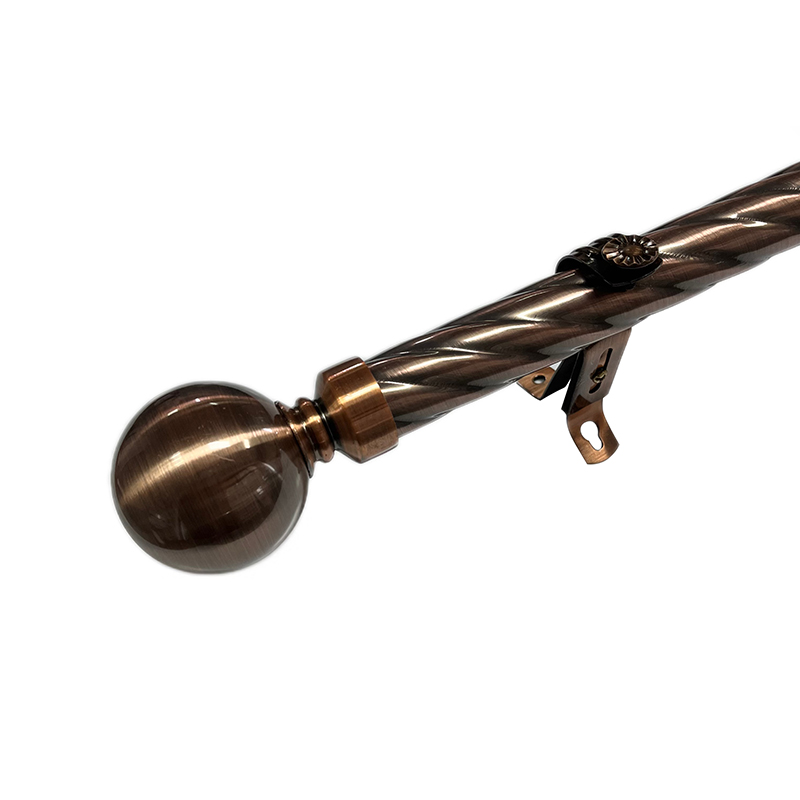
Iron rods bring strength and a heavier visual character, but the weight changes your placement math. An iron rod of the same diameter can weigh three to four times as much as an aluminum rod, so the brackets must be stud-mounted and closer together. For an iron rod longer than 60 inches, plan for a center bracket or use a telescoping iron rod in the 48-to-84-inch range with the brackets positioned at the third points. Iron rods also need more clearance at the finial, because the finials themselves are often heavier and larger, which affects the distance from the rod end to the first bracket.
PVC-Wrapped Rods
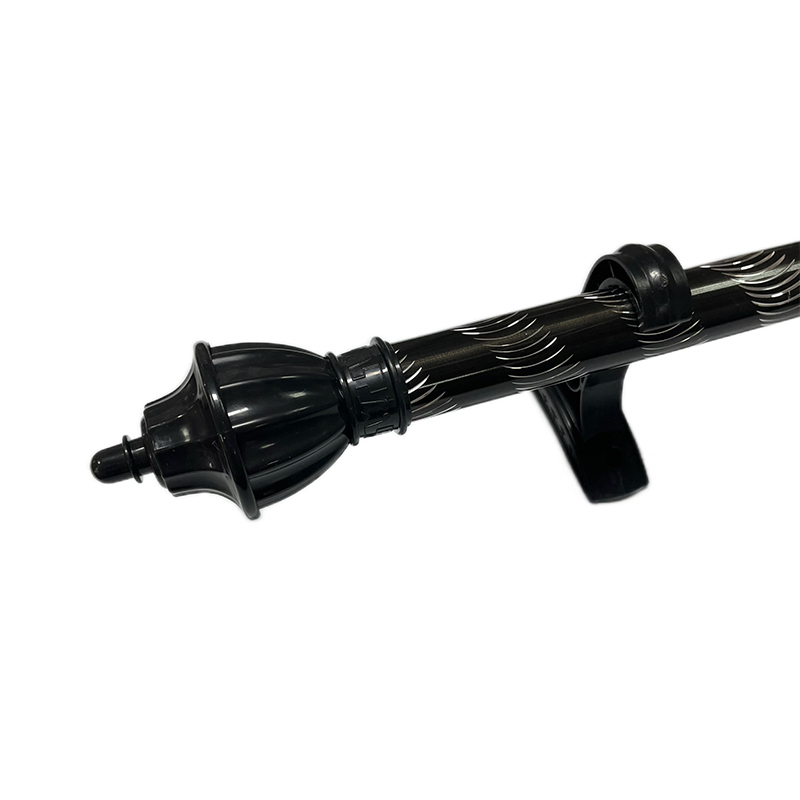
PVC-wrapped rods use a lightweight core covered with a decorative foil or laminate that mimics wood, metallic, or dual-tone finishes. These rods are budget-friendly and available in curved and straight profiles, but the plastic wrap can scratch during installation, so you should fit the rings before mounting the rod and handle it carefully. The structural capacity is similar to bare aluminum or thin steel, so keep bracket spacing within the 30-to-36-inch guideline and always use a center support on windows wider than 70 inches.
How Rings and Finials Change the Numbers
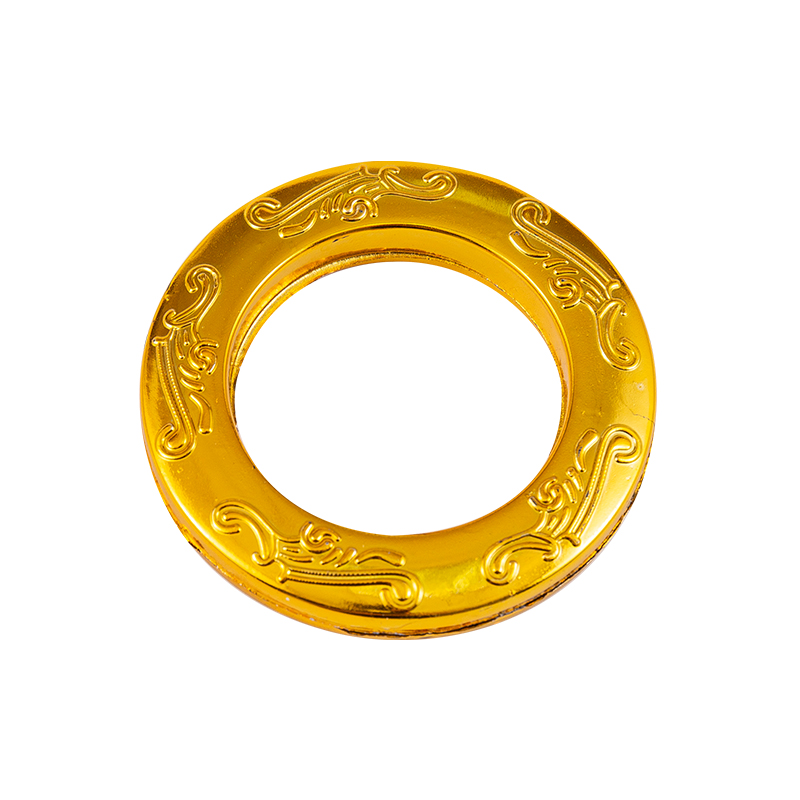
The hanging system you choose affects the final position of the curtain bottom. Fixed rings with clips add about 1 inch of drop between the rod and the top of the curtain. Grommet-style panels have no drop beyond the rod position itself. Rod-pocket panels hang directly from the rod and lose part of the panel length inside the pocket. If you are using rings, choose standard curtain rings with an inner diameter that clears the rod and any decorative profile; a ring that is too tight will not slide smoothly and creates wear marks on the rod surface. Finials, meanwhile, add 2 to 4 inches to the total visual length of the rod but do not carry any panel weight, so they should always be measured as additional to the working rod width, not part of the span that needs bracket support.
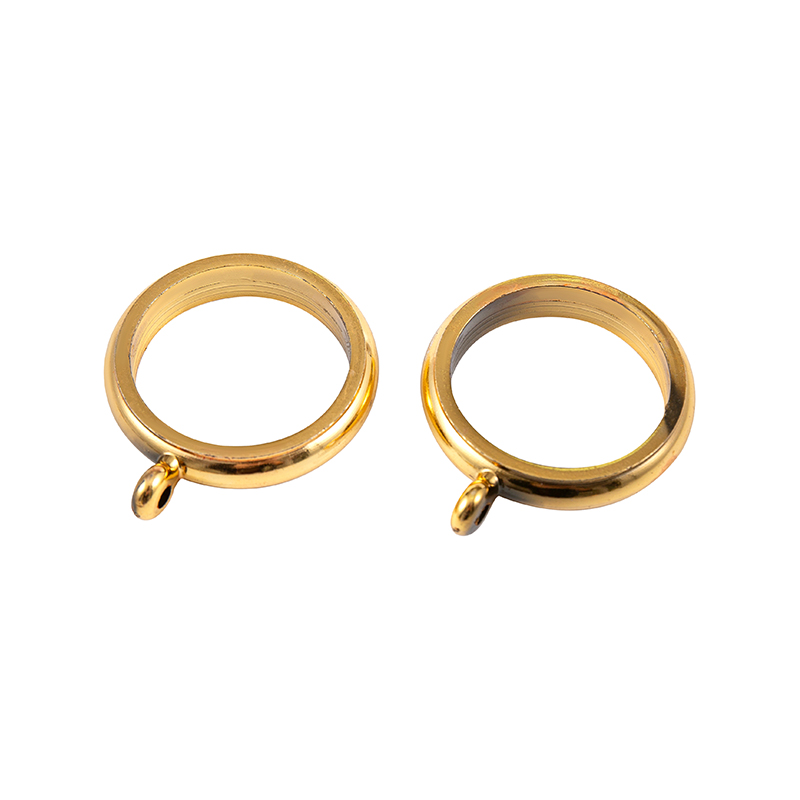 Custom Standard Curtain Rings Suppliers, FactoryZhejiang Riyuexin Trading Co., Ltd. is China custom Standard Curtain Rings suppliers and factory. Material: Main body: ABS plastic/zinc...View Product →
If you are still comparing rod types for a specific project, a side-by-side review of which curtain rod material is best for your weight, span, and budget can save you from buying hardware that is either too weak or heavier than necessary.
Step-by-Step Measuring and Marking Workflow
With all the placement rules in hand, the installation process becomes a sequence of simple measurements. Follow this workflow in order, and you will avoid the classic mistake of drilling holes in the wrong place.
- Determine the desired curtain length style: floor length with a 1/2-inch clearance, sill length, apron length, break, or puddle. Write down the finished length.
- Decide the rod height. For standard windows, mark a pencil line 8 to 10 inches above the top of the window frame. For rooms with low ceilings, mark 4 to 6 inches below the ceiling instead.
- Calculate the rod width. Add 8 to 20 inches to the window width, then adjust upward if your stacked curtain panels need more wall space.
- Mark the two outer bracket positions. Each bracket should be 3 to 6 inches from the end of the rod, and at least 2 inches outside the window frame. Use a level to draw a horizontal reference line through both marks.
- Run a stud finder along the reference line at both bracket positions. If a stud aligns with or is within 2 inches of the mark, plan to drill into it. Otherwise, switch to high-quality hollow-wall anchors rated for the total weight of rod plus curtains.
- For rods longer than 60 inches, locate the center of the window and mark the center bracket position on the same horizontal line. Confirm that the distance between each adjacent pair of brackets is no more than 36 inches.
- Drill pilot holes at the marked points, insert anchors if needed, and mount the brackets with the screws provided. Check that all three brackets are level before tightening.
- Slide the rings or curtain panels onto the rod before lifting it into the brackets. This is particularly important for curved or profiled rods, where rings cannot be added after the rod is in place.
- Set the rod into the brackets, add the finials, and adjust the rod so it is centered over the window. Re-tighten any lock screws on telescoping sections.
- Hang the panels, then step back and check the floor clearance and the side stack. Adjust the ring positions or move the panels along the rod before you call the job done.
For a deeper look at the tools, anchoring techniques, and troubleshooting for each of these steps, see our complete curtain rod installation guide.
Common Curtain Rod Placement Mistakes and How to Avoid Them
Most curtain rod problems are not caused by the hardware; they are caused by measurement decisions made too early or too casually. Here are the mistakes we see repeatedly, along with the fix for each one.
- Mounting the rod too low. A rod 2 to 3 inches above the frame makes the window feel short and the ceiling feel lower. Fix: remount at 6 to 12 inches above the frame and patch the old holes. The relaunch is worth it.
- Mounting the rod too narrow. If the rod only extends 1 to 2 inches beyond the window, the curtains cover part of the glass when open. Fix: replace the rod with one that is 8 to 20 inches wider, or use a telescoping rod and adjust it outward.
- Brackets too far apart. A 72-inch rod supported only at the two ends will develop a sag in the middle, especially with heavy panels. Fix: add a center bracket with proper anchoring.
- Ignoring the stud placement. Mounting into drywall alone is the most common cause of brackets pulling out of the wall. Fix: find the studs first, and if that is impossible, use heavy-duty toggle bolts rated for the load.
- Forgetting the finials in the width measurement. The finials add 2 to 4 inches on each side. If you order a rod by total length, make sure the working span between finials still covers the window plus the intended extension.
- Not accounting for the stack when the curtains are open. The rod must extend far enough that the fully open panels clear the glass. Measure the actual stack width before you drill.
- Choosing the rod first and the curtains second. The fabric weight determines the rod strength and bracket spacing. Heavy blackout panels need a thicker rod and closer bracket spacing than lightweight sheer panels.
- Mixing rod heights in the same room. Windows in the same room should share the same rod height, even if the windows themselves are different sizes. Inconsistent heights create a chaotic visual rhythm.
Final Placement Checklist Before You Drill
When you are standing in a room with an uninstalled rod, it is easy to lose track of the details. Run through this checklist before you pick up the drill. If you can answer every line, your installation will be correct the first time.
- Have you decided on the curtain length style and written down the finished length?
- Is the rod height set at 6 to 12 inches above the frame, or 4 to 6 inches below the ceiling in a low-ceiling room?
- Does the rod width at least match the window width plus 8 inches, and preferably more for heavy panels?
- Have you measured the open stack of each panel and confirmed that it will sit on the wall, not over the glass?
- Are both end brackets positioned 3 to 6 inches from the rod ends and at least 2 inches outside the window frame?
- Have you located the studs and planned the anchors for every bracket?
- Does any rod span exceed 36 inches between brackets, and if so, have you added a center bracket?
- Are the rings and finials sized to clear the rod profile and the bracket projection?
- Is the same rod height planned for every window visible in the same room?
- Is the total weight of the rod plus curtains within the rated capacity of the brackets and anchors?
If you are still hesitating on the height and width, the safest recommendation is to go higher and wider than your first instinct. A rod that is slightly too high still reads well; a rod that is slightly too low always looks like a mistake. The same logic applies to width: an extra 2 inches of rod on each side is nearly invisible, while a rod that ends too close to the window frame is immediately noticeable every time the curtains are open.
Putting It All Together: A Placement System You Can Reuse
Curtain rod placement stops being confusing the moment you treat it as a system instead of a single measurement. The system has four fixed inputs: the window height, the window width, the ceiling height, and the curtain length style you want. From those inputs, you derive the rod height, the rod length, the bracket positions, and the number of brackets. Nothing about the process requires guesswork.
For a typical 8-foot-ceiling room with a 48-inch-wide window and floor-length curtains, the system produces the following result: rod mounted 8 to 10 inches above the window frame, total rod width between finials of 56 to 68 inches, end brackets set about 4 inches from the finials, and a center bracket if the rod runs longer than 60 inches. That configuration will look correct in the vast majority of homes.
For more complex rooms, adjust one input at a time. A low ceiling pushes the rod toward the ceiling. A heavy fabric adds a center bracket and moves the side brackets toward the studs. A bay window replaces the straight rod with an articulated system but preserves the same height and width rules for each section. A wide sliding door extends the width formula to its upper limit and demands stud-mounted hardware. In every case, the underlying logic remains the same.
It is also worth remembering that the best placement rule is the one that fits your actual panels. The standard guidance of 6 to 12 inches above the frame and 4 to 10 inches beyond each side is a starting point, not a prison. When the room proportions, the curtain weight, or the wall layout pushes you to the edges of that range, trust the specific measurement over the generic number. The criteria that matter are simple: the panels should clear the glass when open, the bottom hem should land where you intended, the brackets should support the load, and the rod height should feel connected to both the window and the ceiling.
If your walls and windows follow the typical patterns covered here, the high-and-wide system will give you a result that looks professional from any distance. For a one-page summary of the core height and width numbers to keep nearby during installation, the rule for hanging curtain rods is a handy reference to review before you measure. Then mark your lines, check your studs, and drill with confidence.